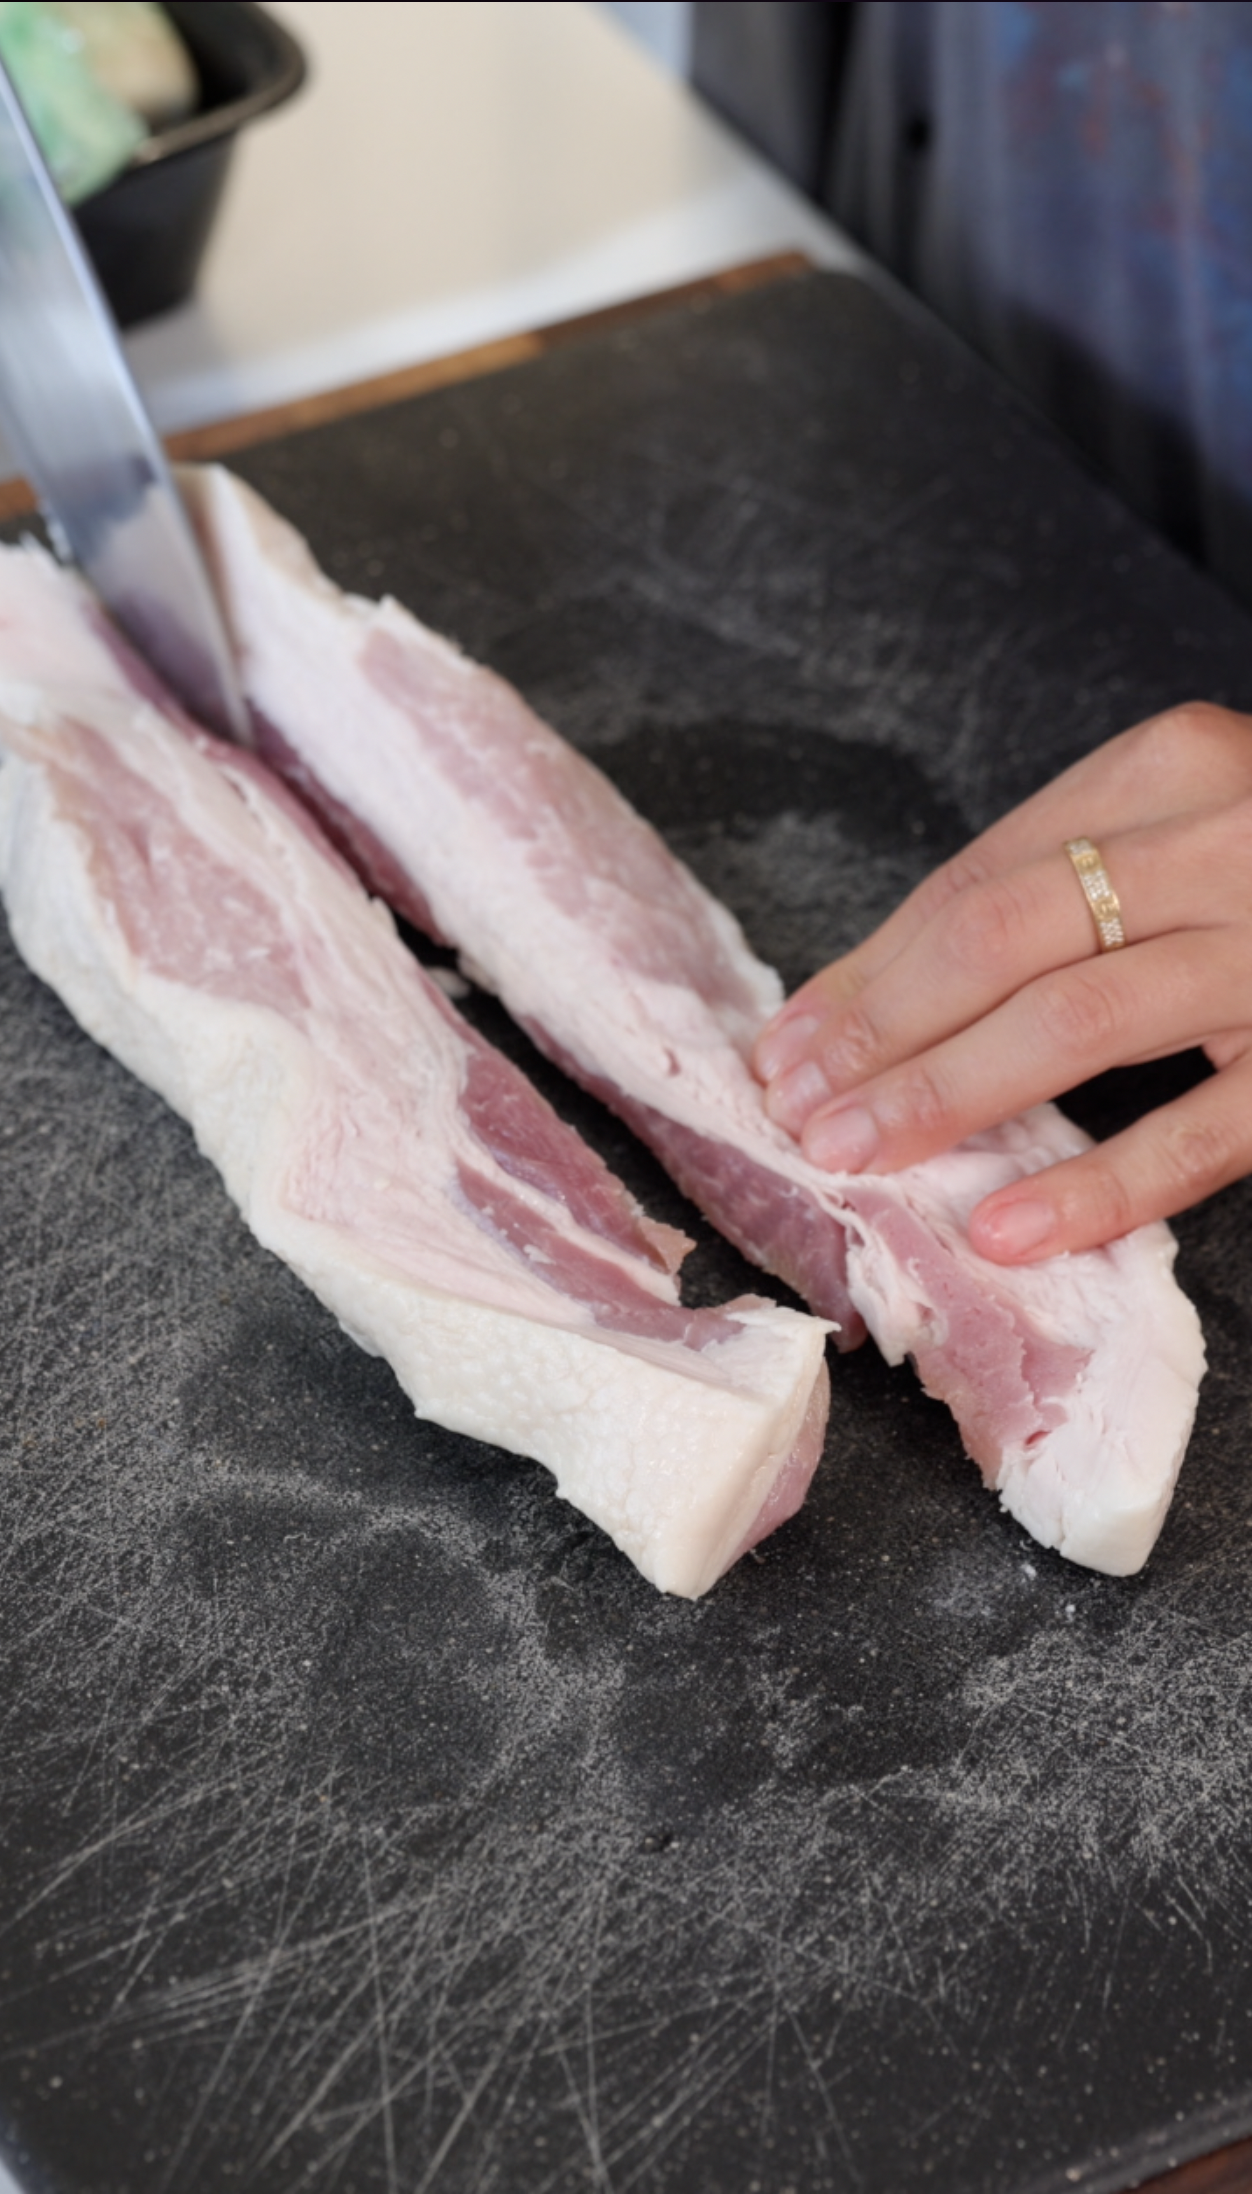
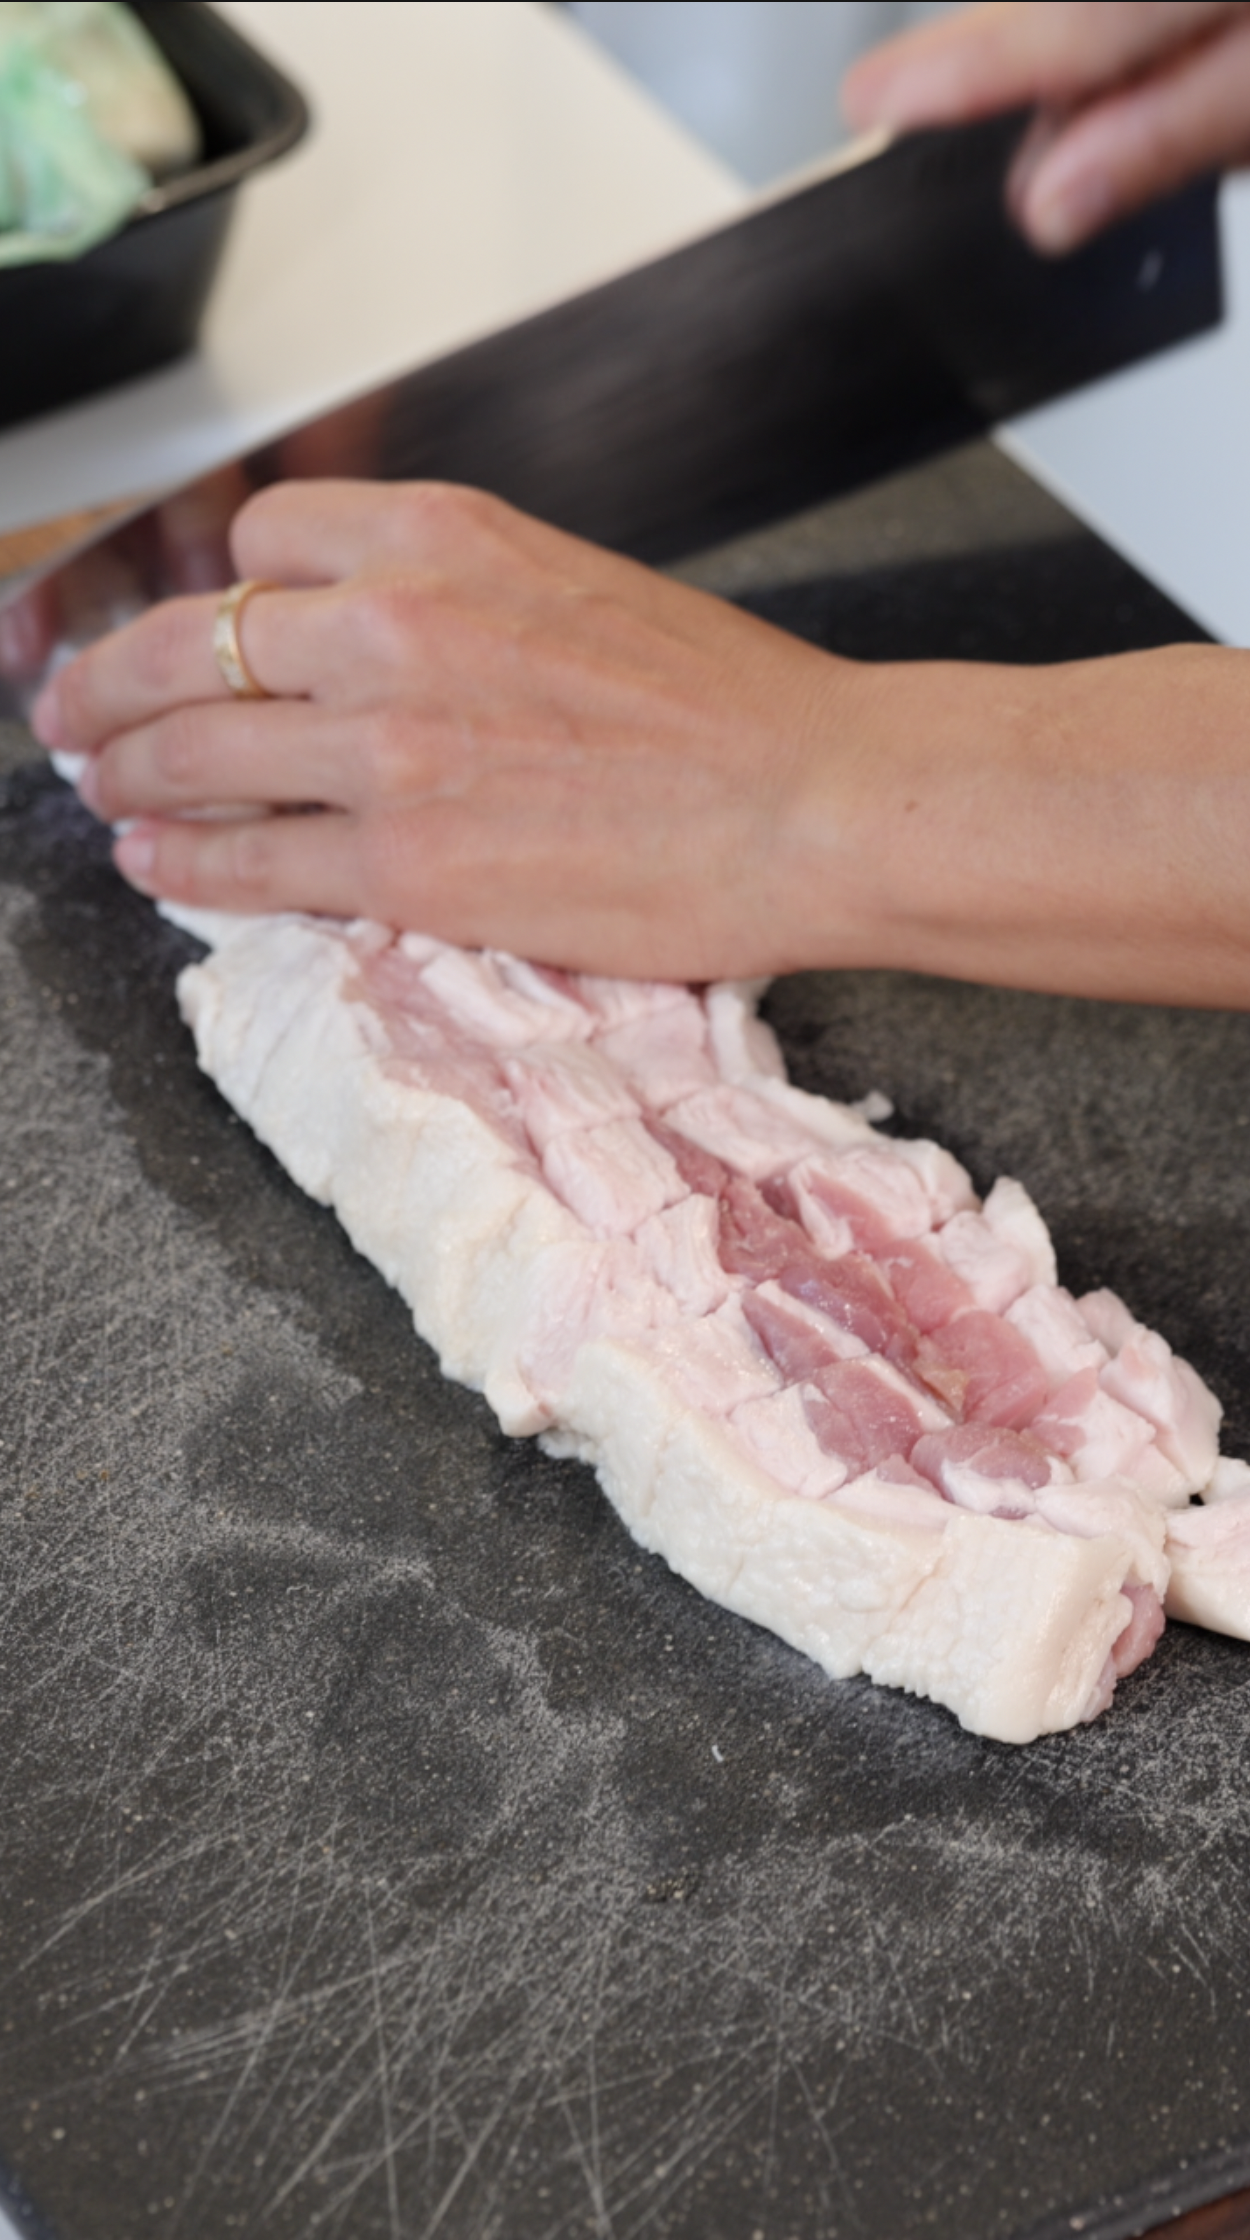
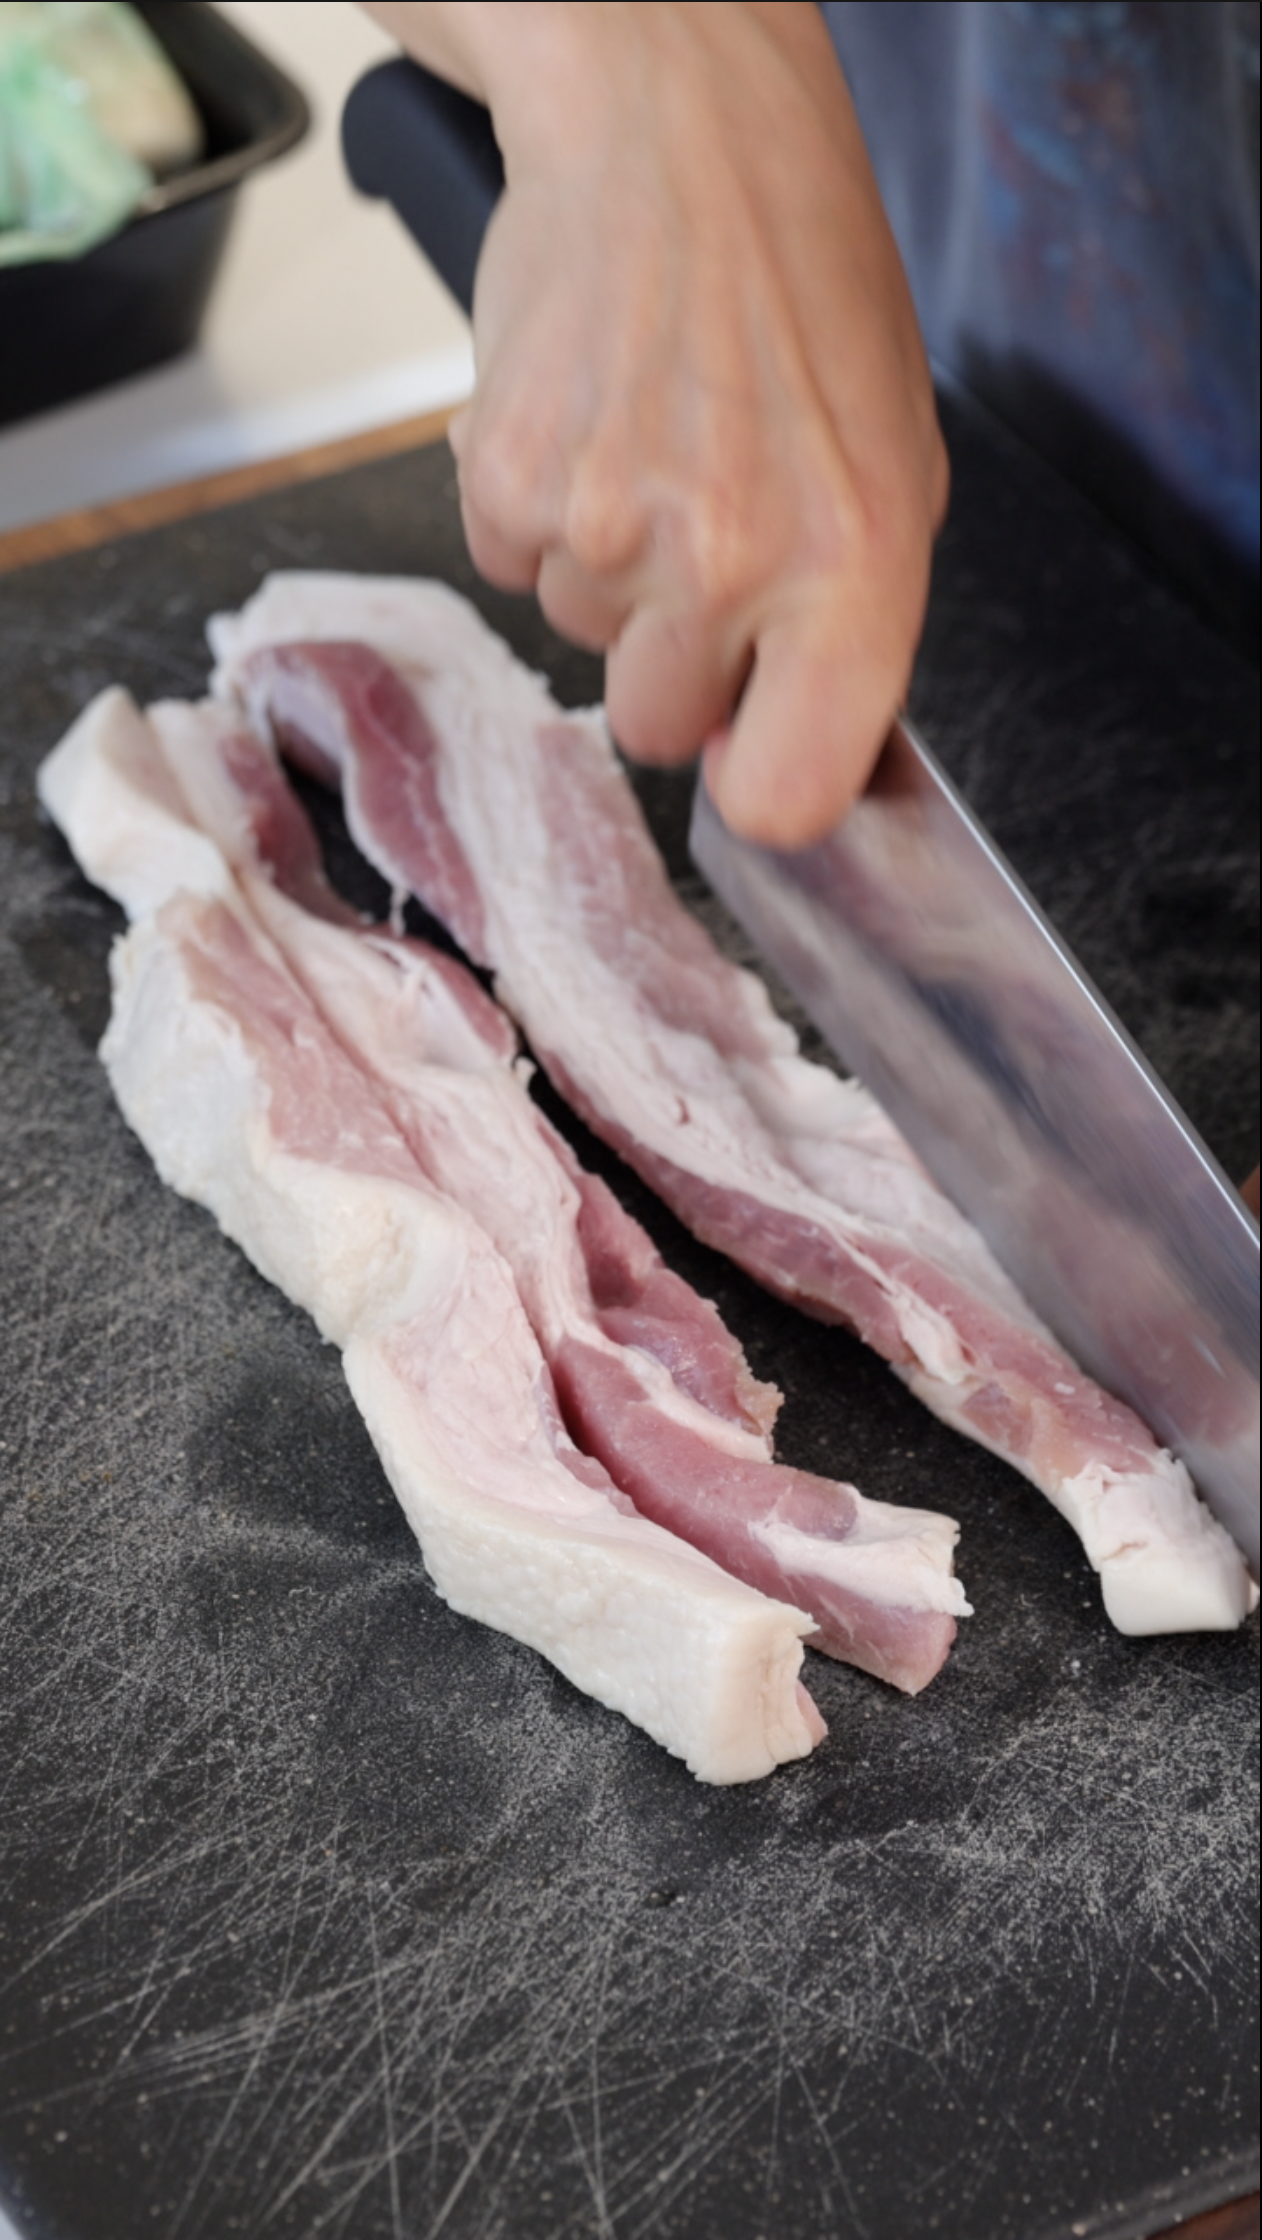
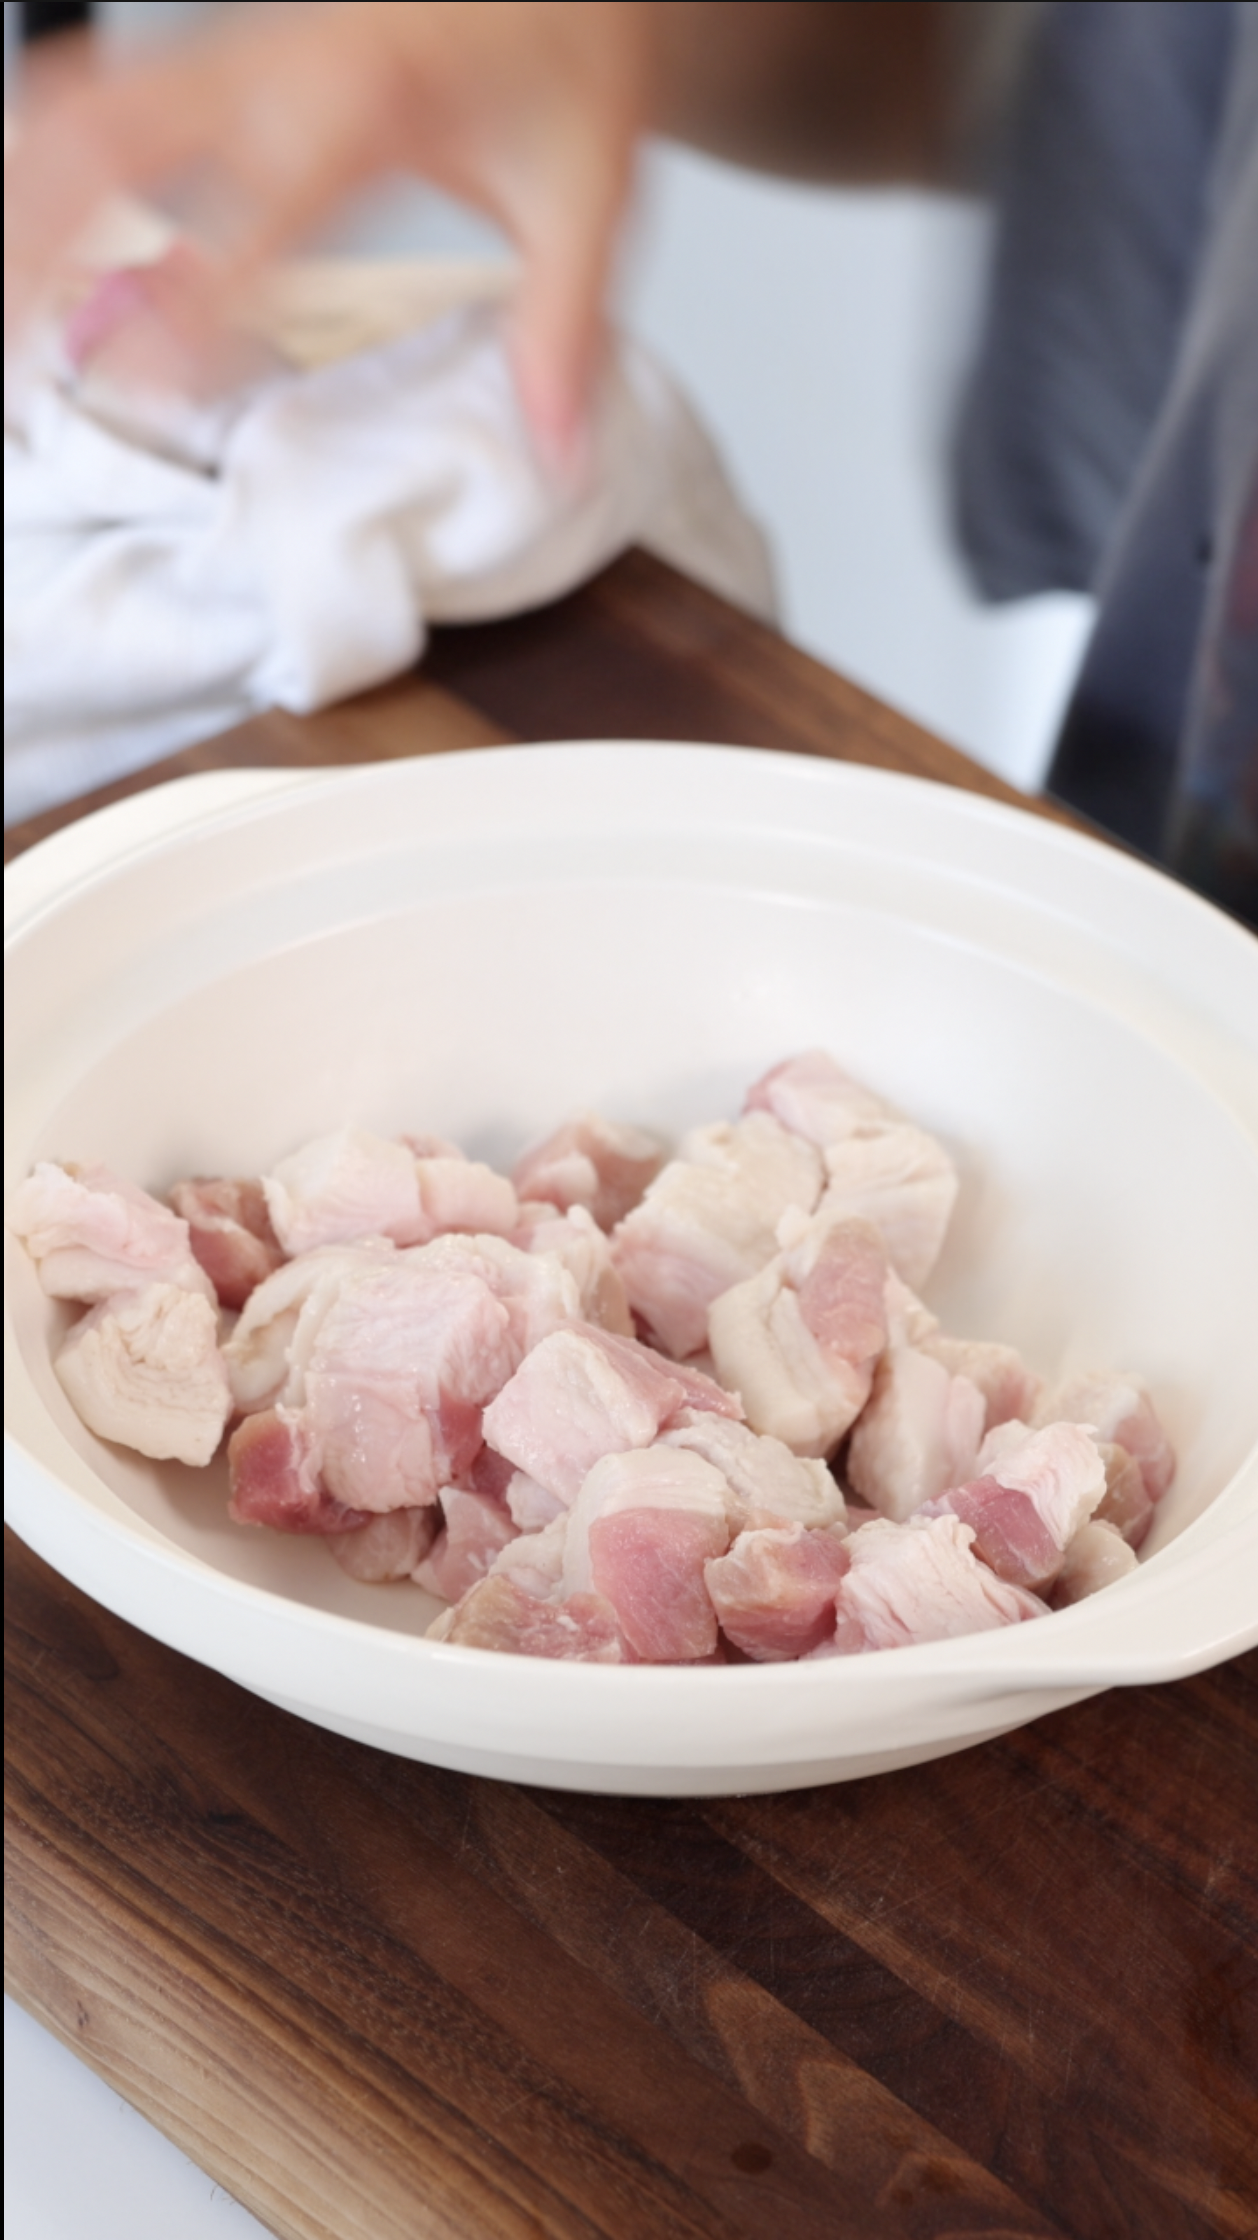
The Juiciest Pork Belly for KBBQ

Buttered Pork Belly

Simple Brine Recipe:

  • 1L of water

  • 4 Tbsp Salt

  • 4 Tbsp Sugar

Pork Belly Brine Ingredients:

  • Brown Sugar

  • Kosher Salt

  • White Sugar

    Note: This recipe pairs perfectly with spinach and lettuce, as shown in the video. If you plan to enjoy the pork belly with other salty condiments, I recommend reducing the salt in the brine for better balance.

    Here’s the adjusted recipe for a lighter salt profile:

    • 1L water

    • 3 Tbsp salt

    • 1 Tbsp white sugar

    • 2 Tbsp brown sugar

Note: If you choose not to let the pork belly air-dry on a cooling rack in the fridge and prefer to pat it dry and cook it immediately, I recommend cooking it on medium-low heat and incorporating MSG into the recipe to prevent burning.

Here’s the adjusted recipe for immediate cooking:

  • 1L water

  • 4 Tbsp salt

  • 4 Tbsp sugar

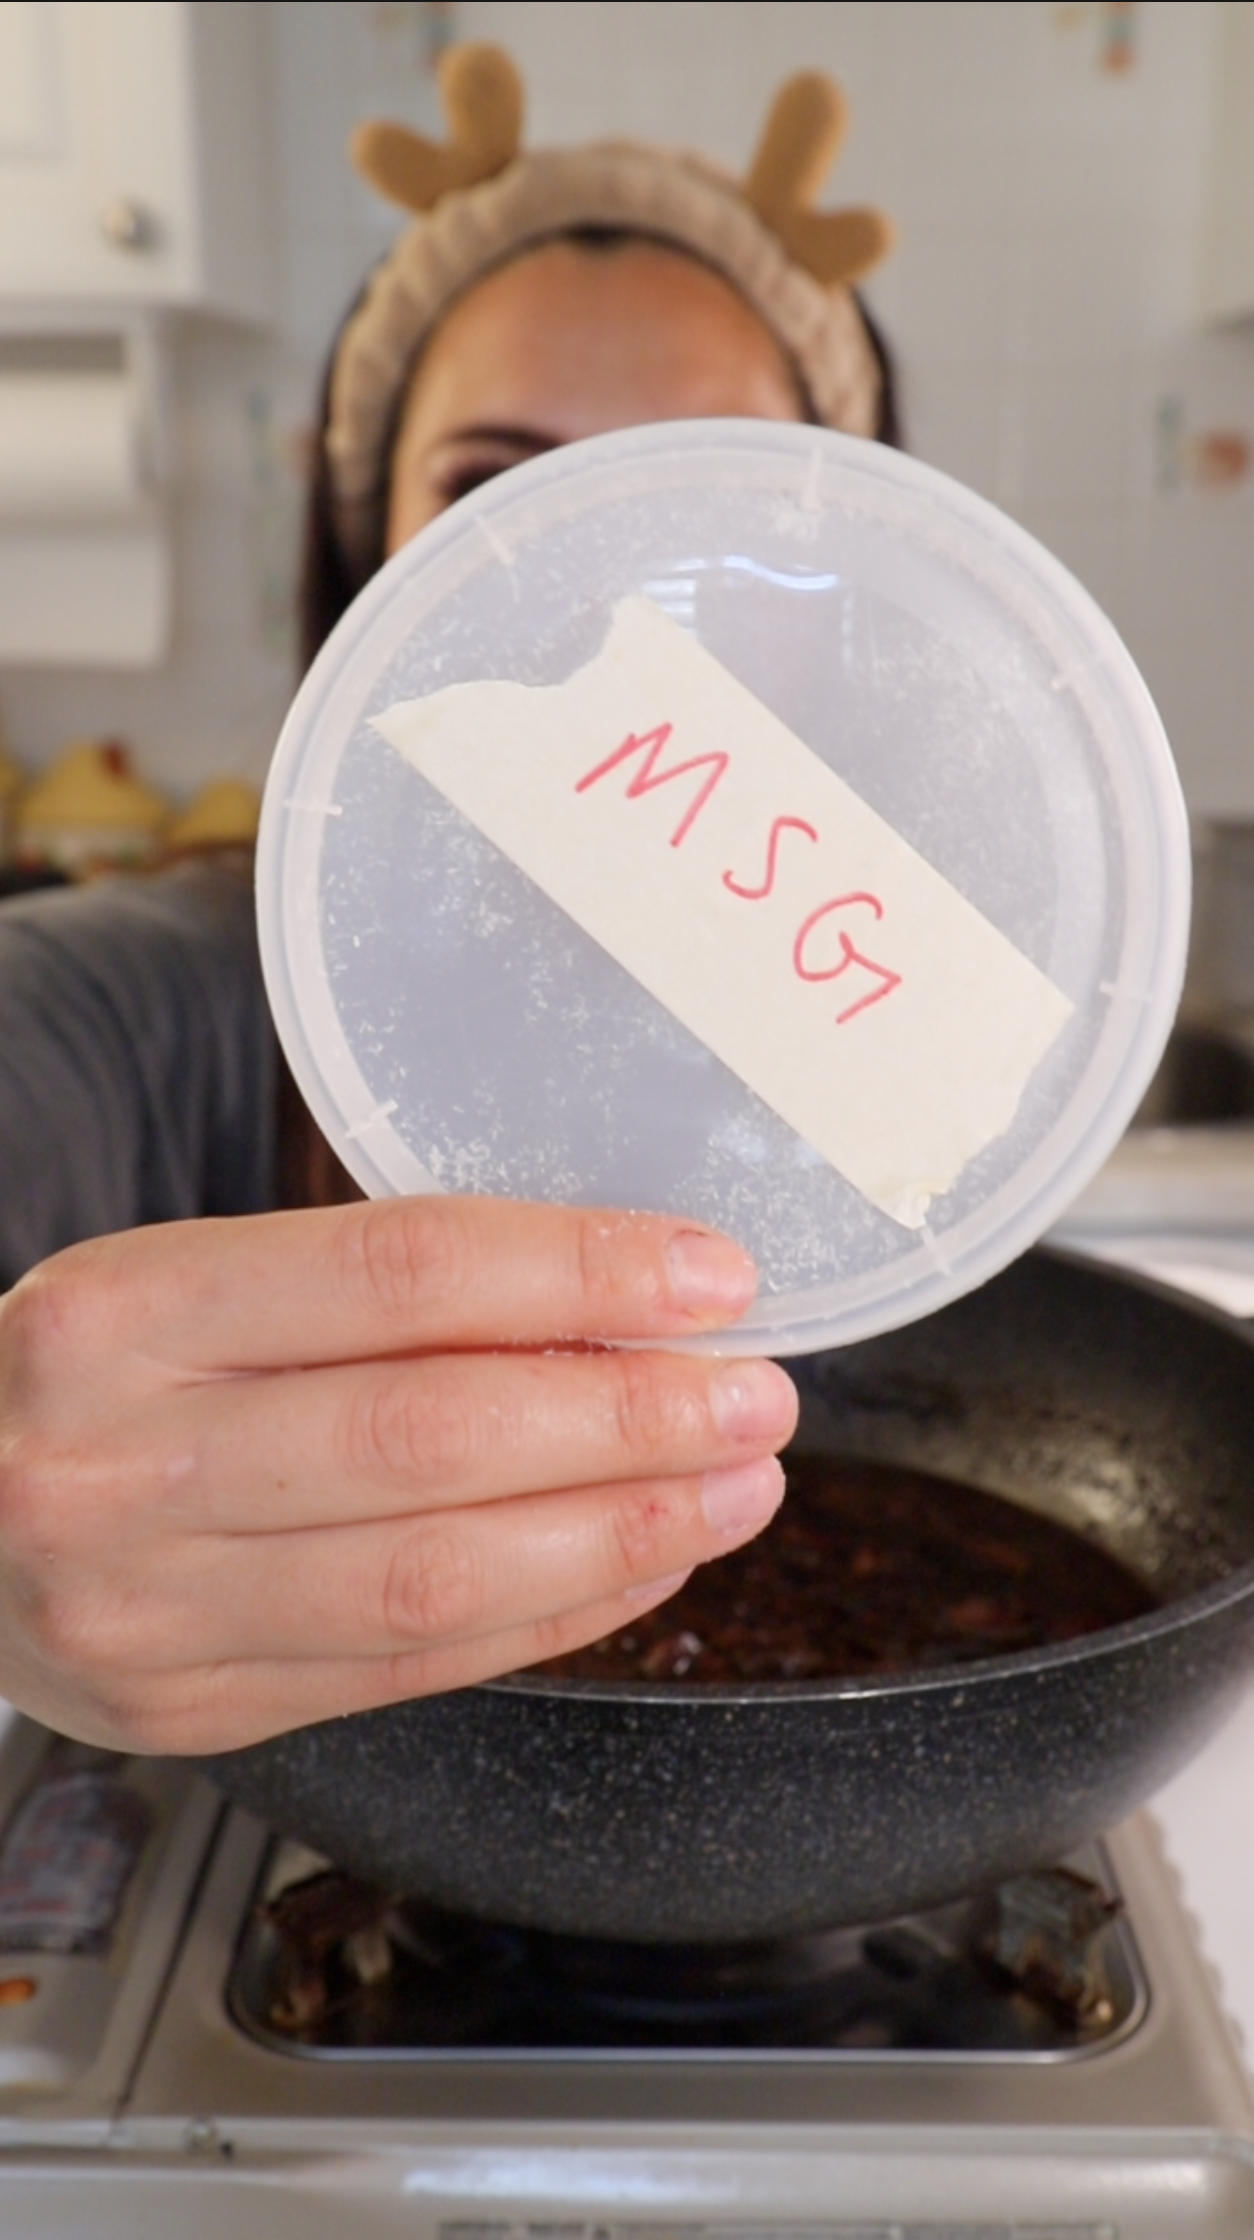
  • 2 Tbsp MSG

The MSG helps coat the sugar, preventing it from burning during cooking. Additionally, MSG reduces the perception of saltiness, which is why the salt and sugar quantities are slightly higher in this version.

Brining Process:

  1. Prepare your first batch of brine and fully submerge the pork belly in the liquid for 2-3 days. Ensure it’s completely covered, as any exposed areas can spoil.

  2. After 2-3 days, remove the pork belly, clean the container thoroughly, make a fresh batch of brine, and re-submerge the pork.

  3. Let it brine for another 2-3 days before removing it from the liquid.

  4. Place the pork belly on a cooling rack in the fridge for a few hours (no more than 24 hours) to air dry.

  5. Pat the pork belly dry, and it’s ready to sear on your hot plate. (Find links to my plates and pans [here].)

Note: The suggested timing of 2-3 days is flexible—I often let each brining stage sit for 3-5 days due to my "lazy girl" tendencies. If you’re in a hurry, you can shorten the process: brine for 24 hours, refresh with a new brine for another 24 hours, and it should still turn out great.

The only real mistake you can make here is not using enough salt, which can cause the pork belly to spoil in the brine. Salt is crucial—not only does it prevent spoilage, but it also allows water to penetrate the pork cells, making the meat juicier. Without this process, pork belly often turns grey and tastes dry. Proper brining removes blood, preserving the pork’s beautiful pink hue and enhancing its flavor, delivering a more enjoyable experience.

Feel free to experiment with ingredient ratios and flavors. Personally, I prefer simple recipes with straightforward ingredients—it makes the culinary process easier to understand and more rewarding as I’m still learning. Overcomplicating with too many ingredients can create a confusing mix that doesn’t contribute to a clear learning experience.

Hope you enjoy this simple, but delicious brine recipe, leave me a comment (on the video) if you try it!

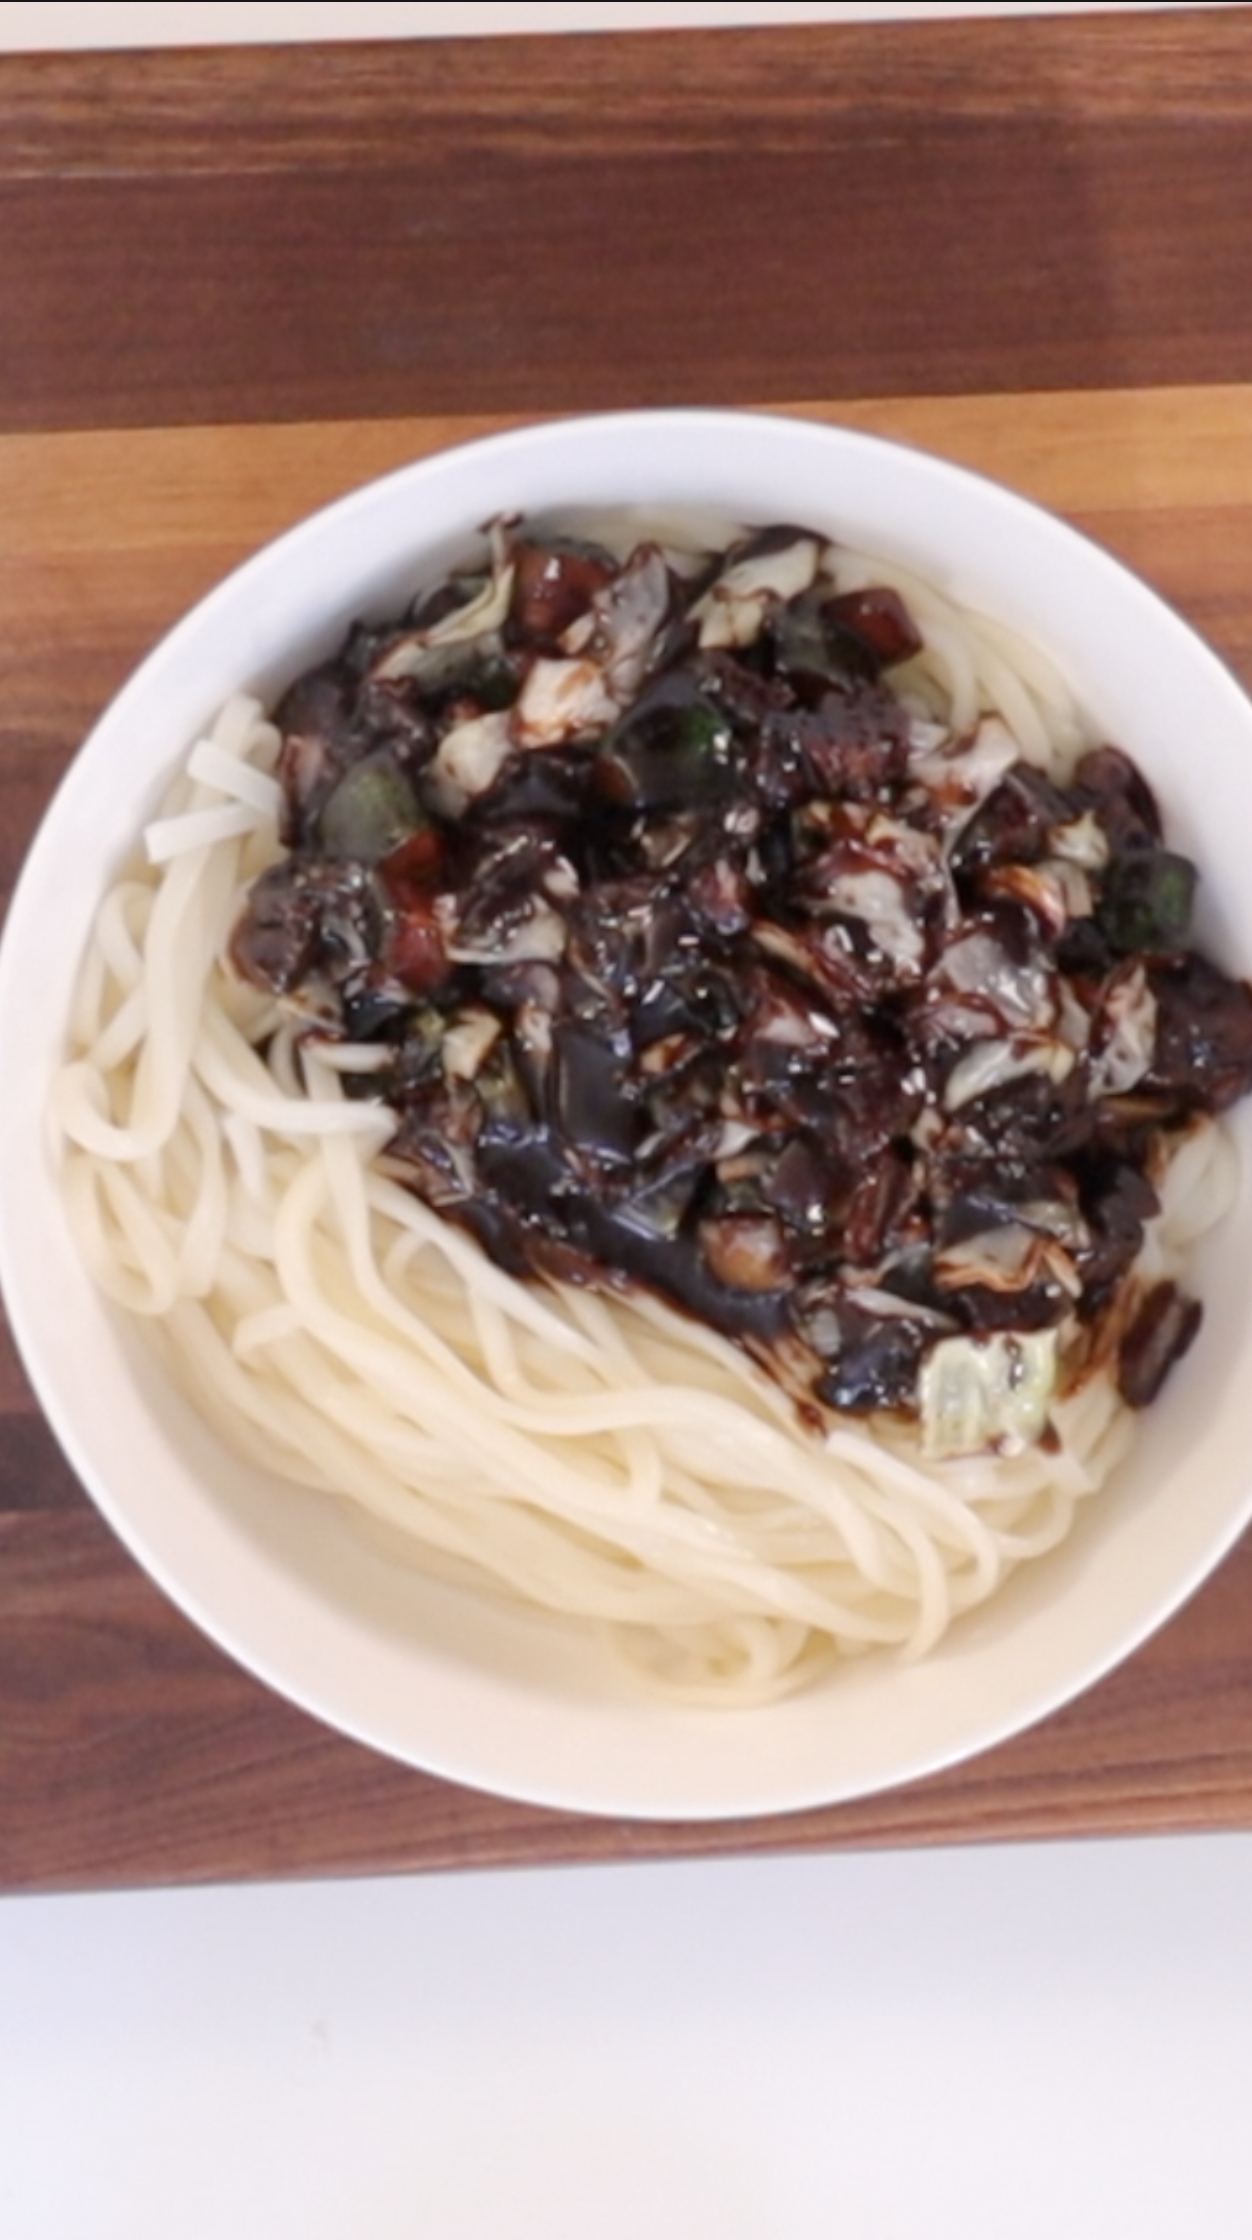
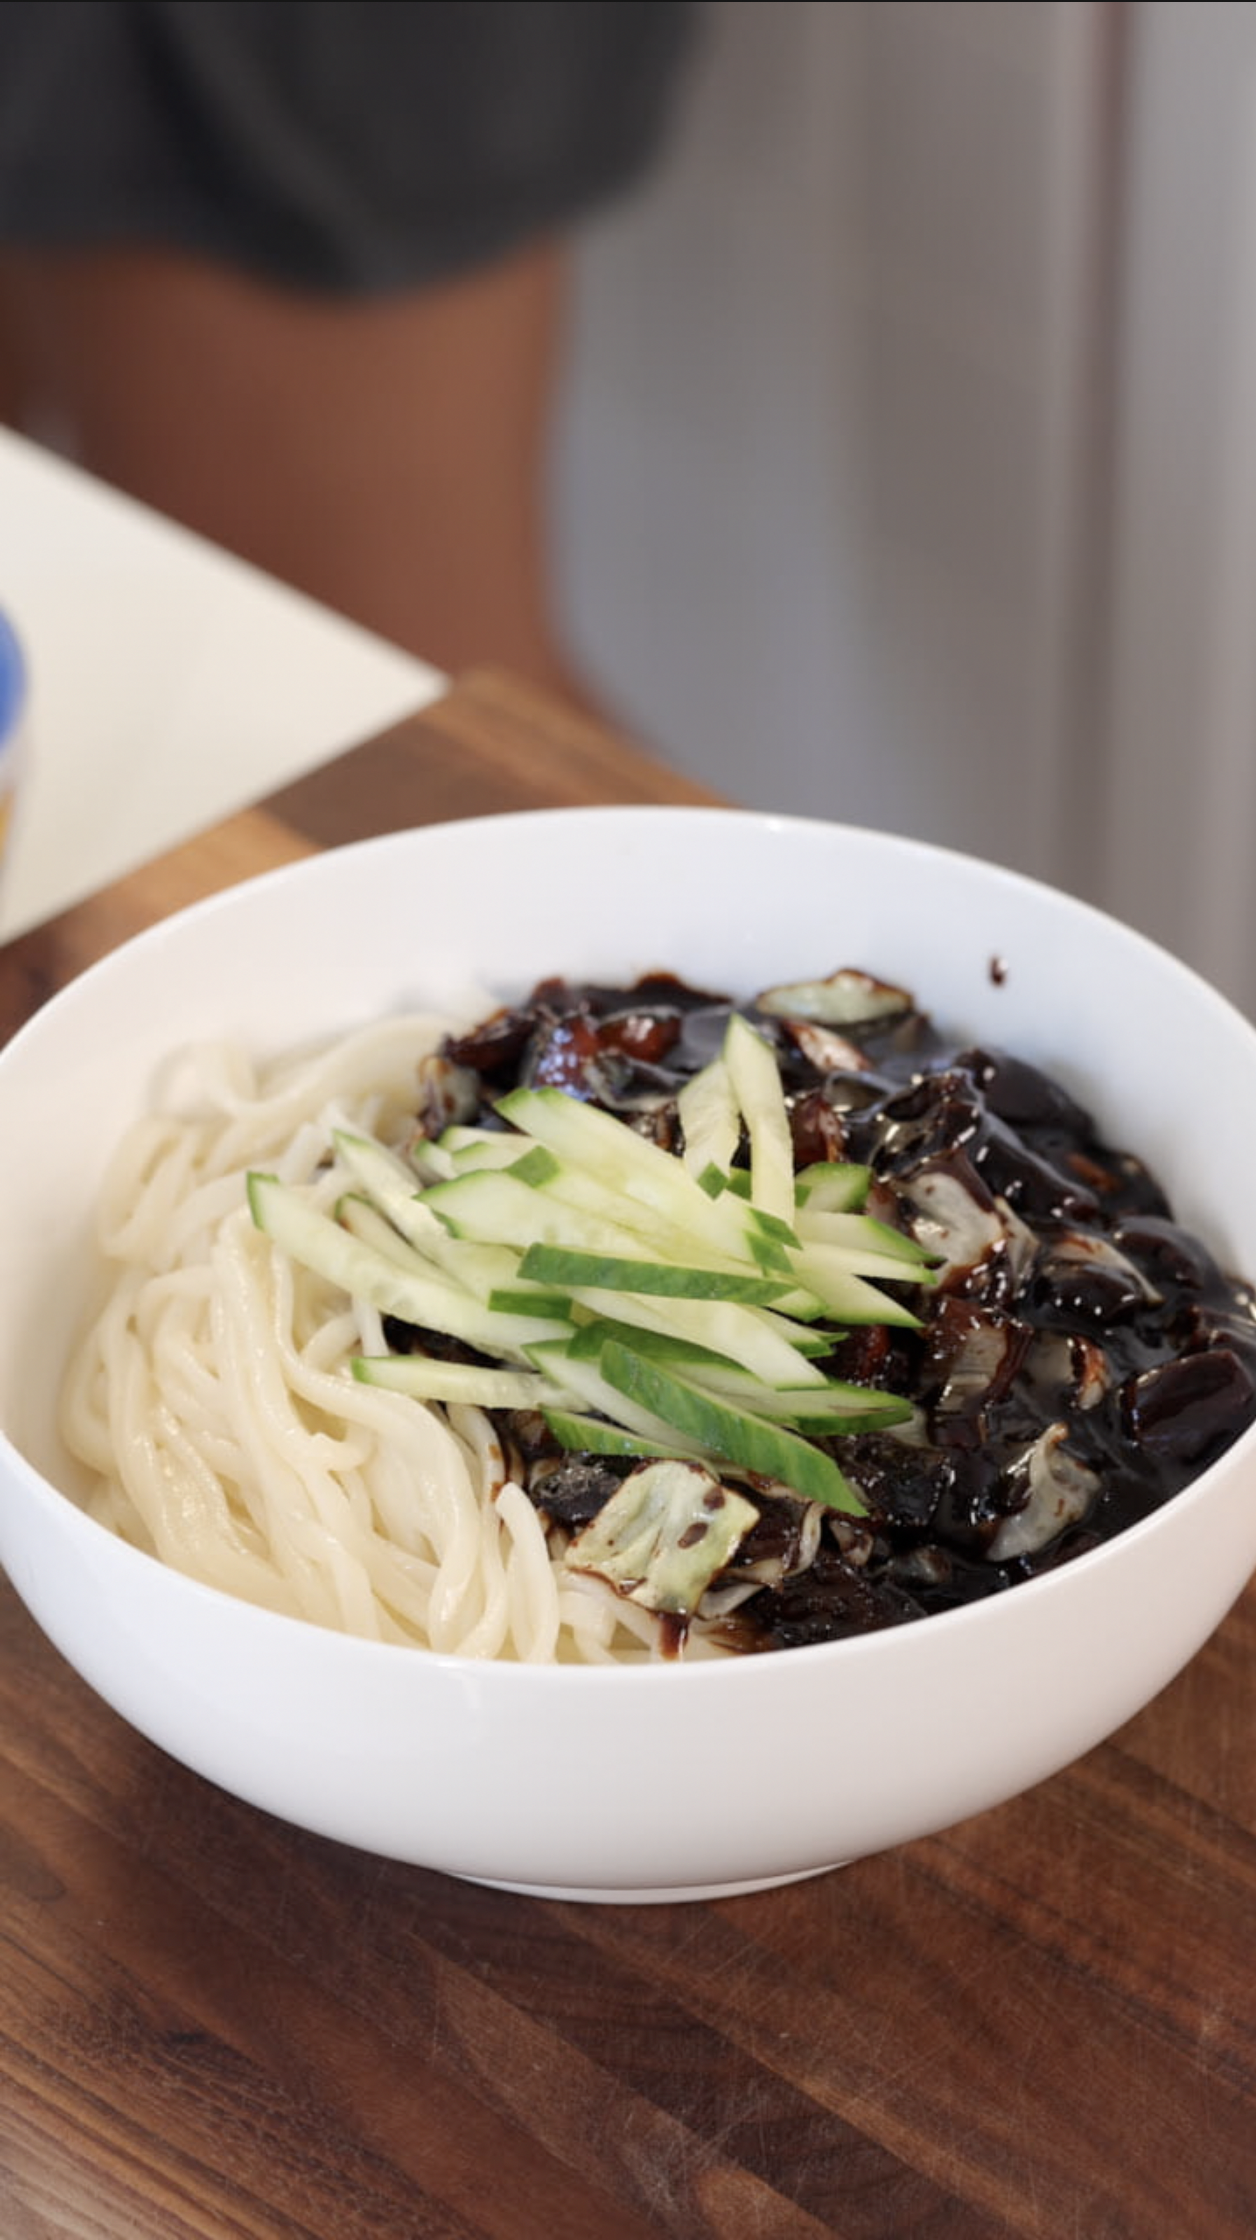
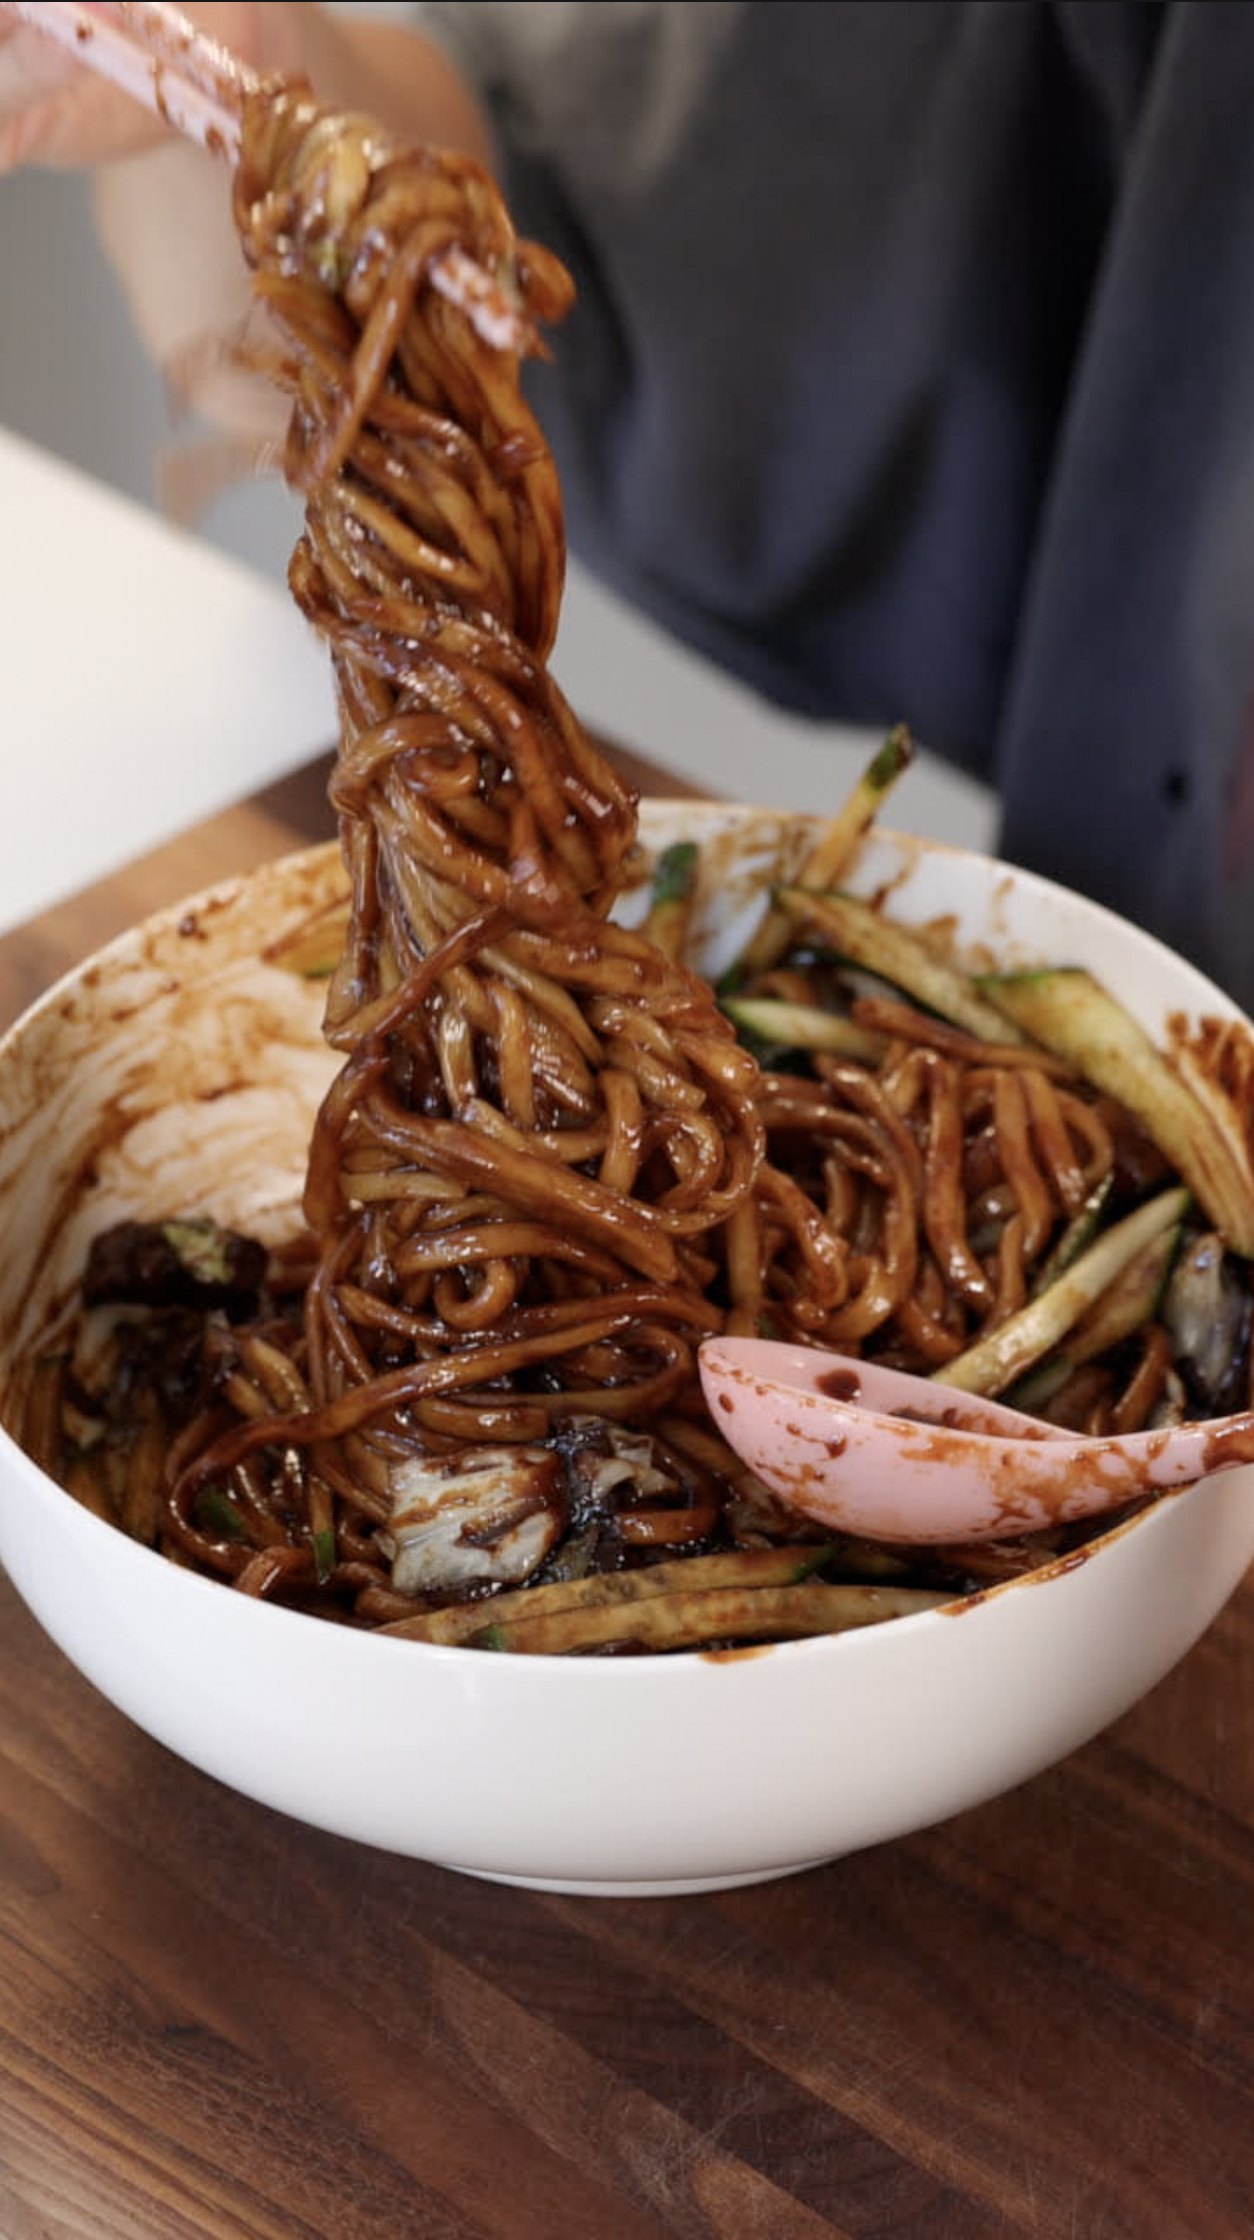
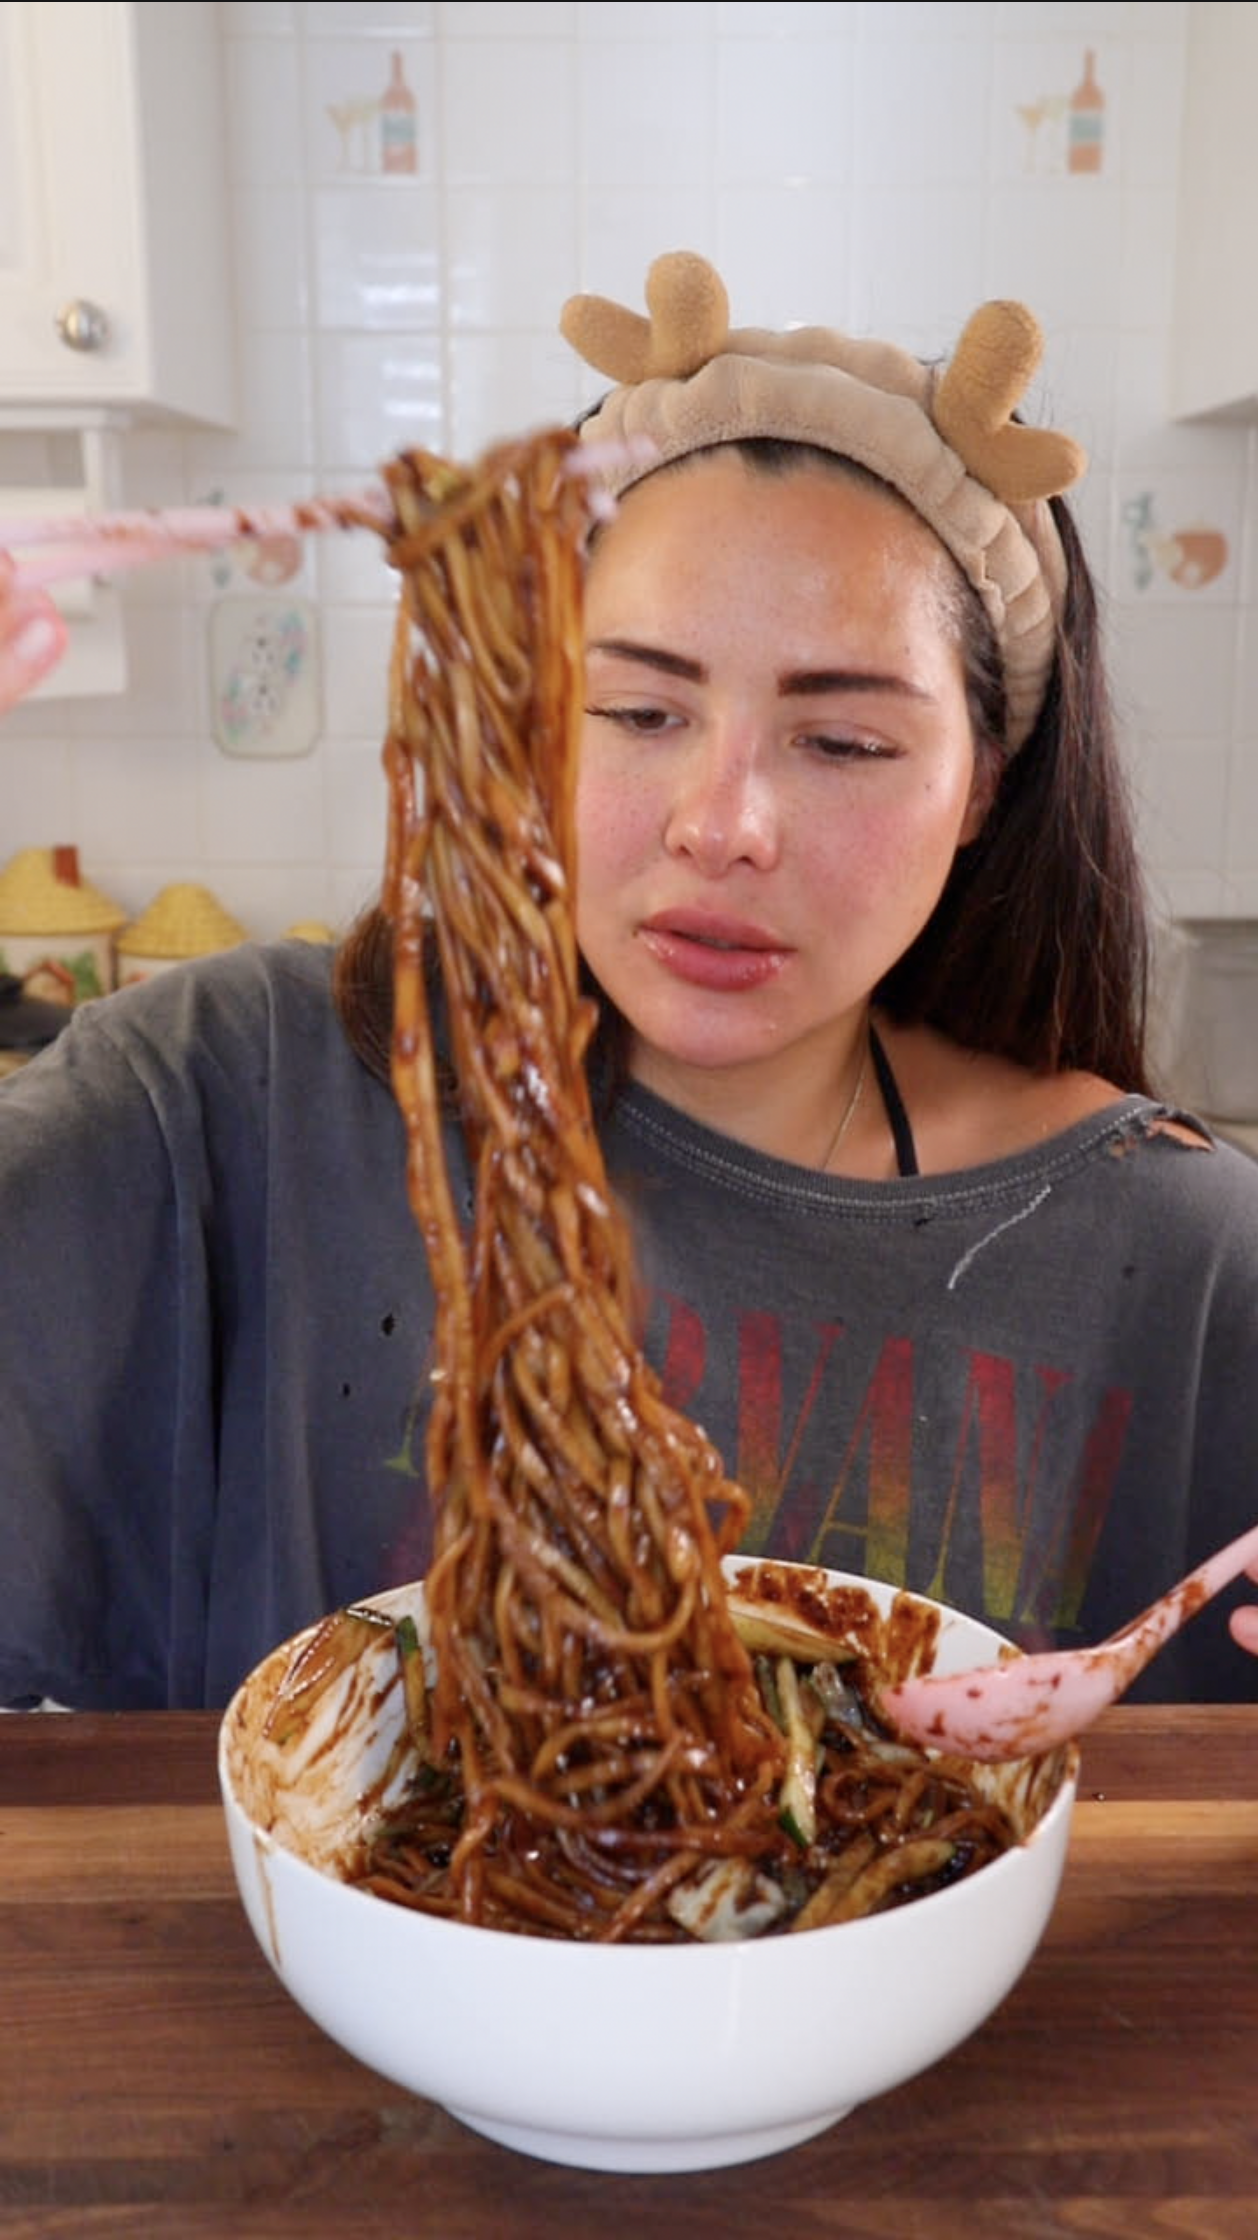
Korean-Chinese Jjajangmyeon

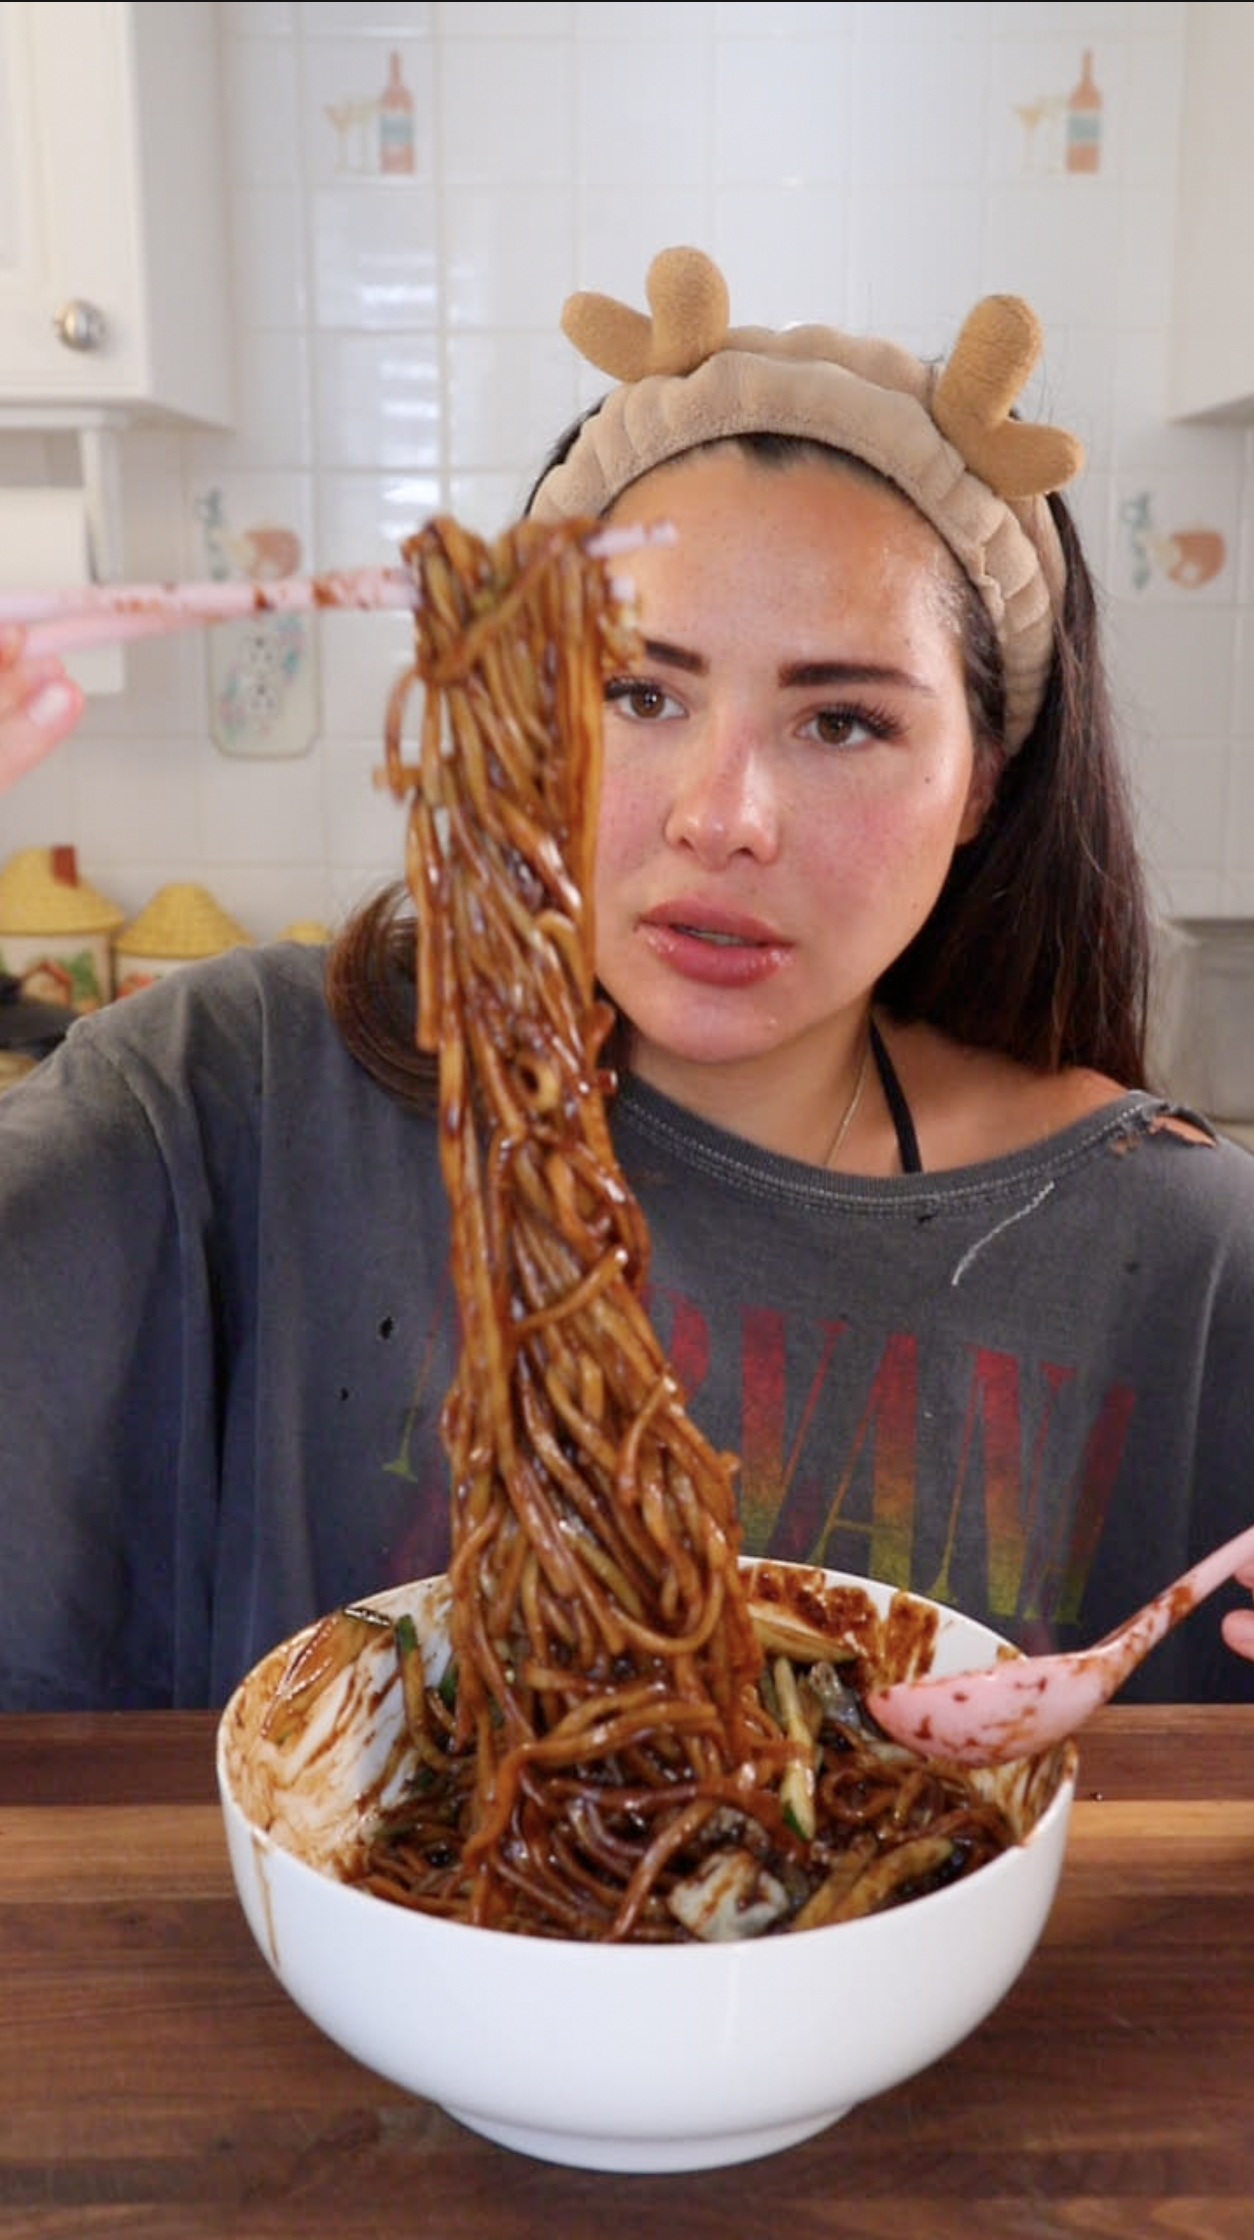
The Best Chinese-Korean Jajangmyeon Recipe


Equipment:

  • Non Stick Wok

  • Chef Knife

  • Spatula

  • Cutting Board

  • Microplane

  • Spoon

Ingredients:

  • Cucumber

  • Yellow Onion

  • Zucchini

  • Flat Leaf Cabbage

  • Pork belly

  • Garlic

  • Ginger

  • Sesame seed oil

  • Avocado Oil

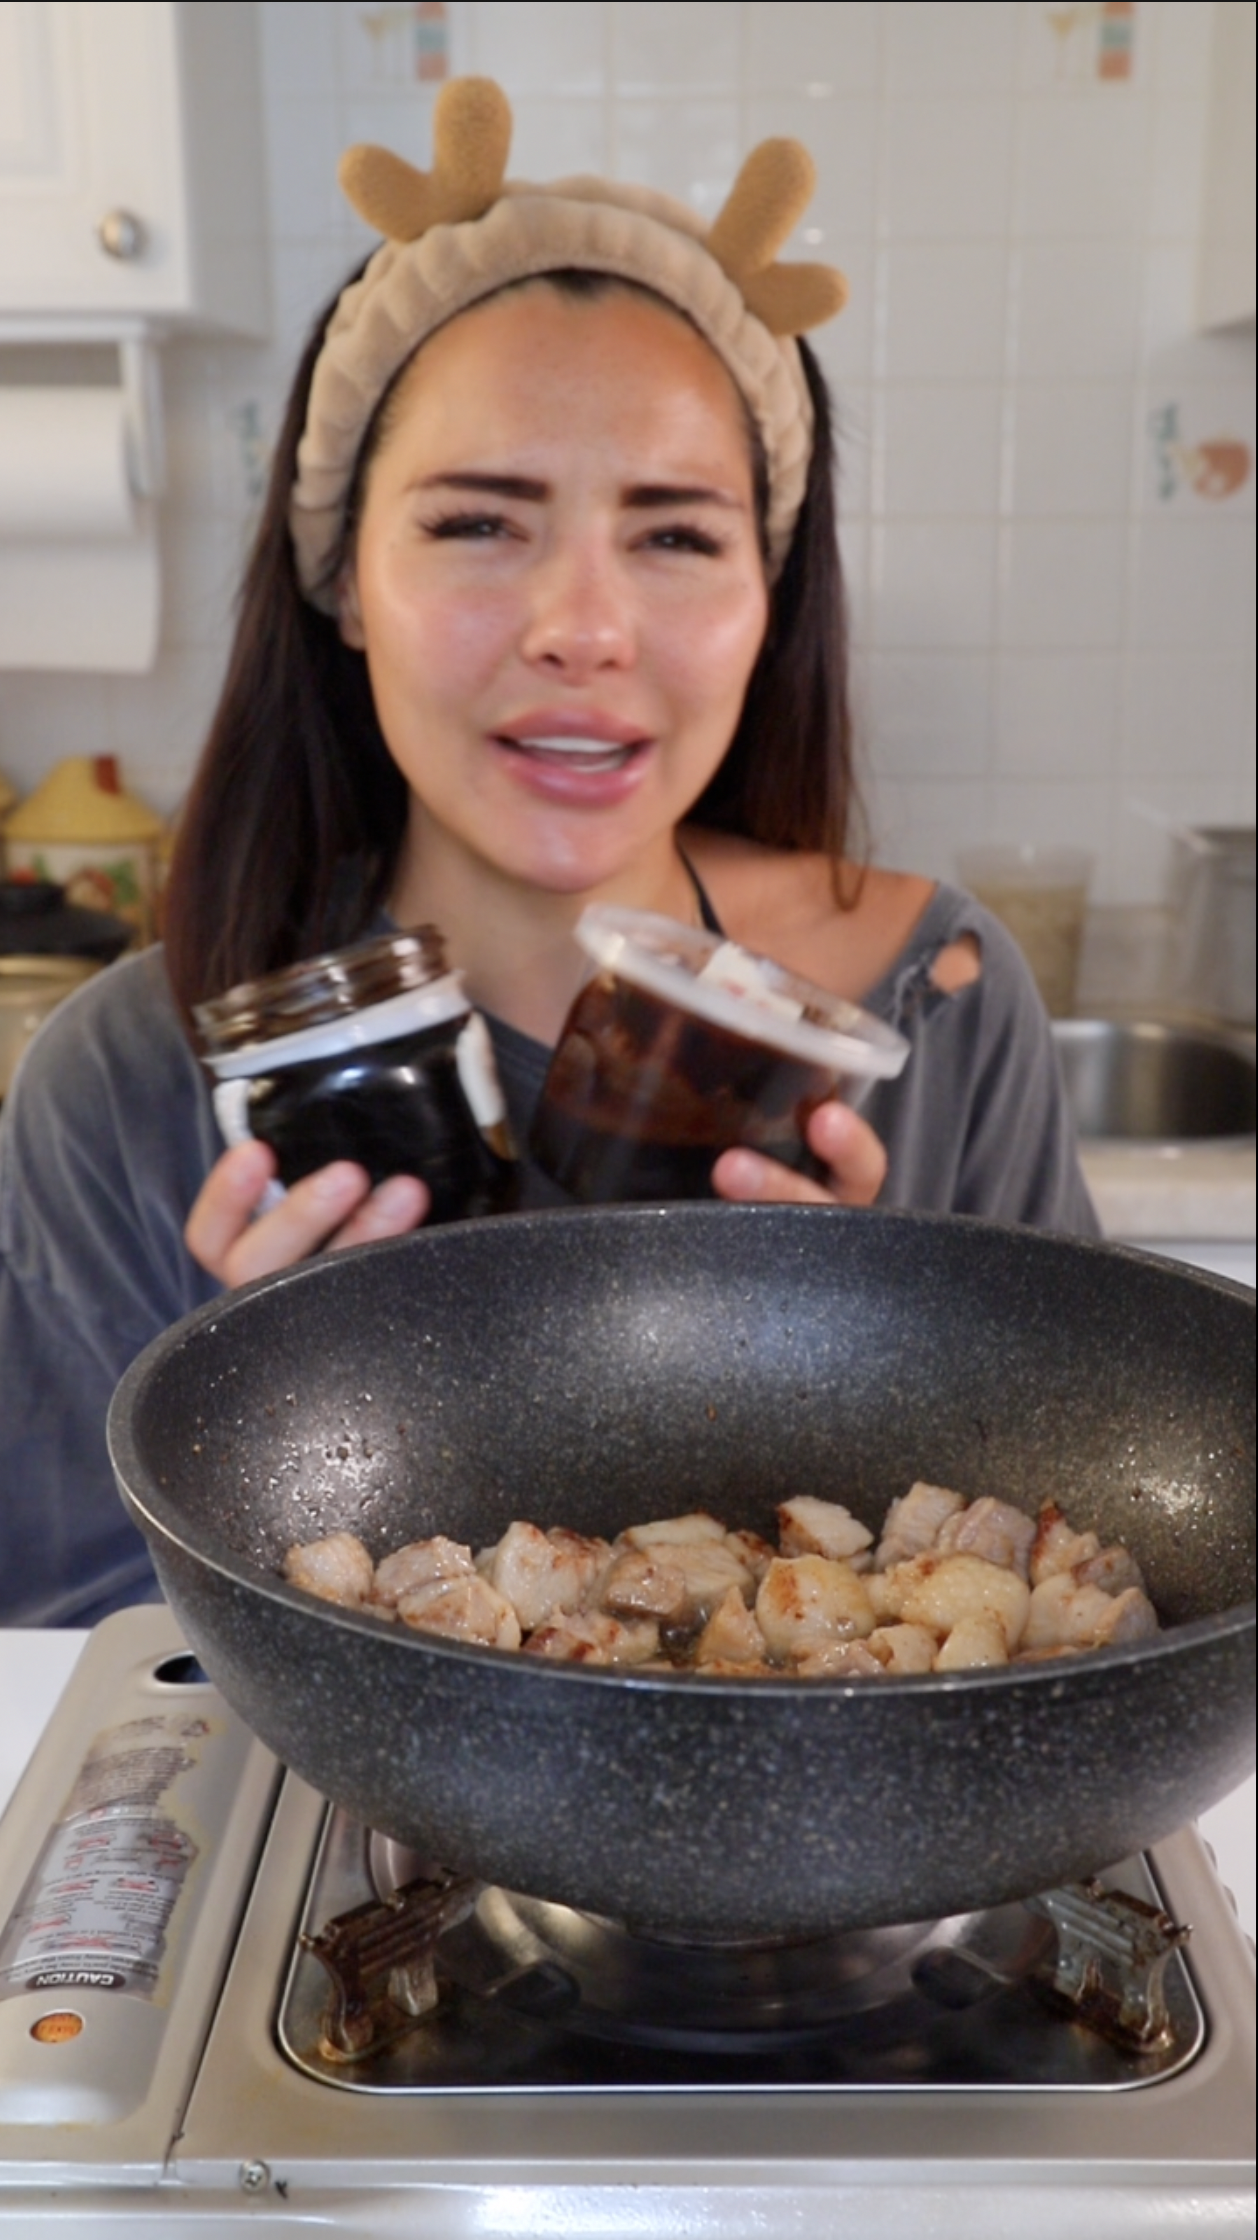
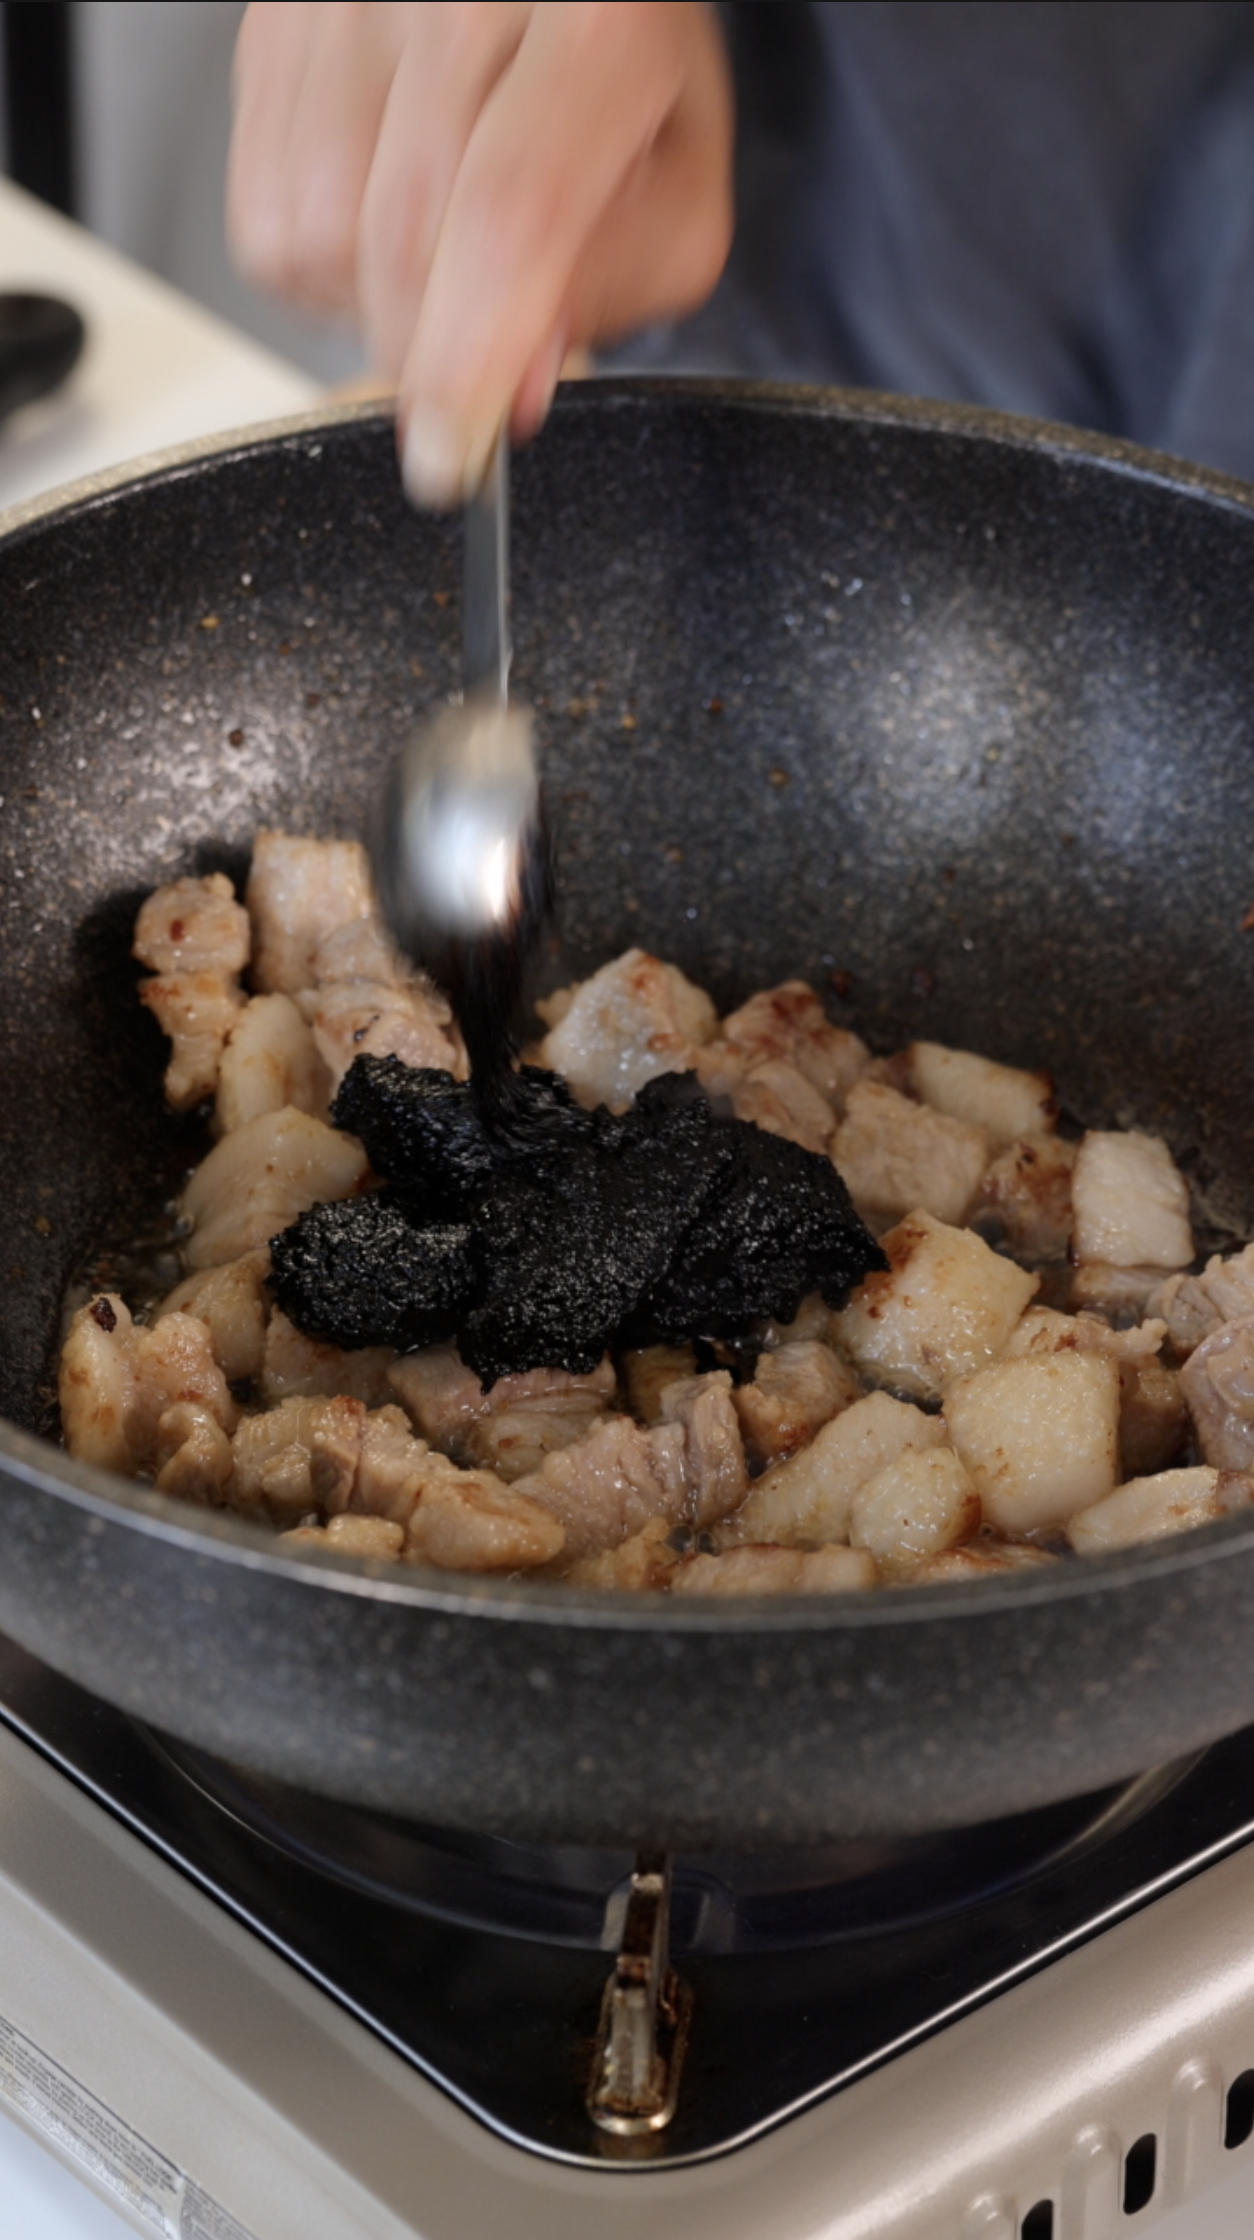
  • Chinese sweet black bean paste

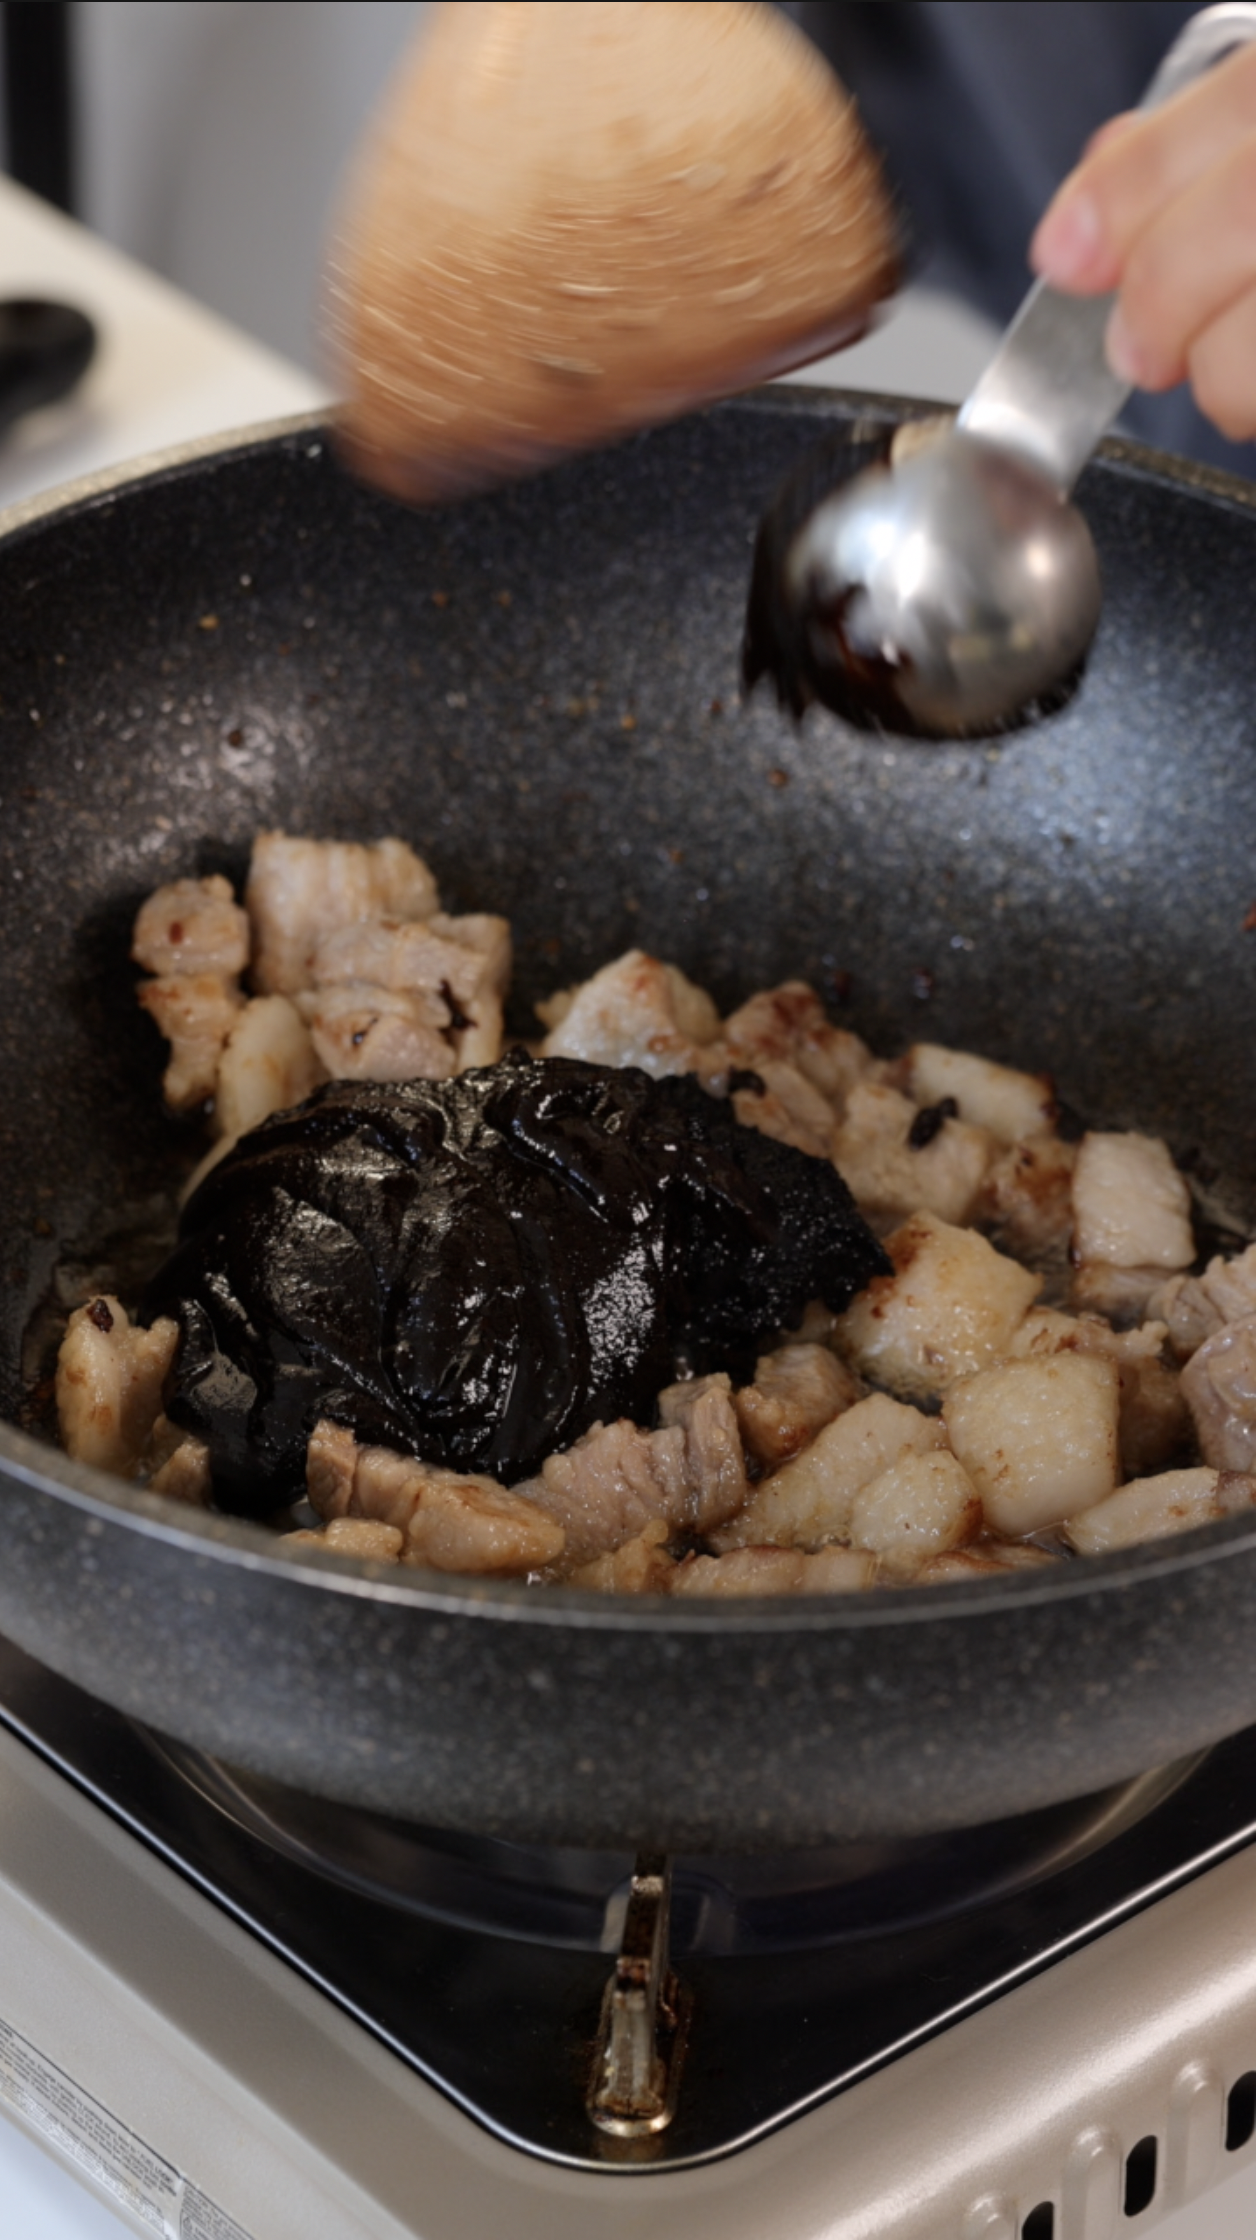
  • Korean Black bean paste

  • Hoisin Sauce

  • Cornsyrup

  • Granulated Sugar

  • MSG

  • Kosher Salt
    either chicken, pork, beef stock.

  • Corn starch (any starch on hand)

  • Cold Water


Prep Pork Belly:
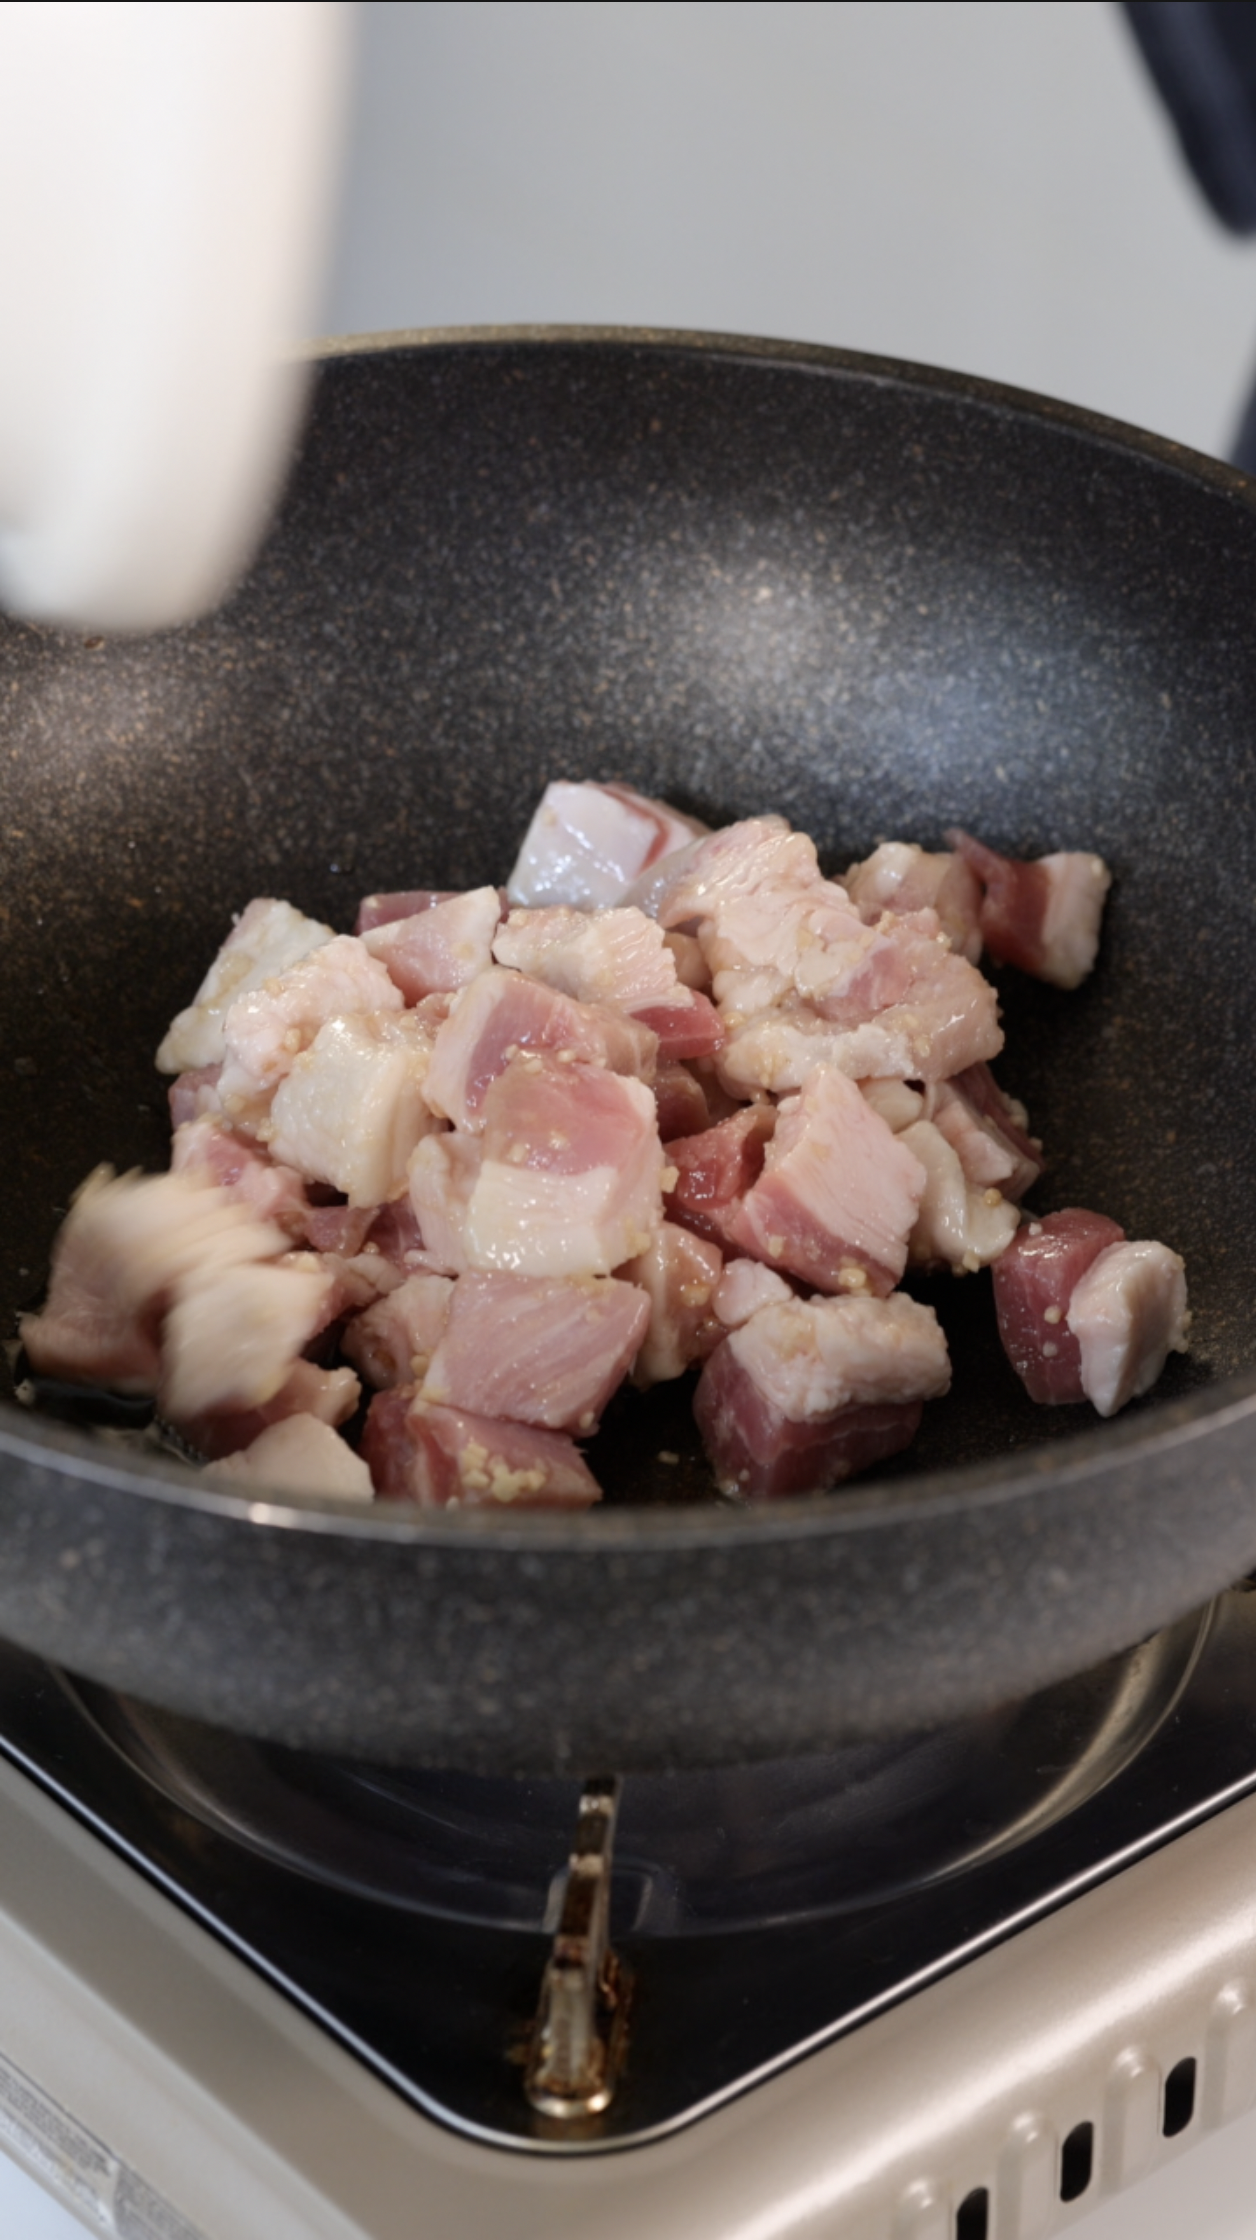
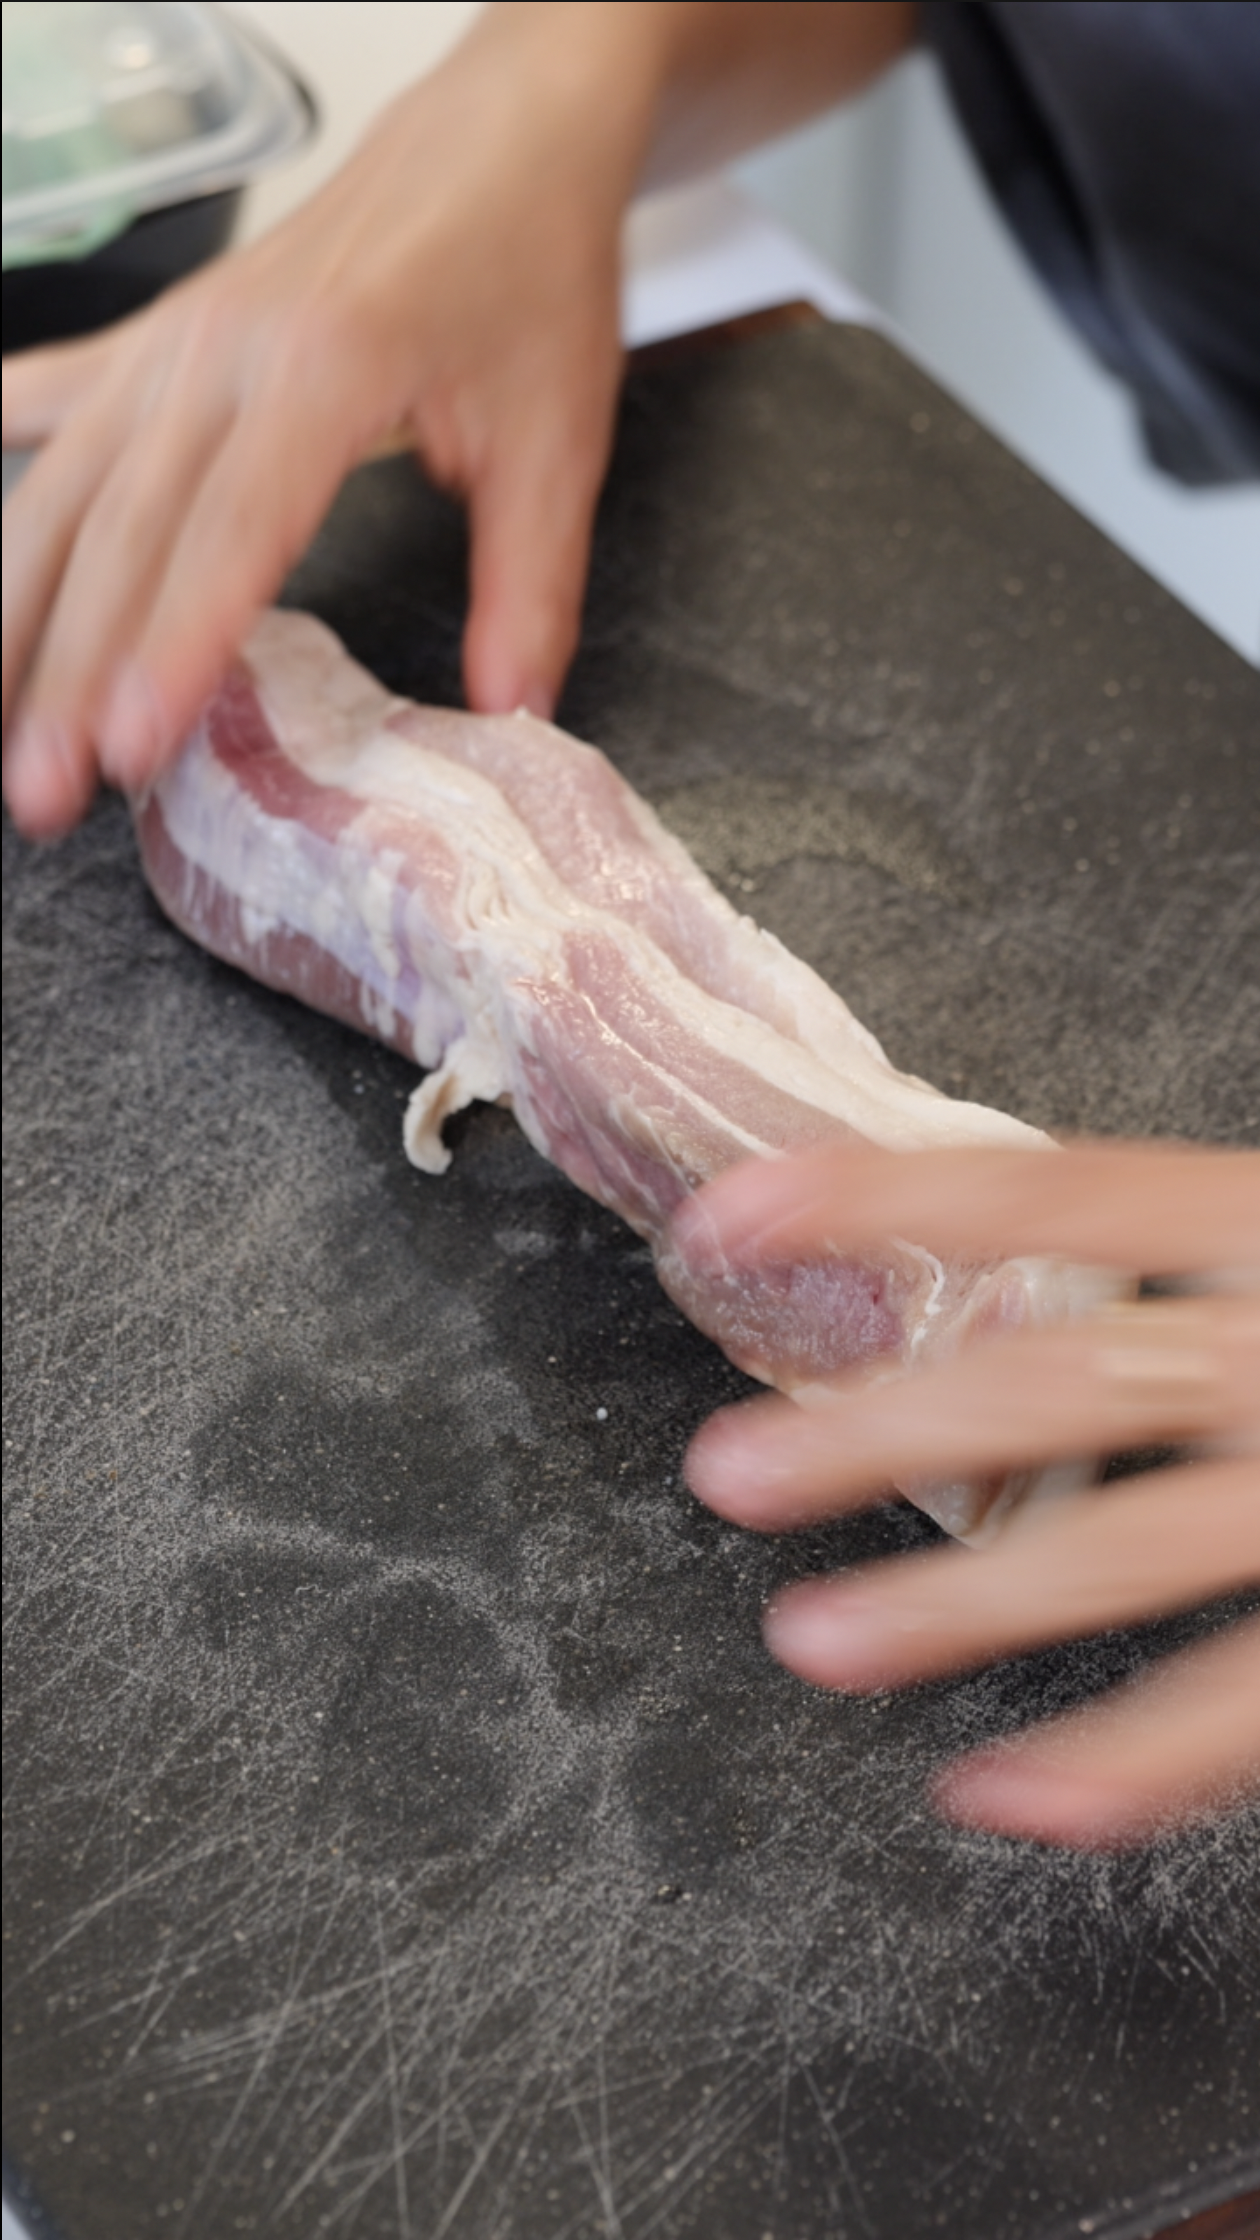
12 oz or one thick slice of pork belly
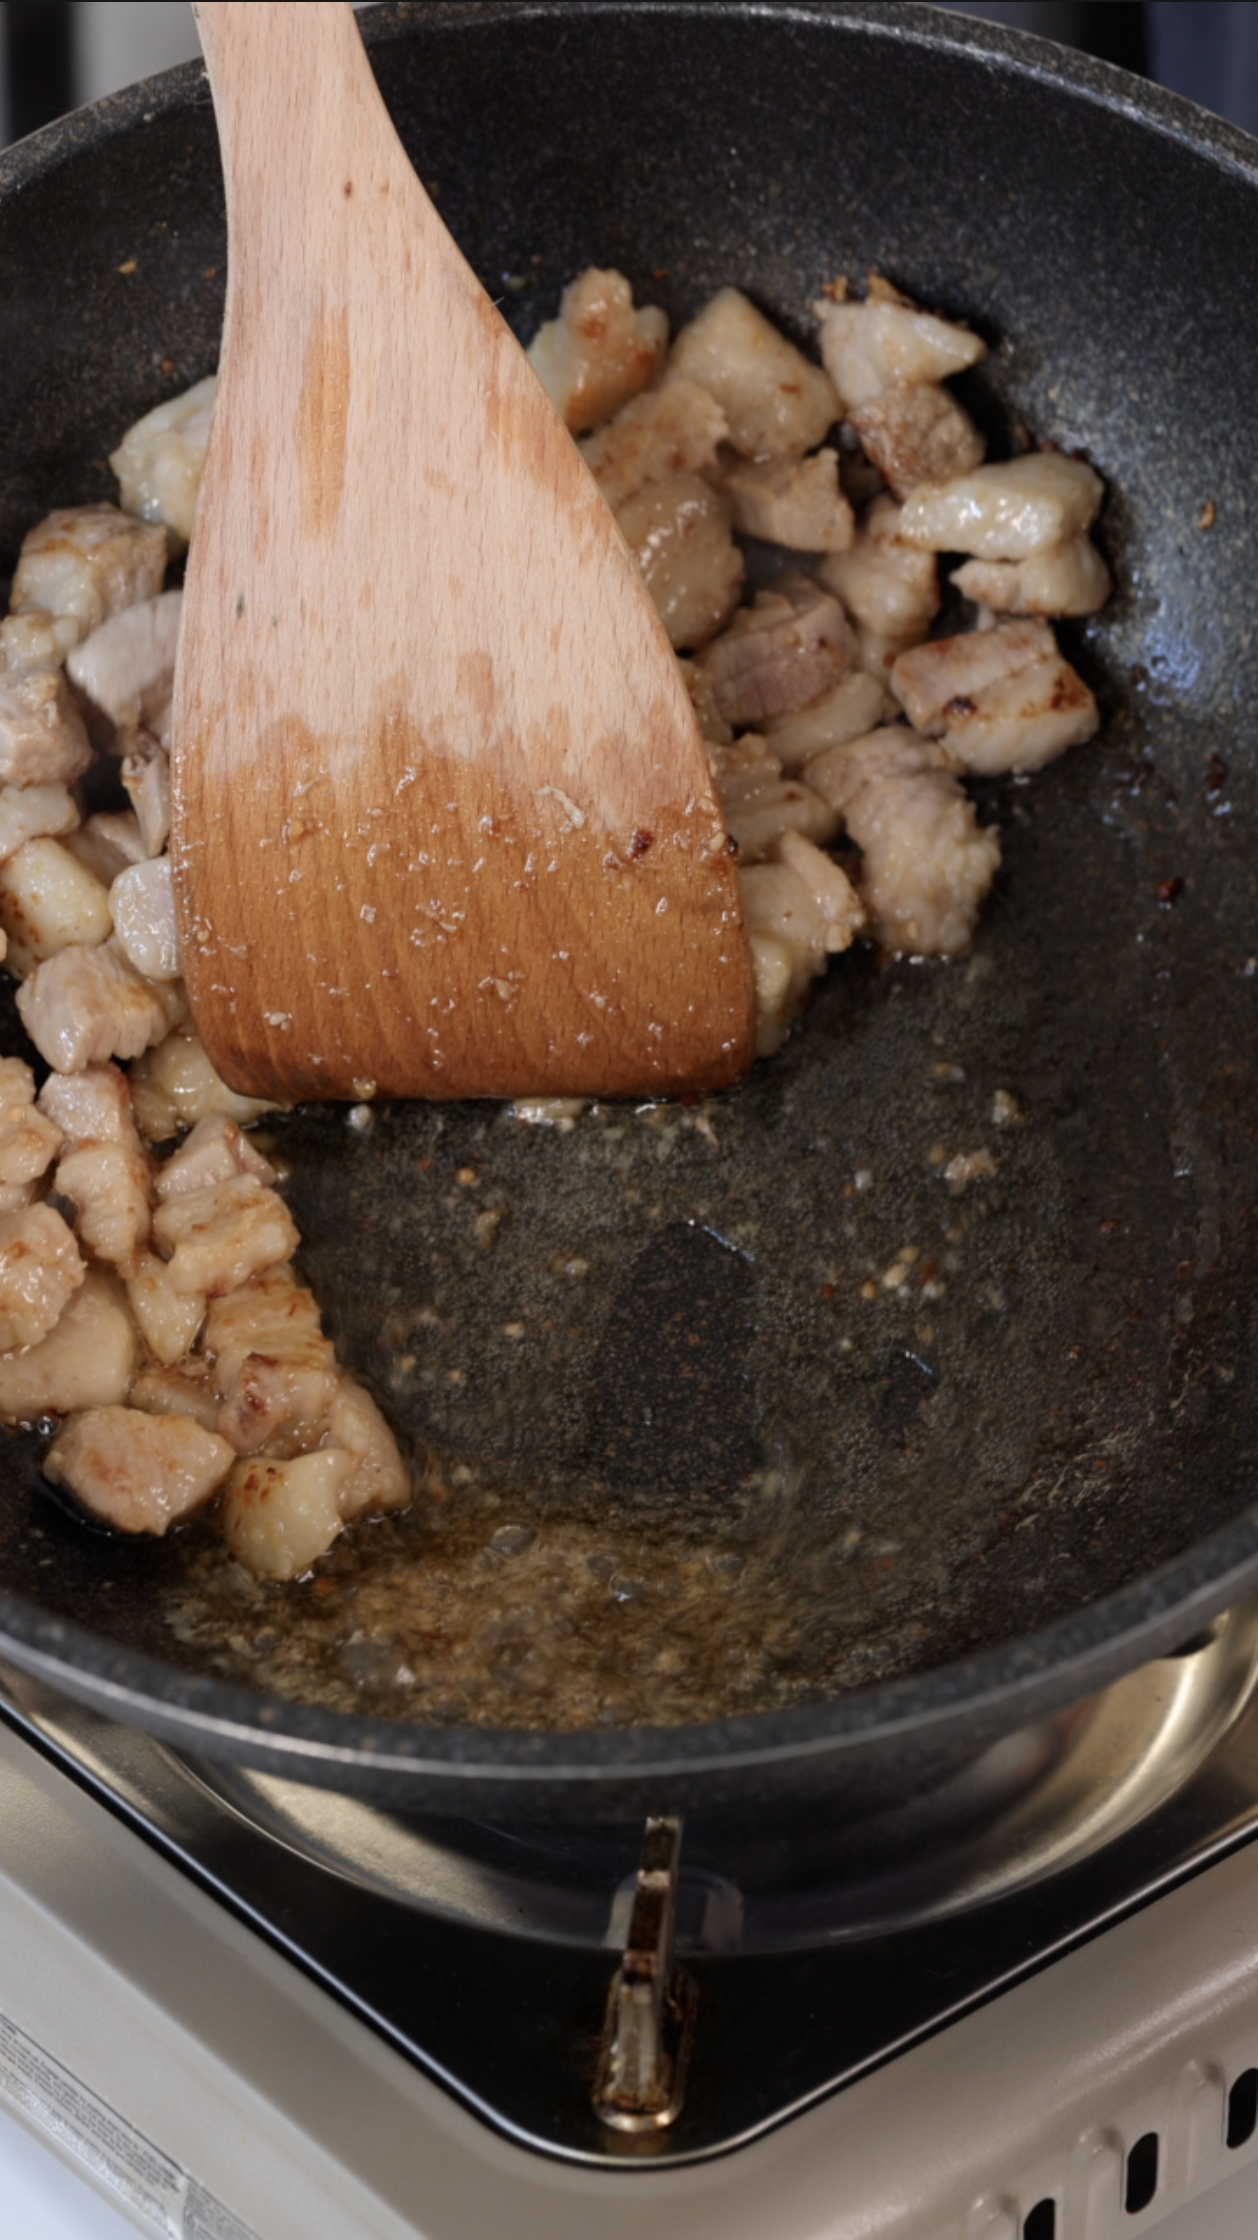
Dice Pork belly into 1 inch cubes
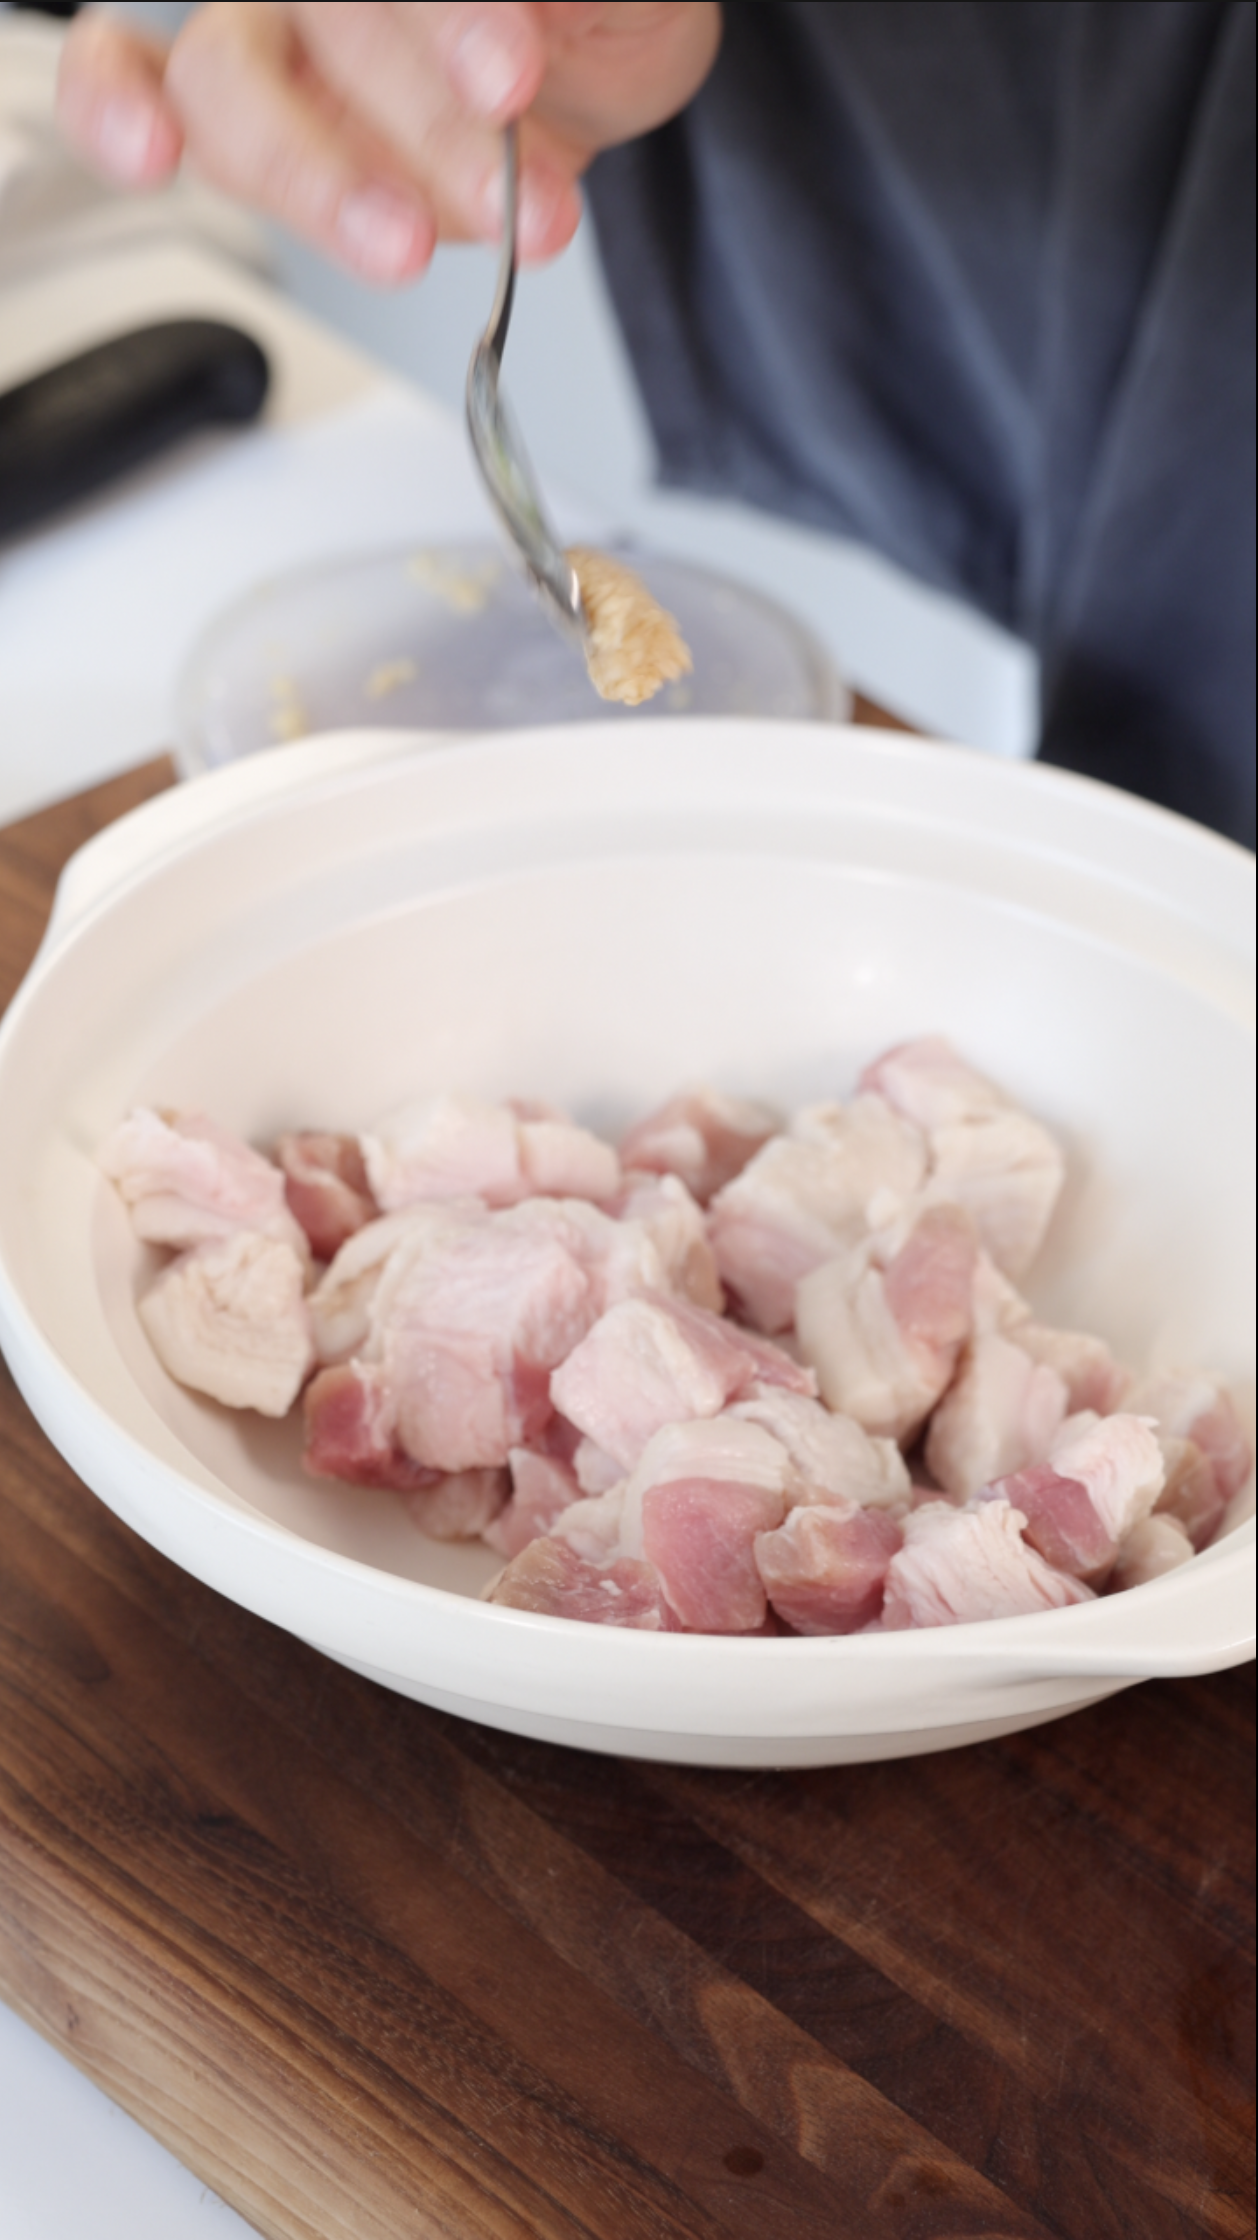
Add 1/2 Tbsp minced Garlic
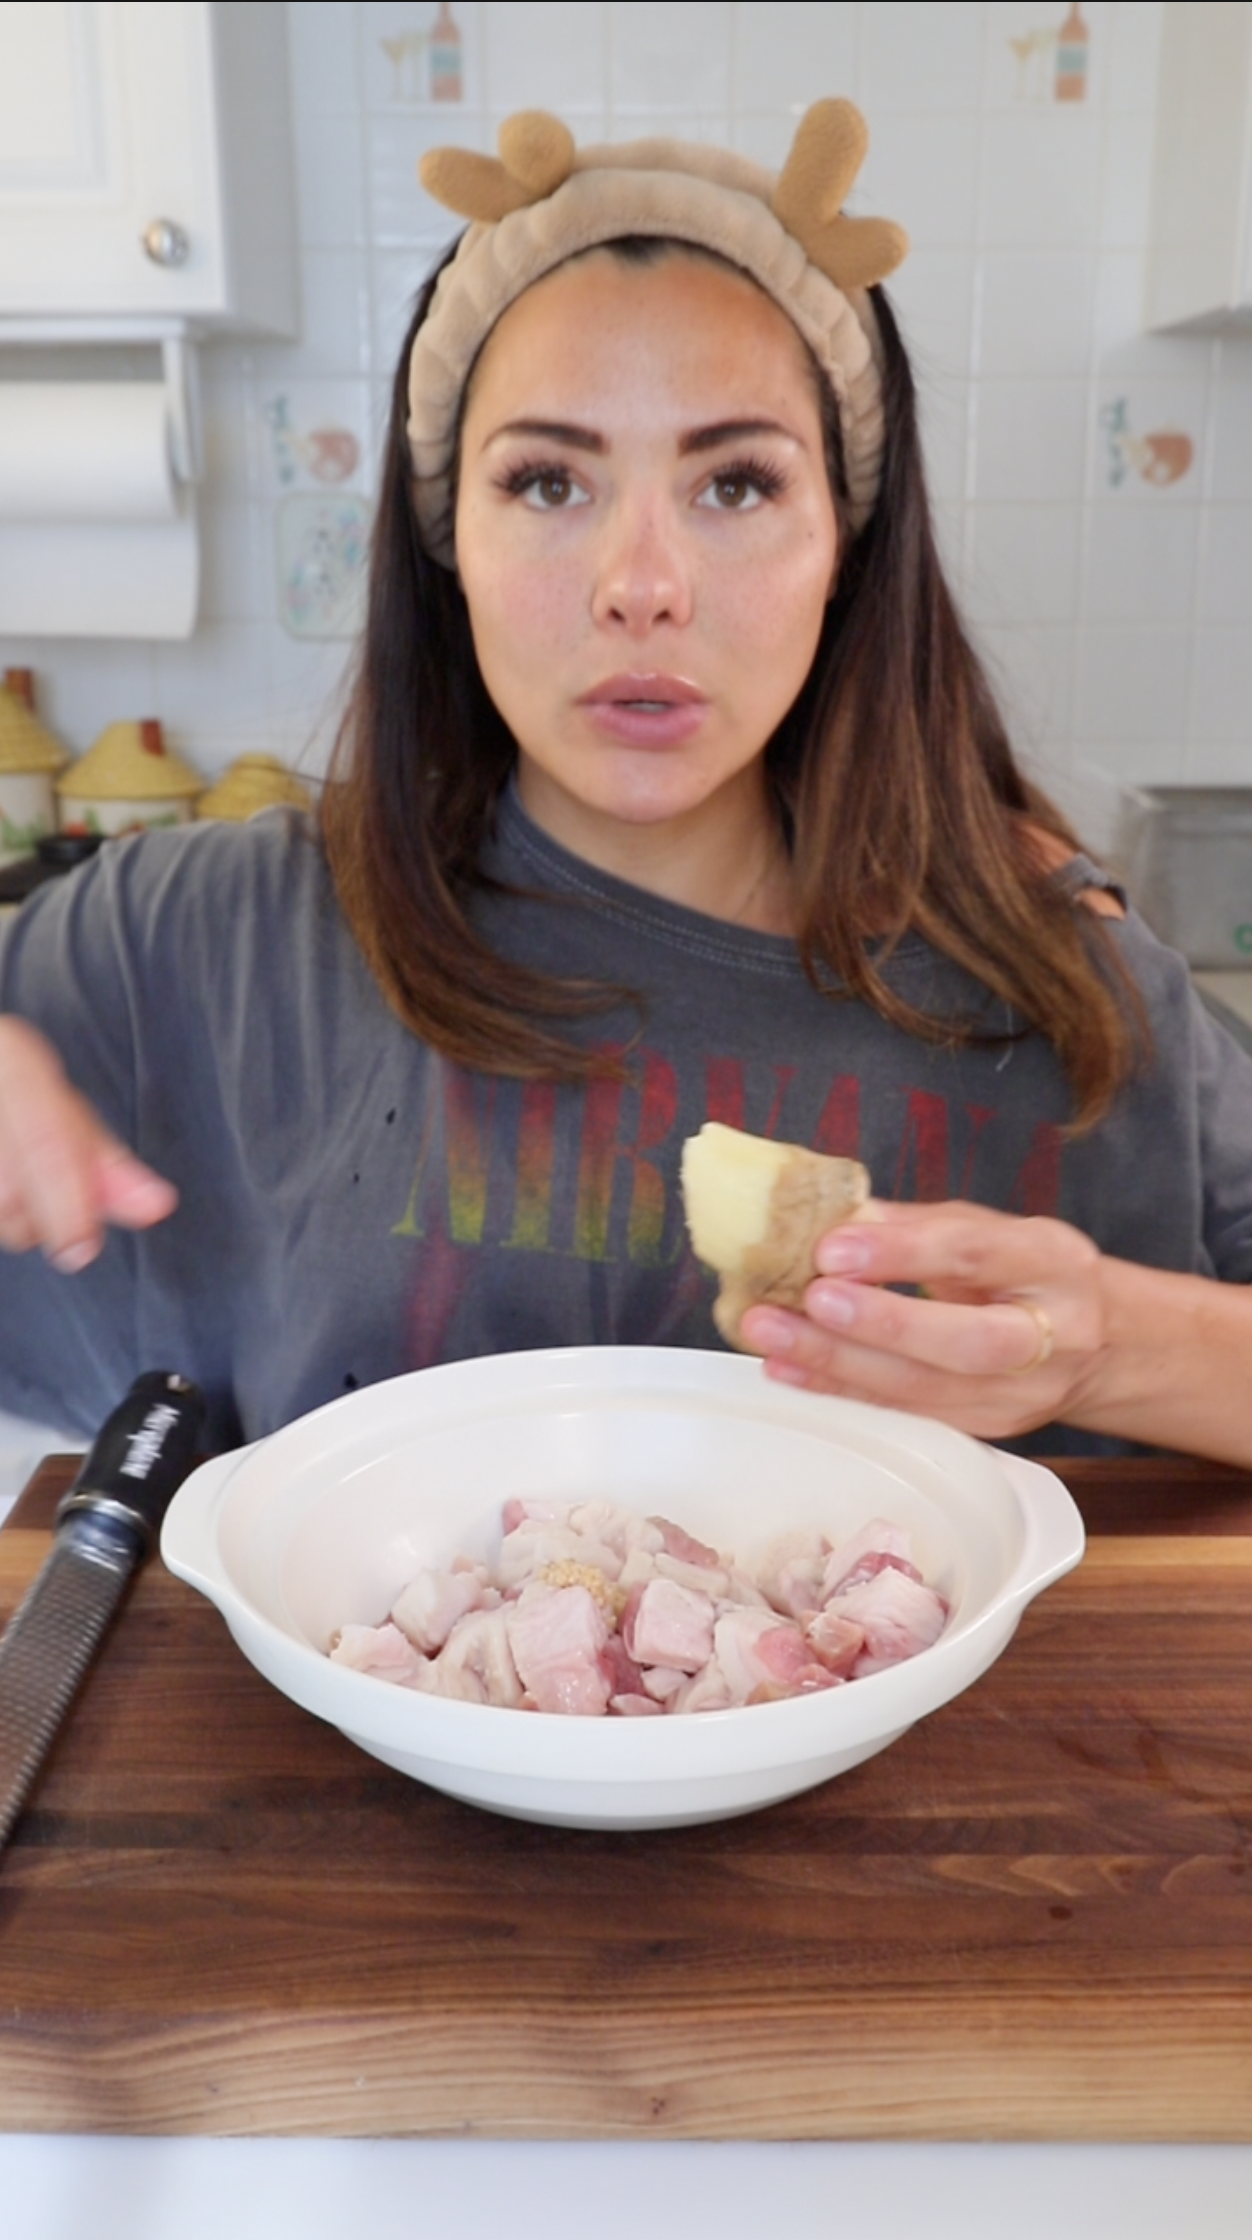
1/2 Tbsp Minced /Grated Ginger
1 Tbsp Sesame seed oil (allow to marinate)

Prep Veg:
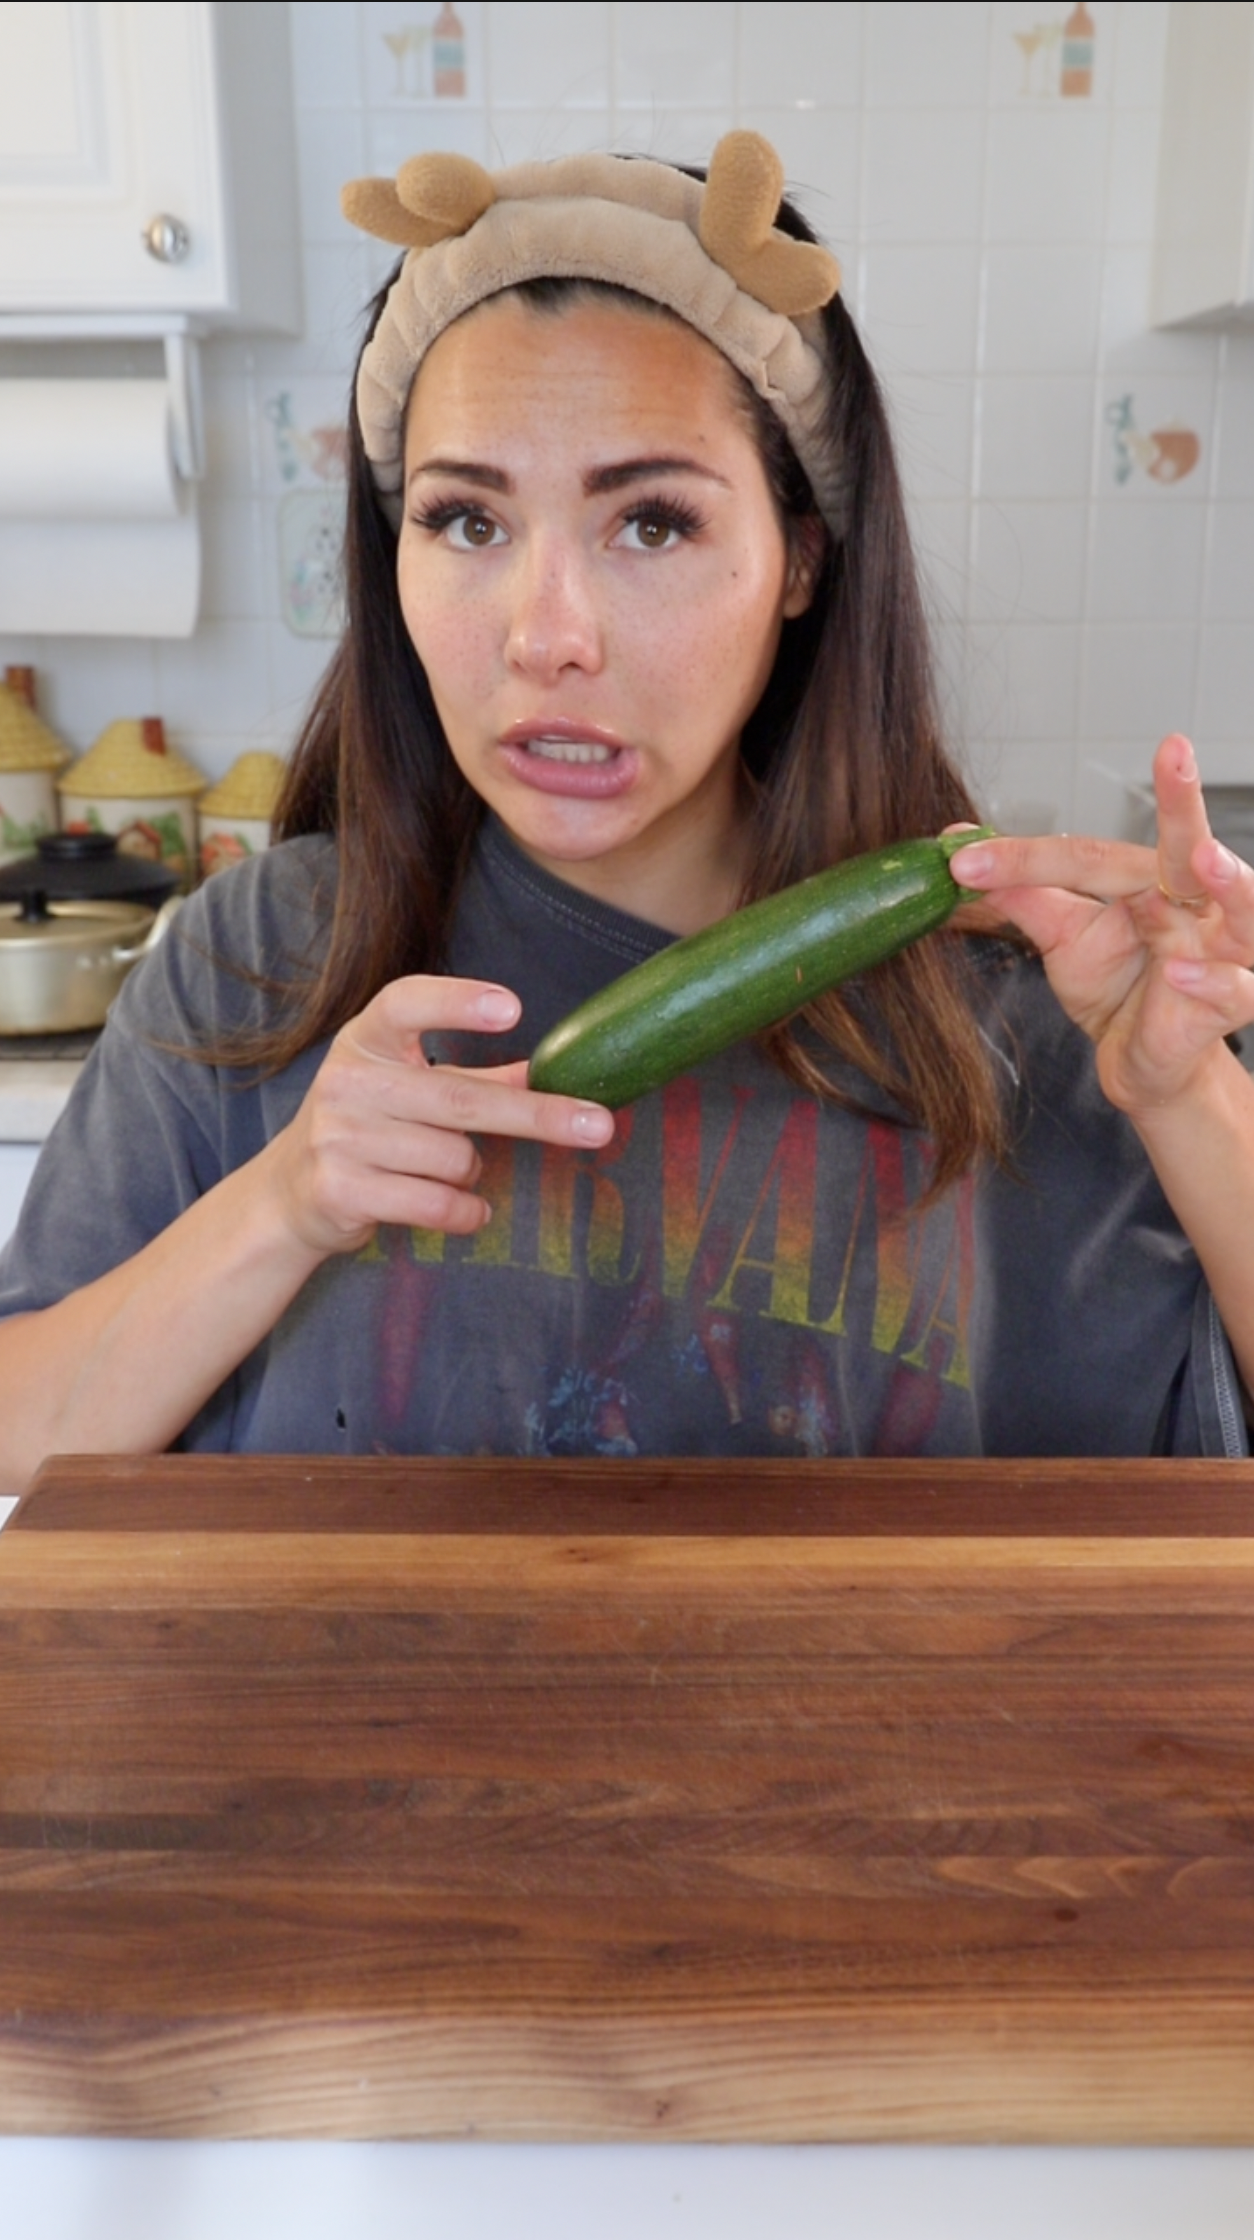
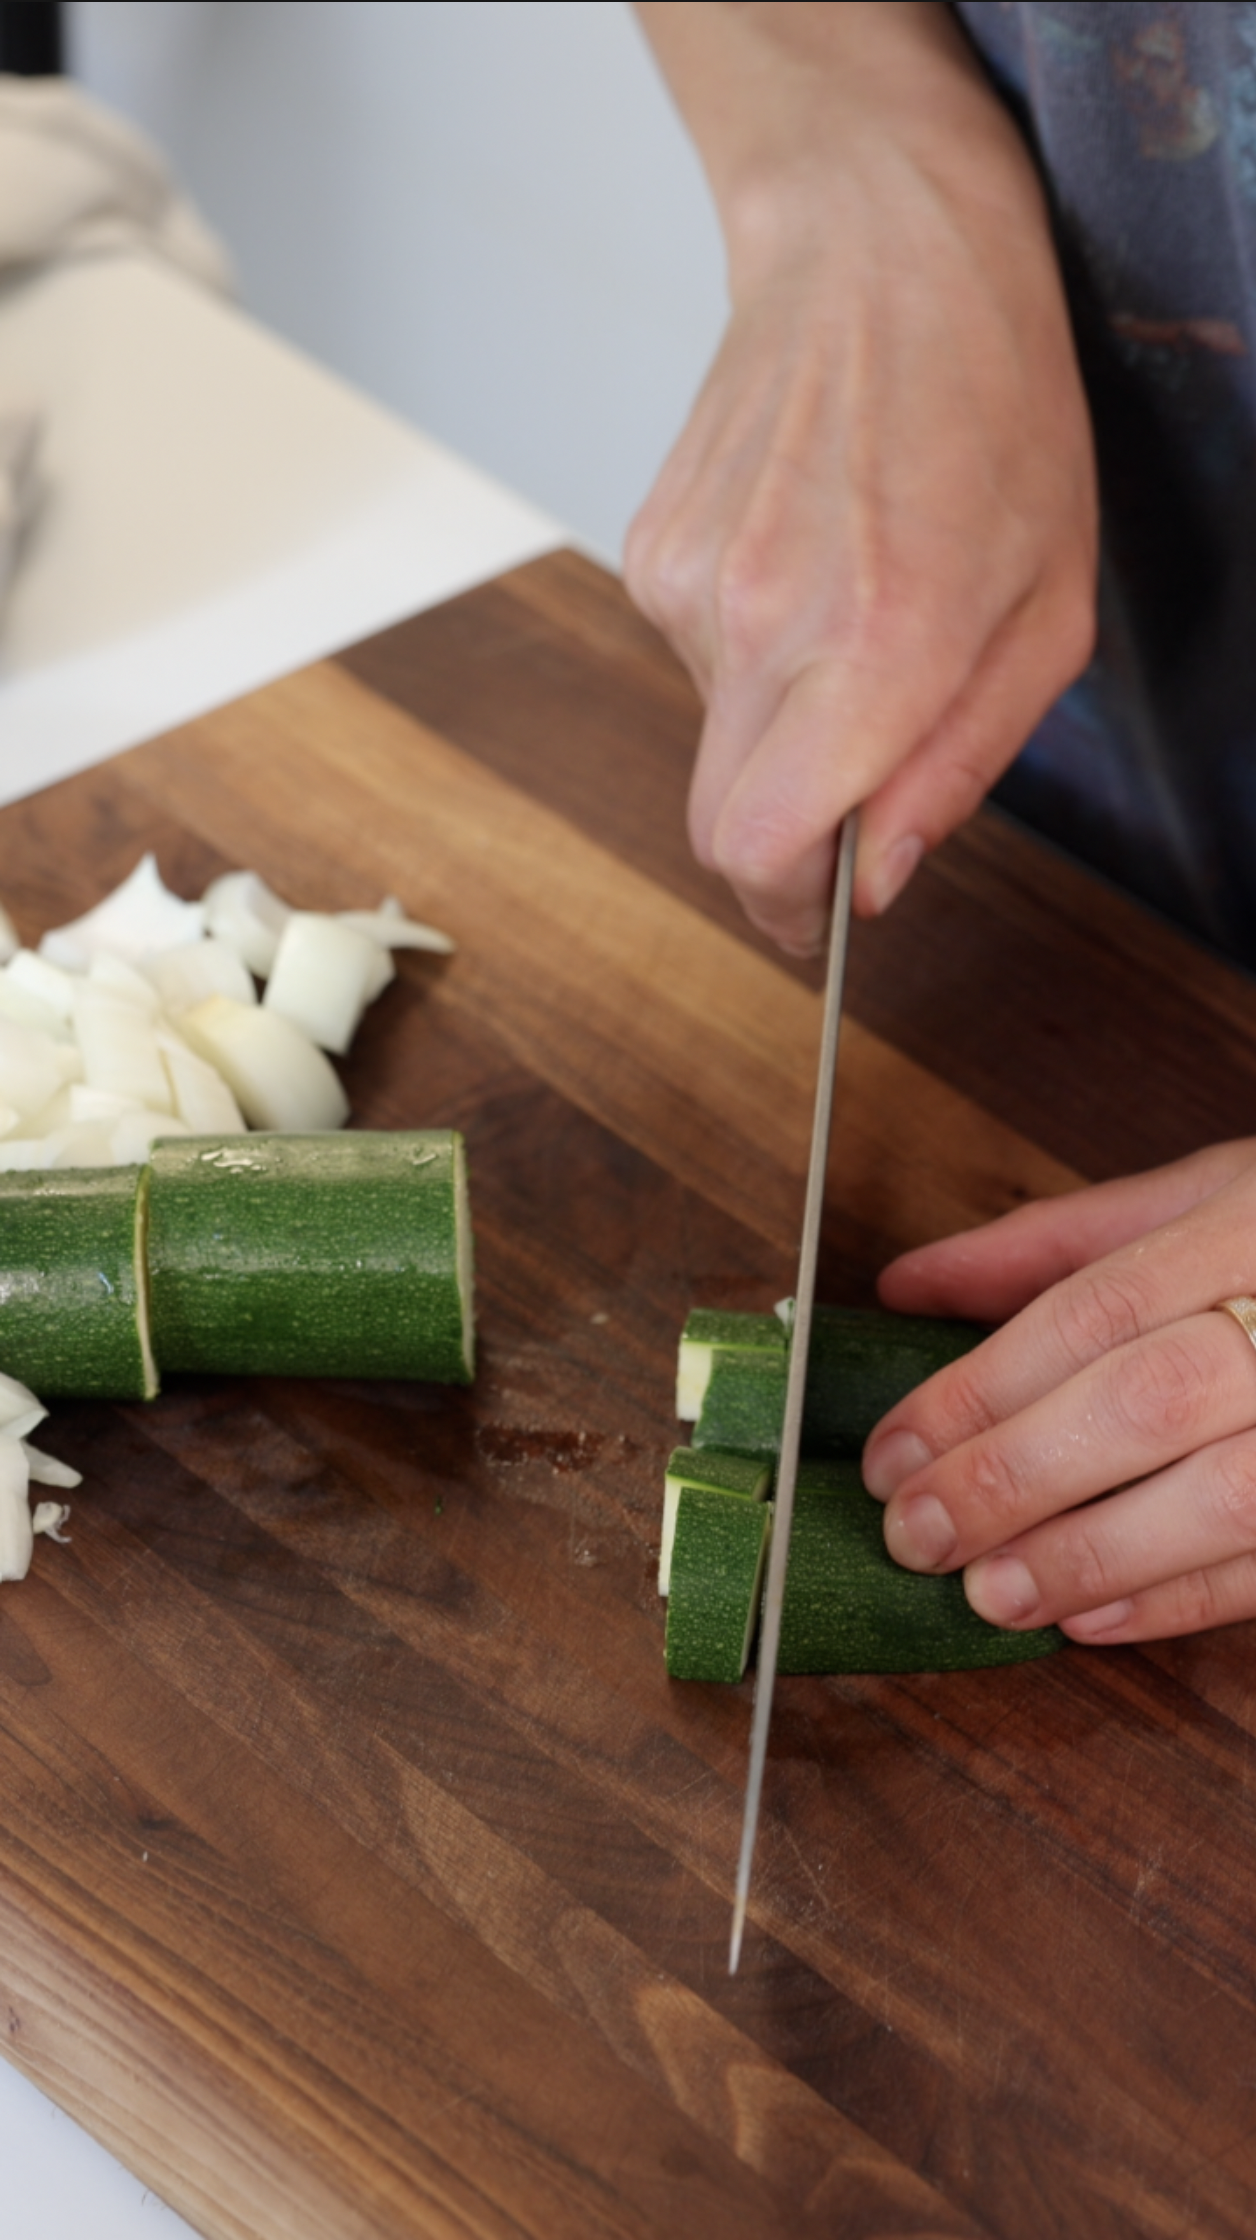
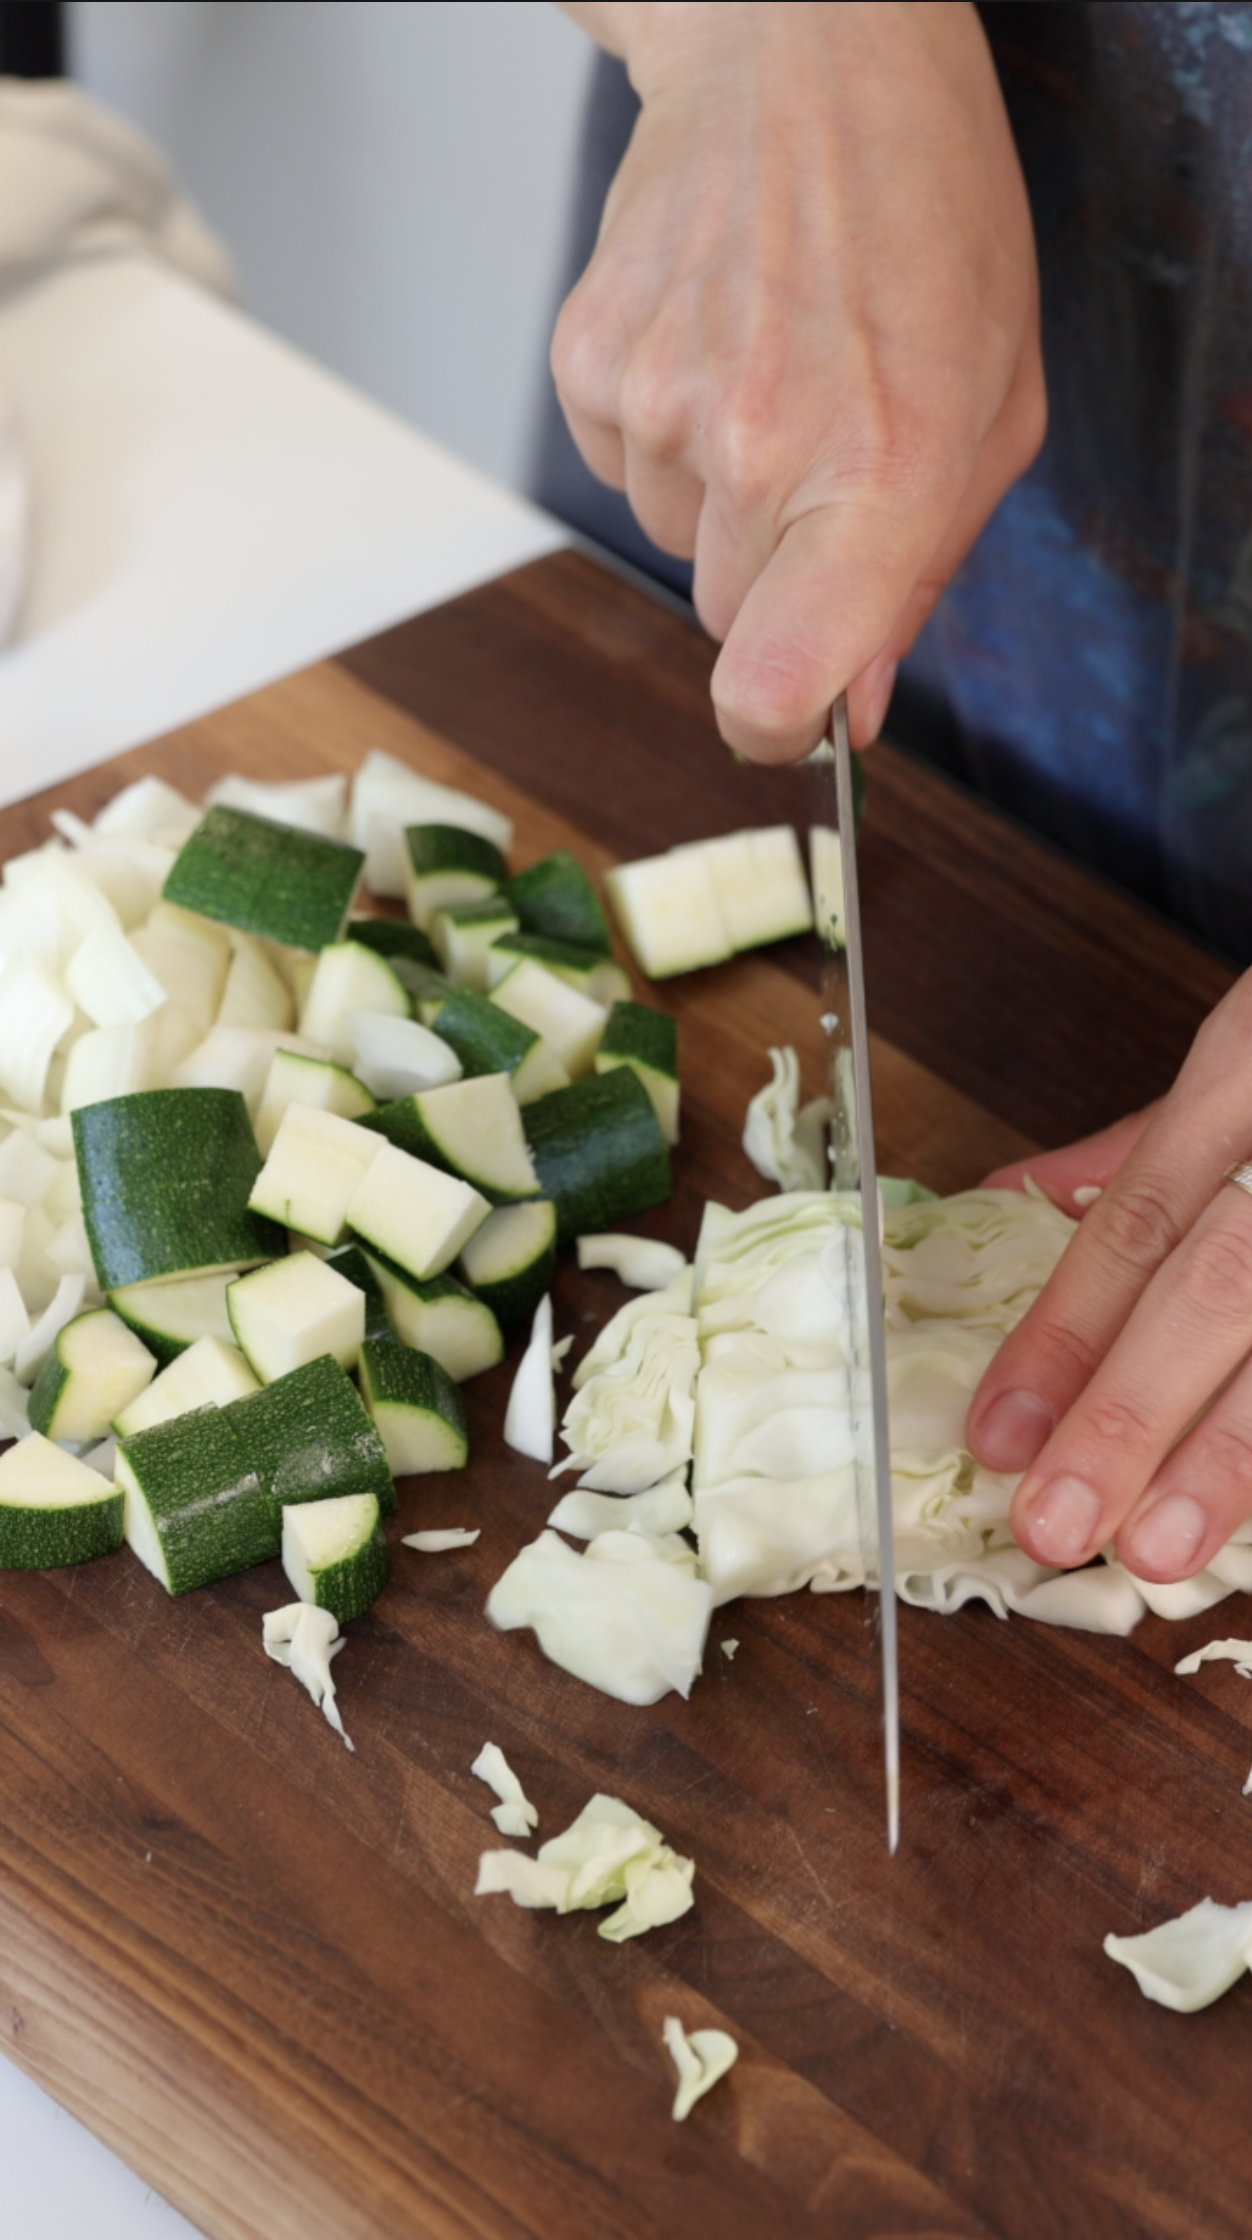
1/2 Zucchini (Diced 1 inch cube)
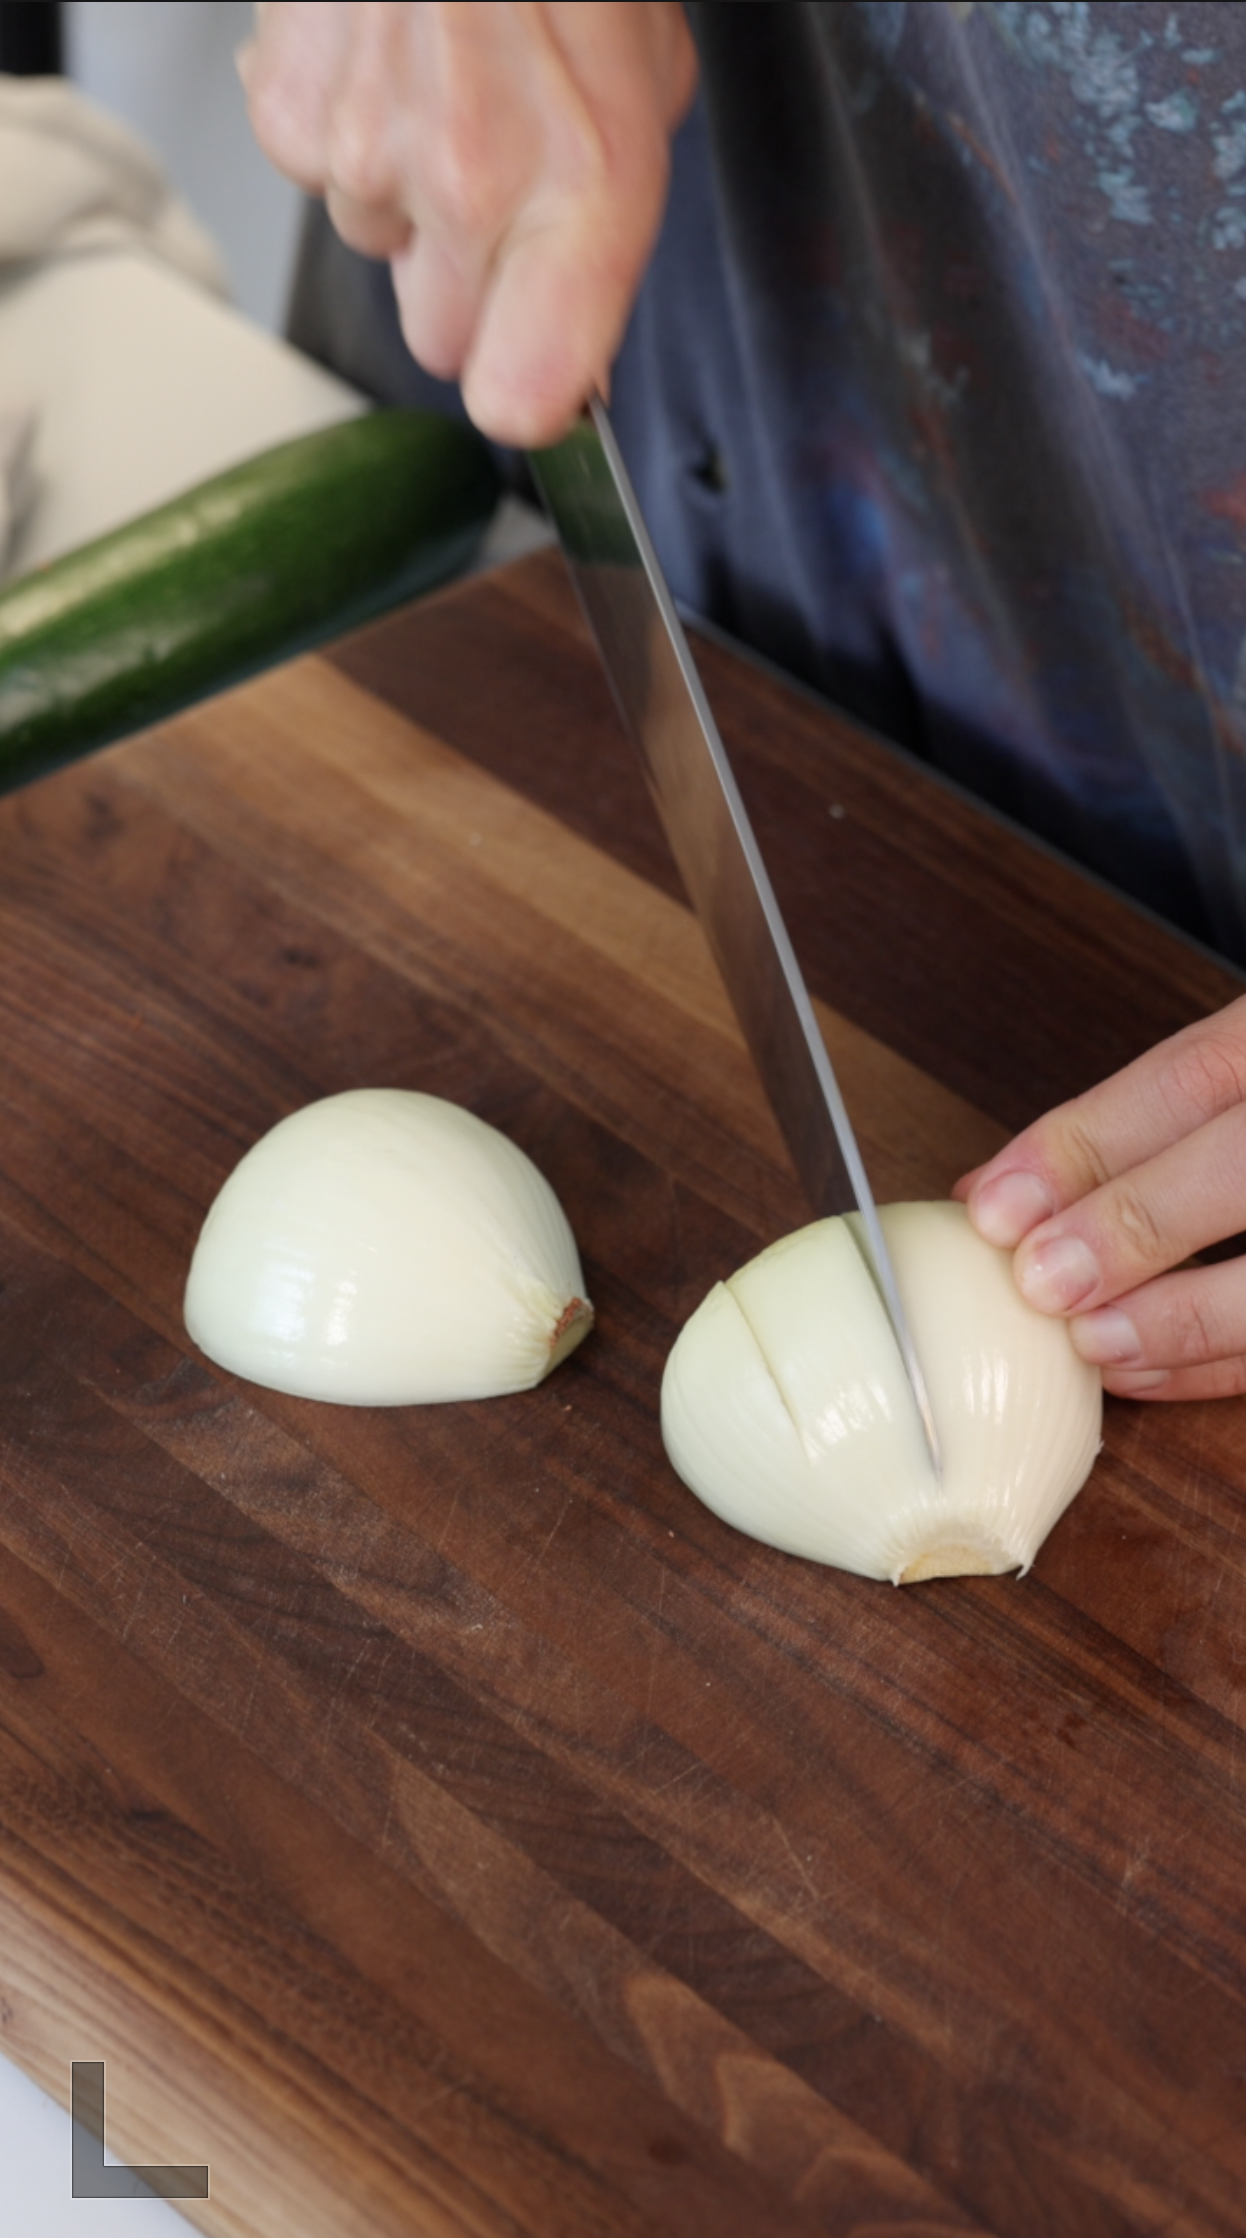
1 Full Large Yellow Onion (Diced 1 inch cube)
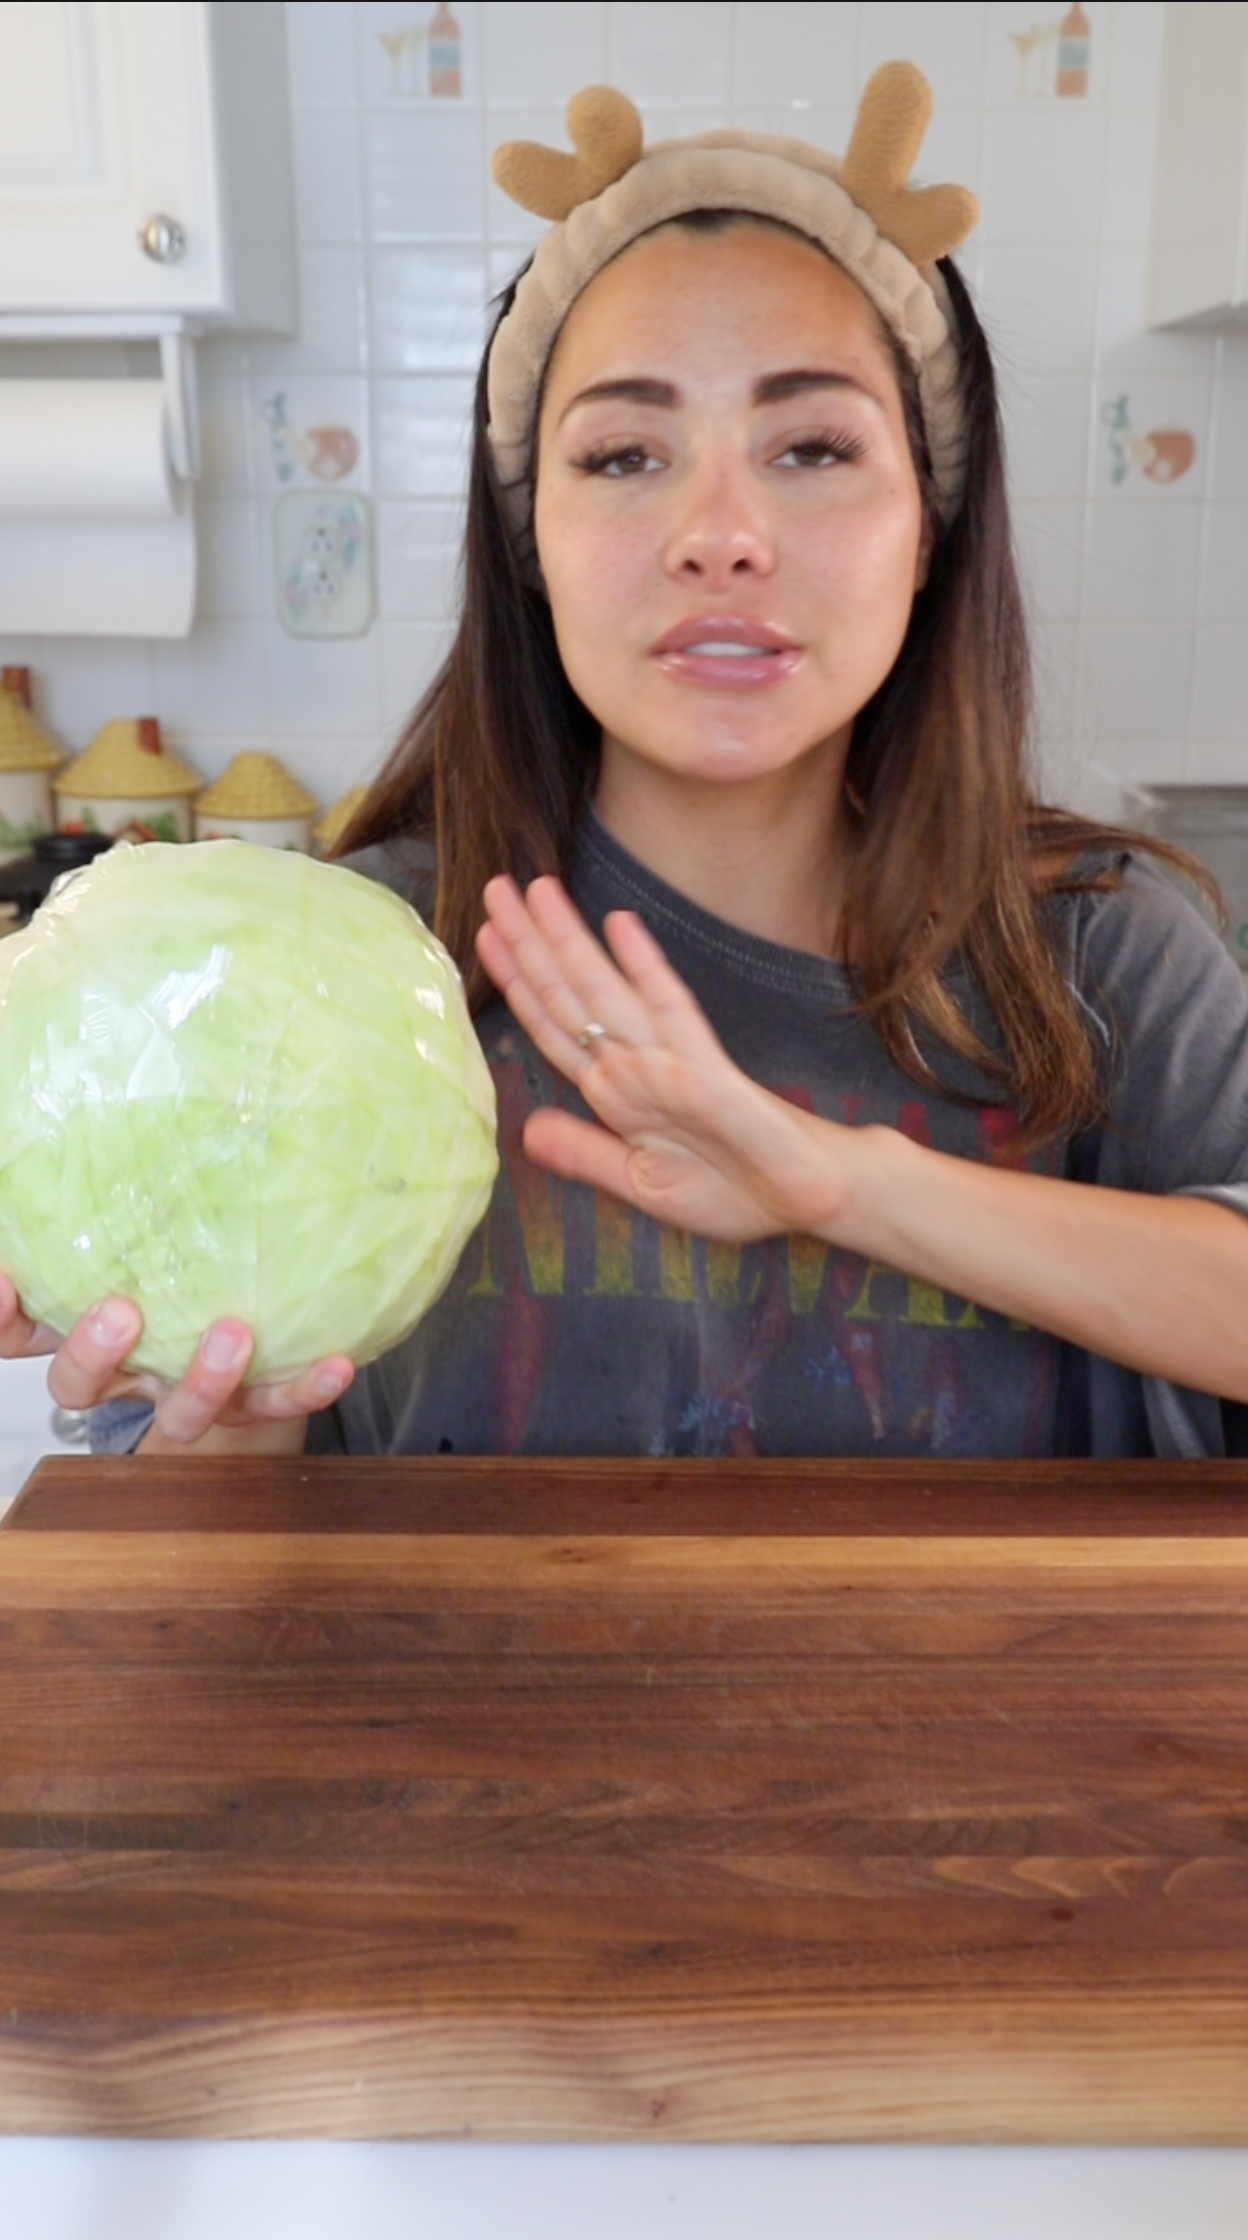
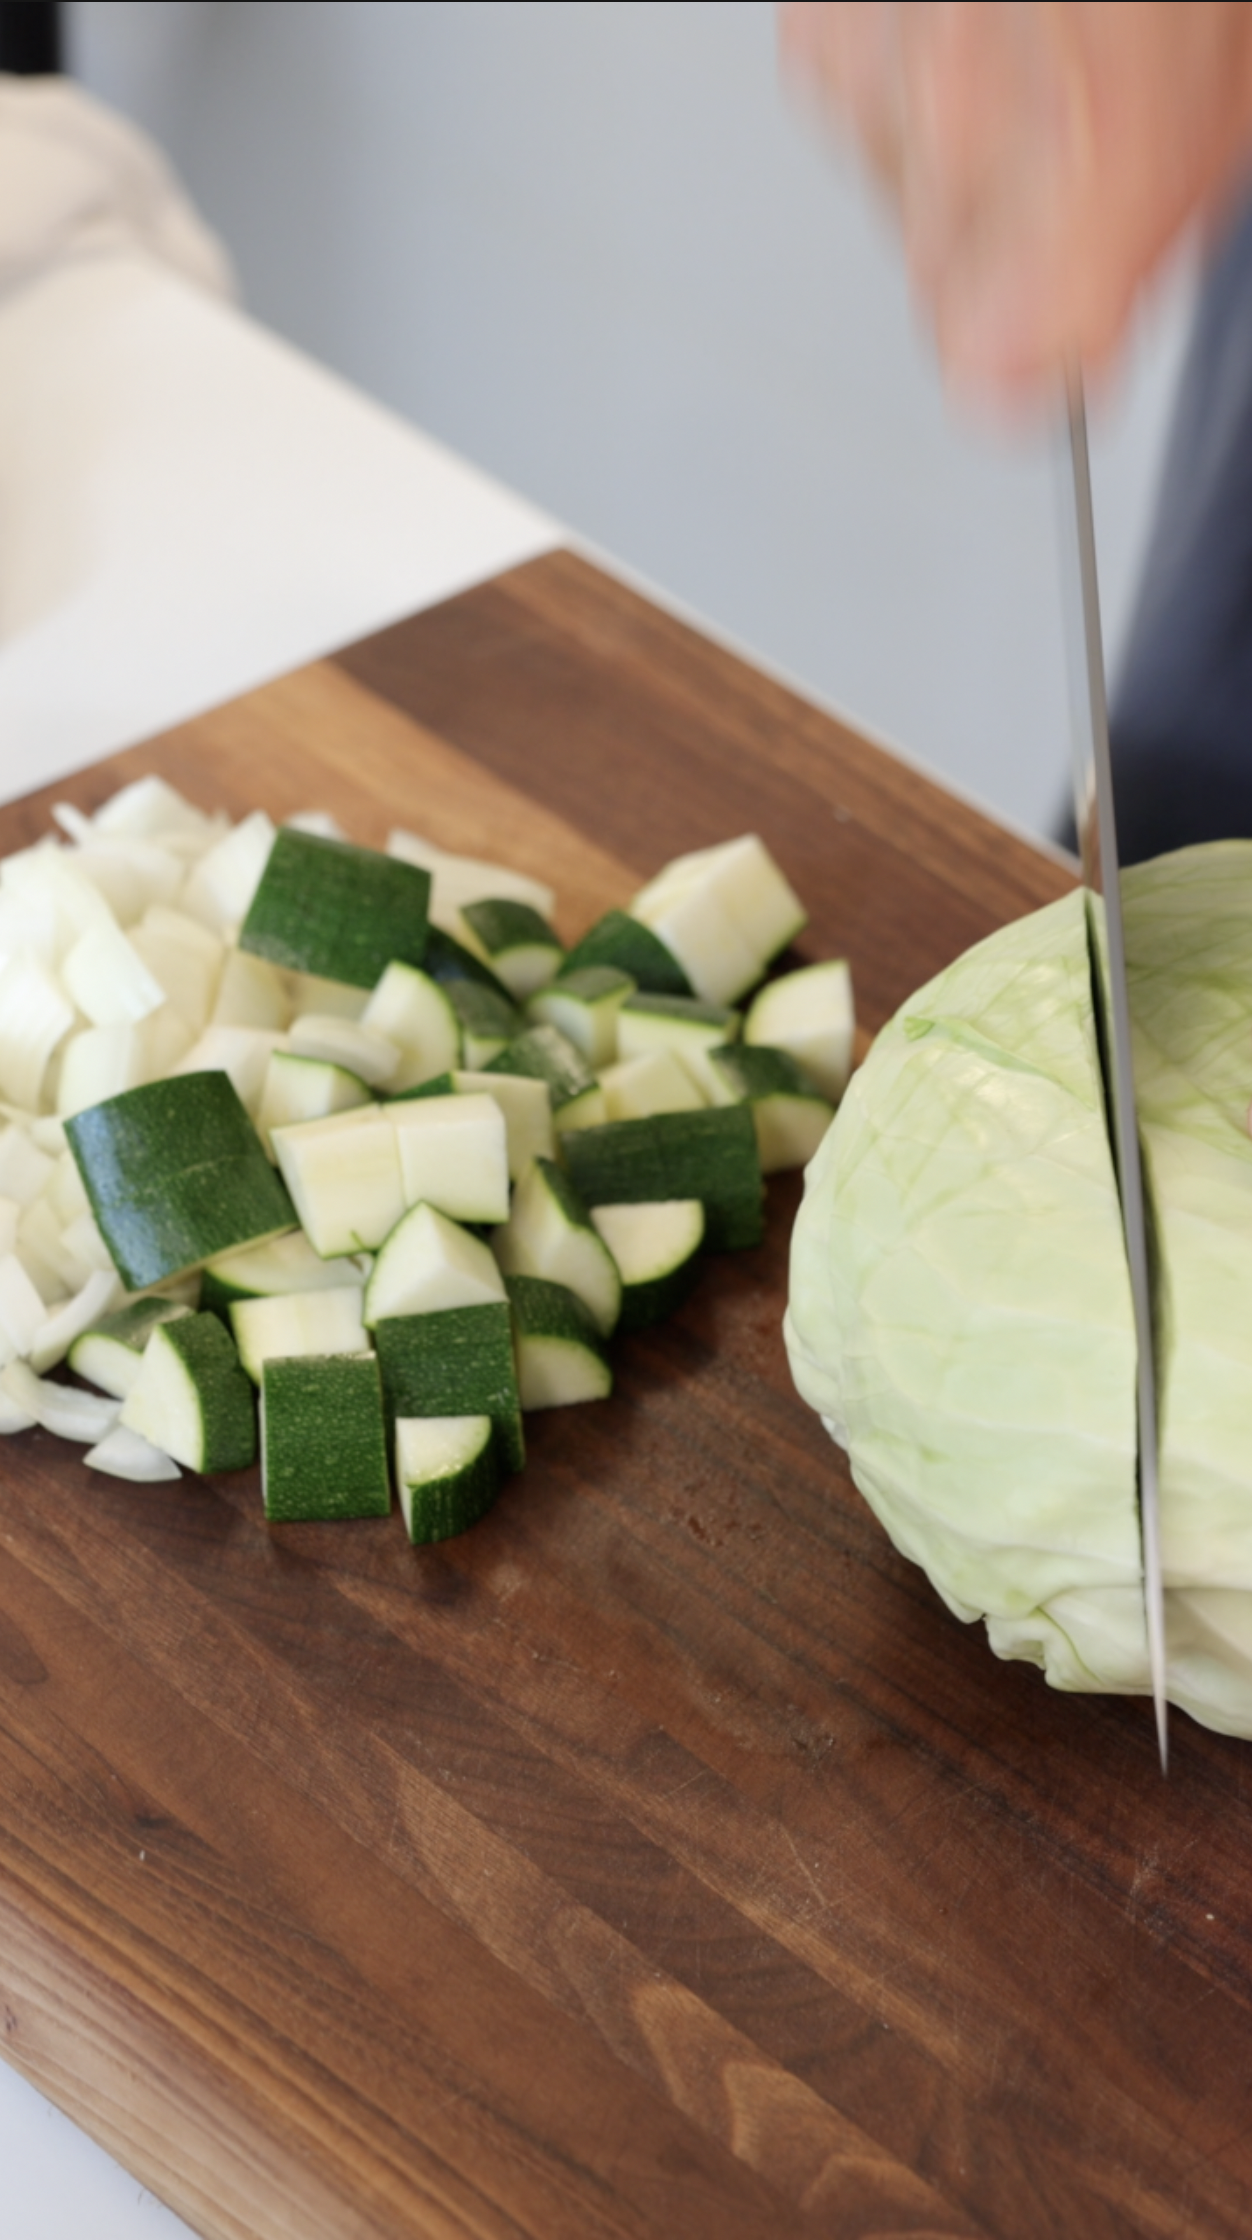
less than 1/4 Flat Leaf Cabbage (Diced 1 inch cube)
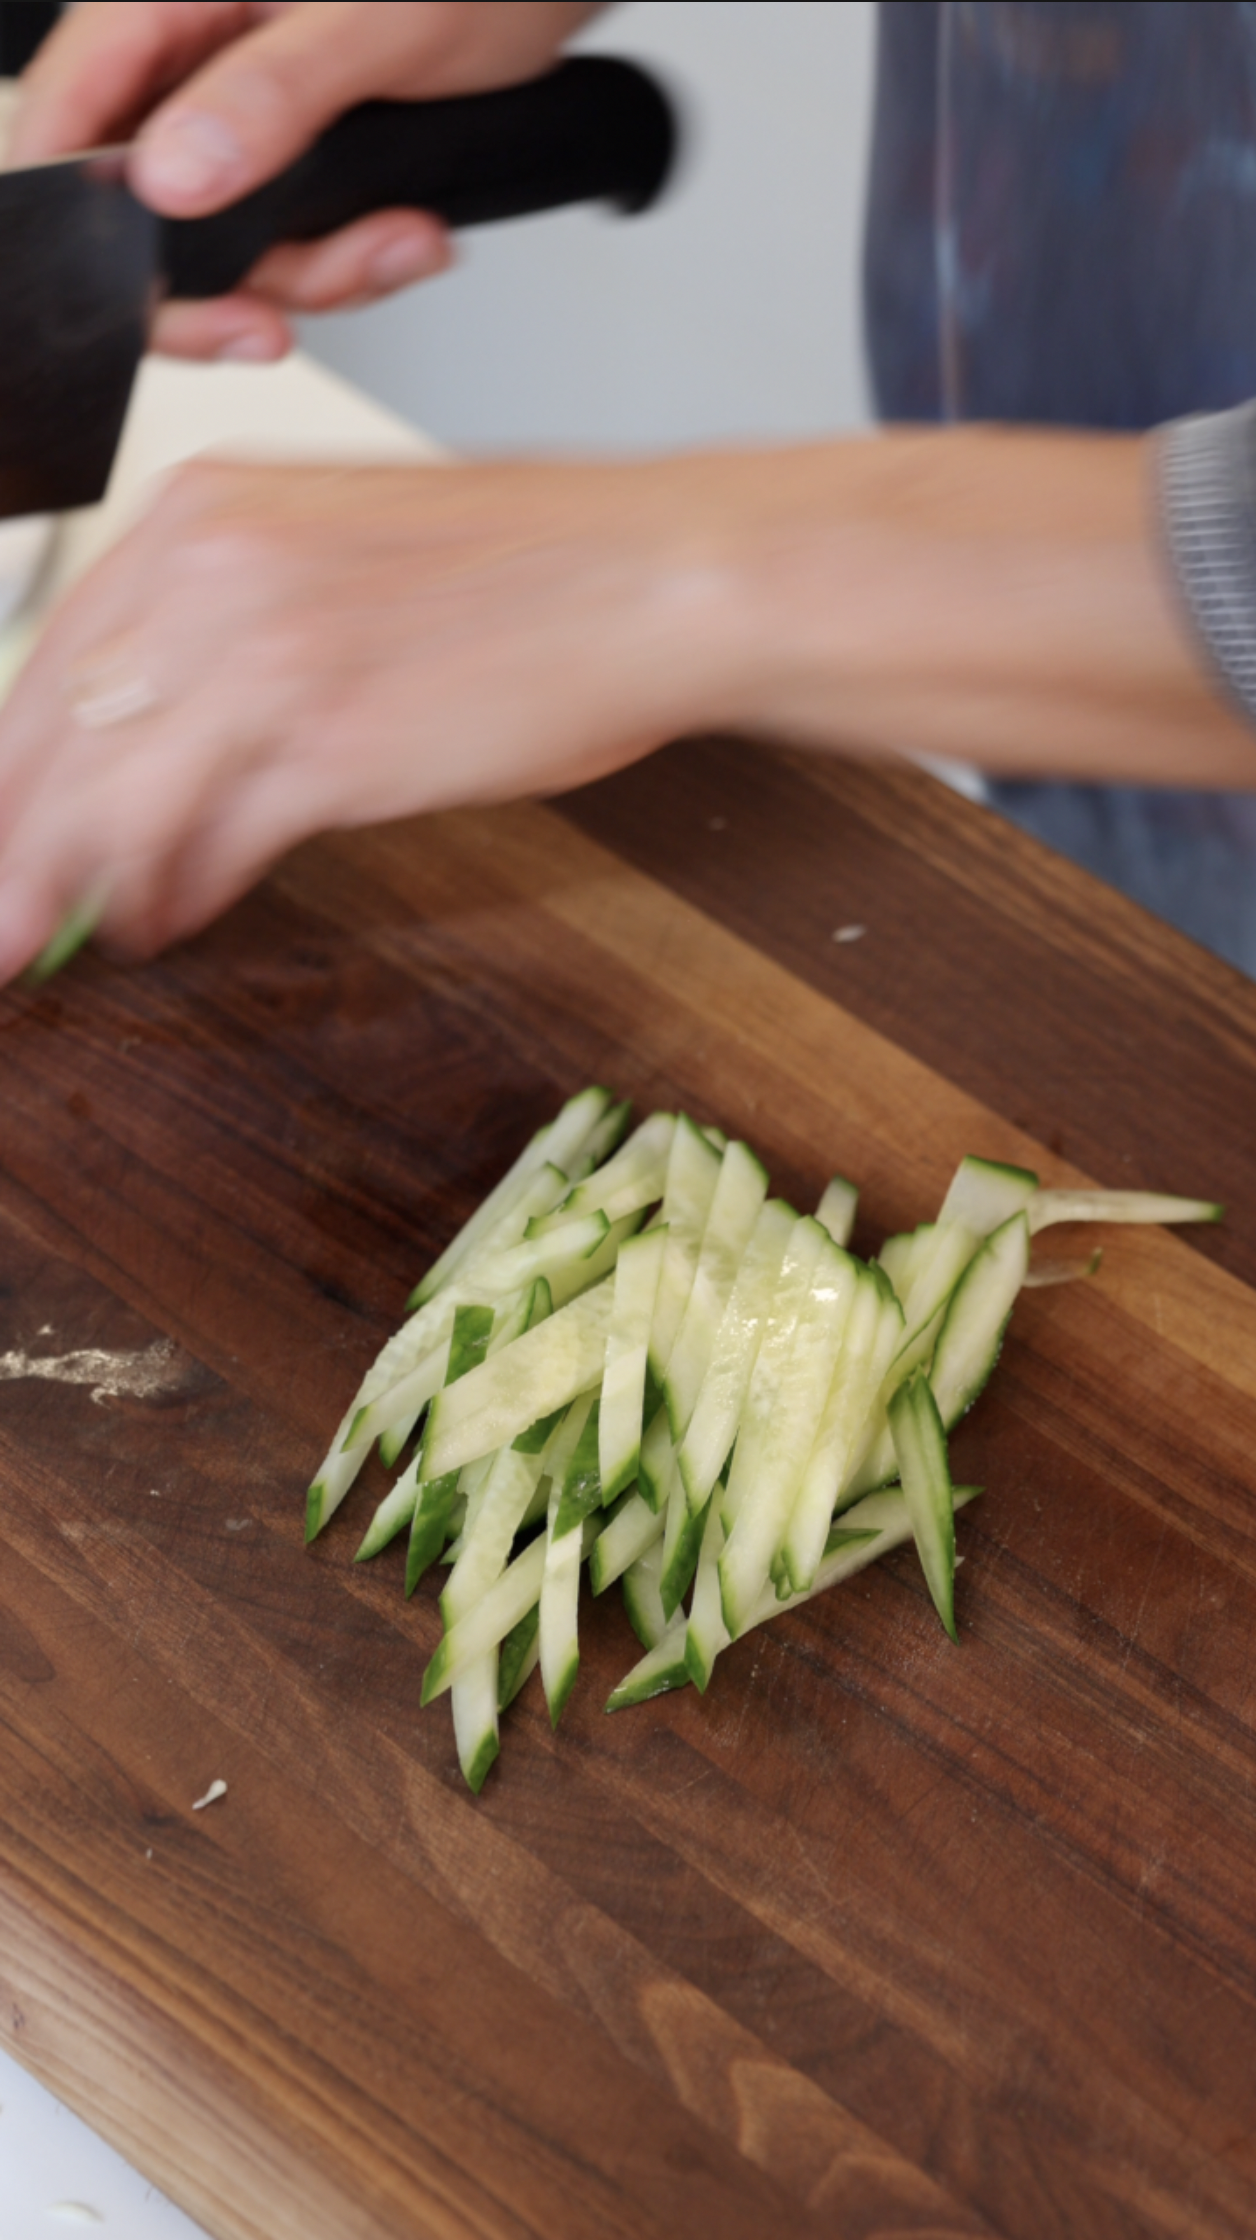
1/2 Cucumber (Julienned)


Jjajang sauce
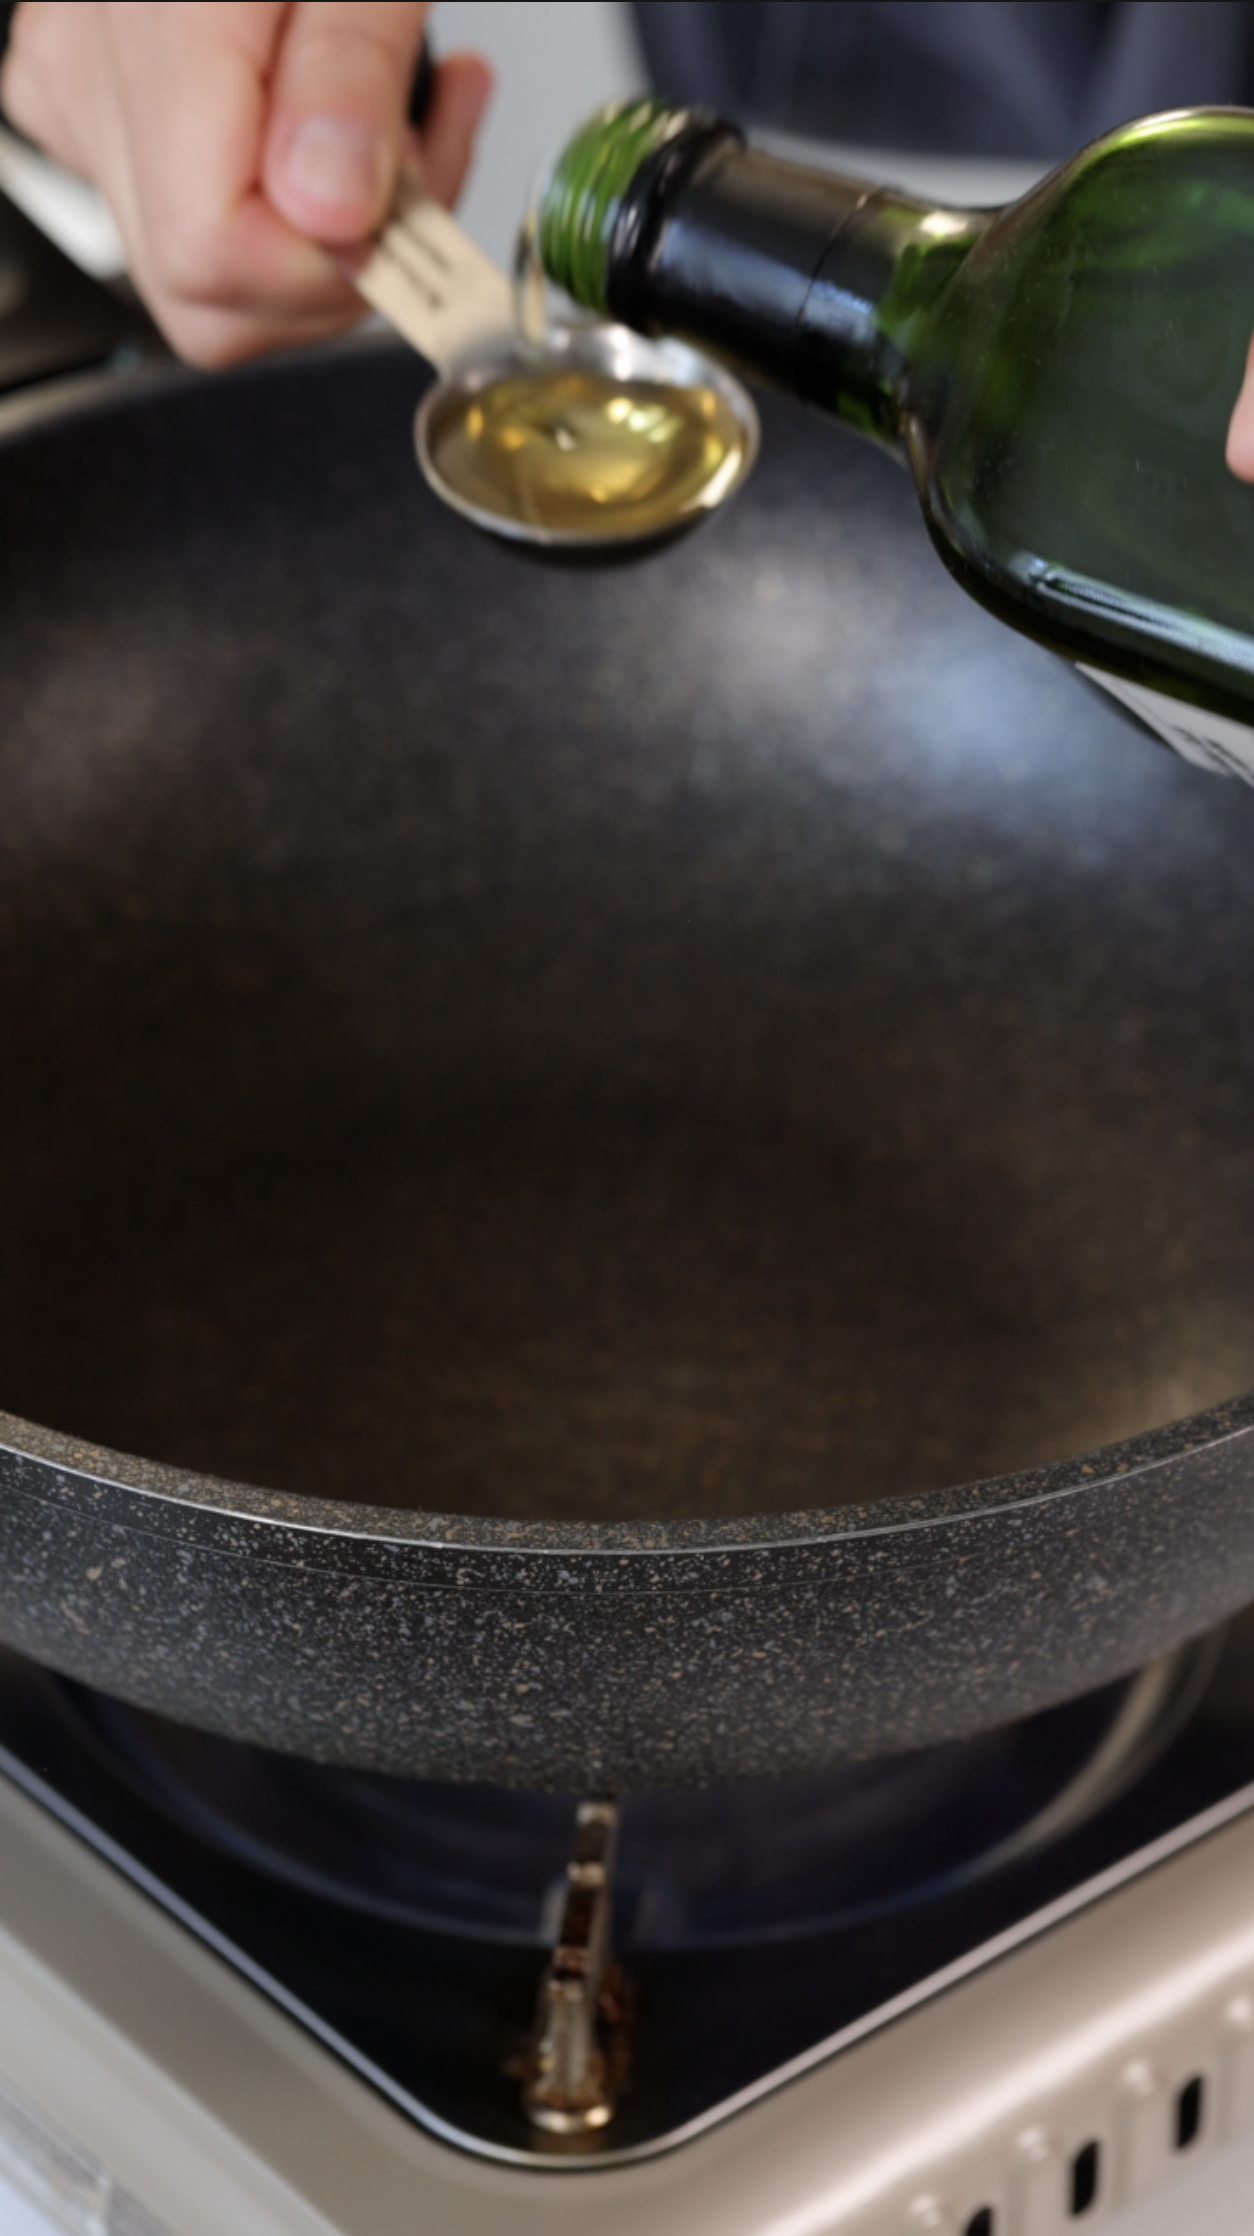
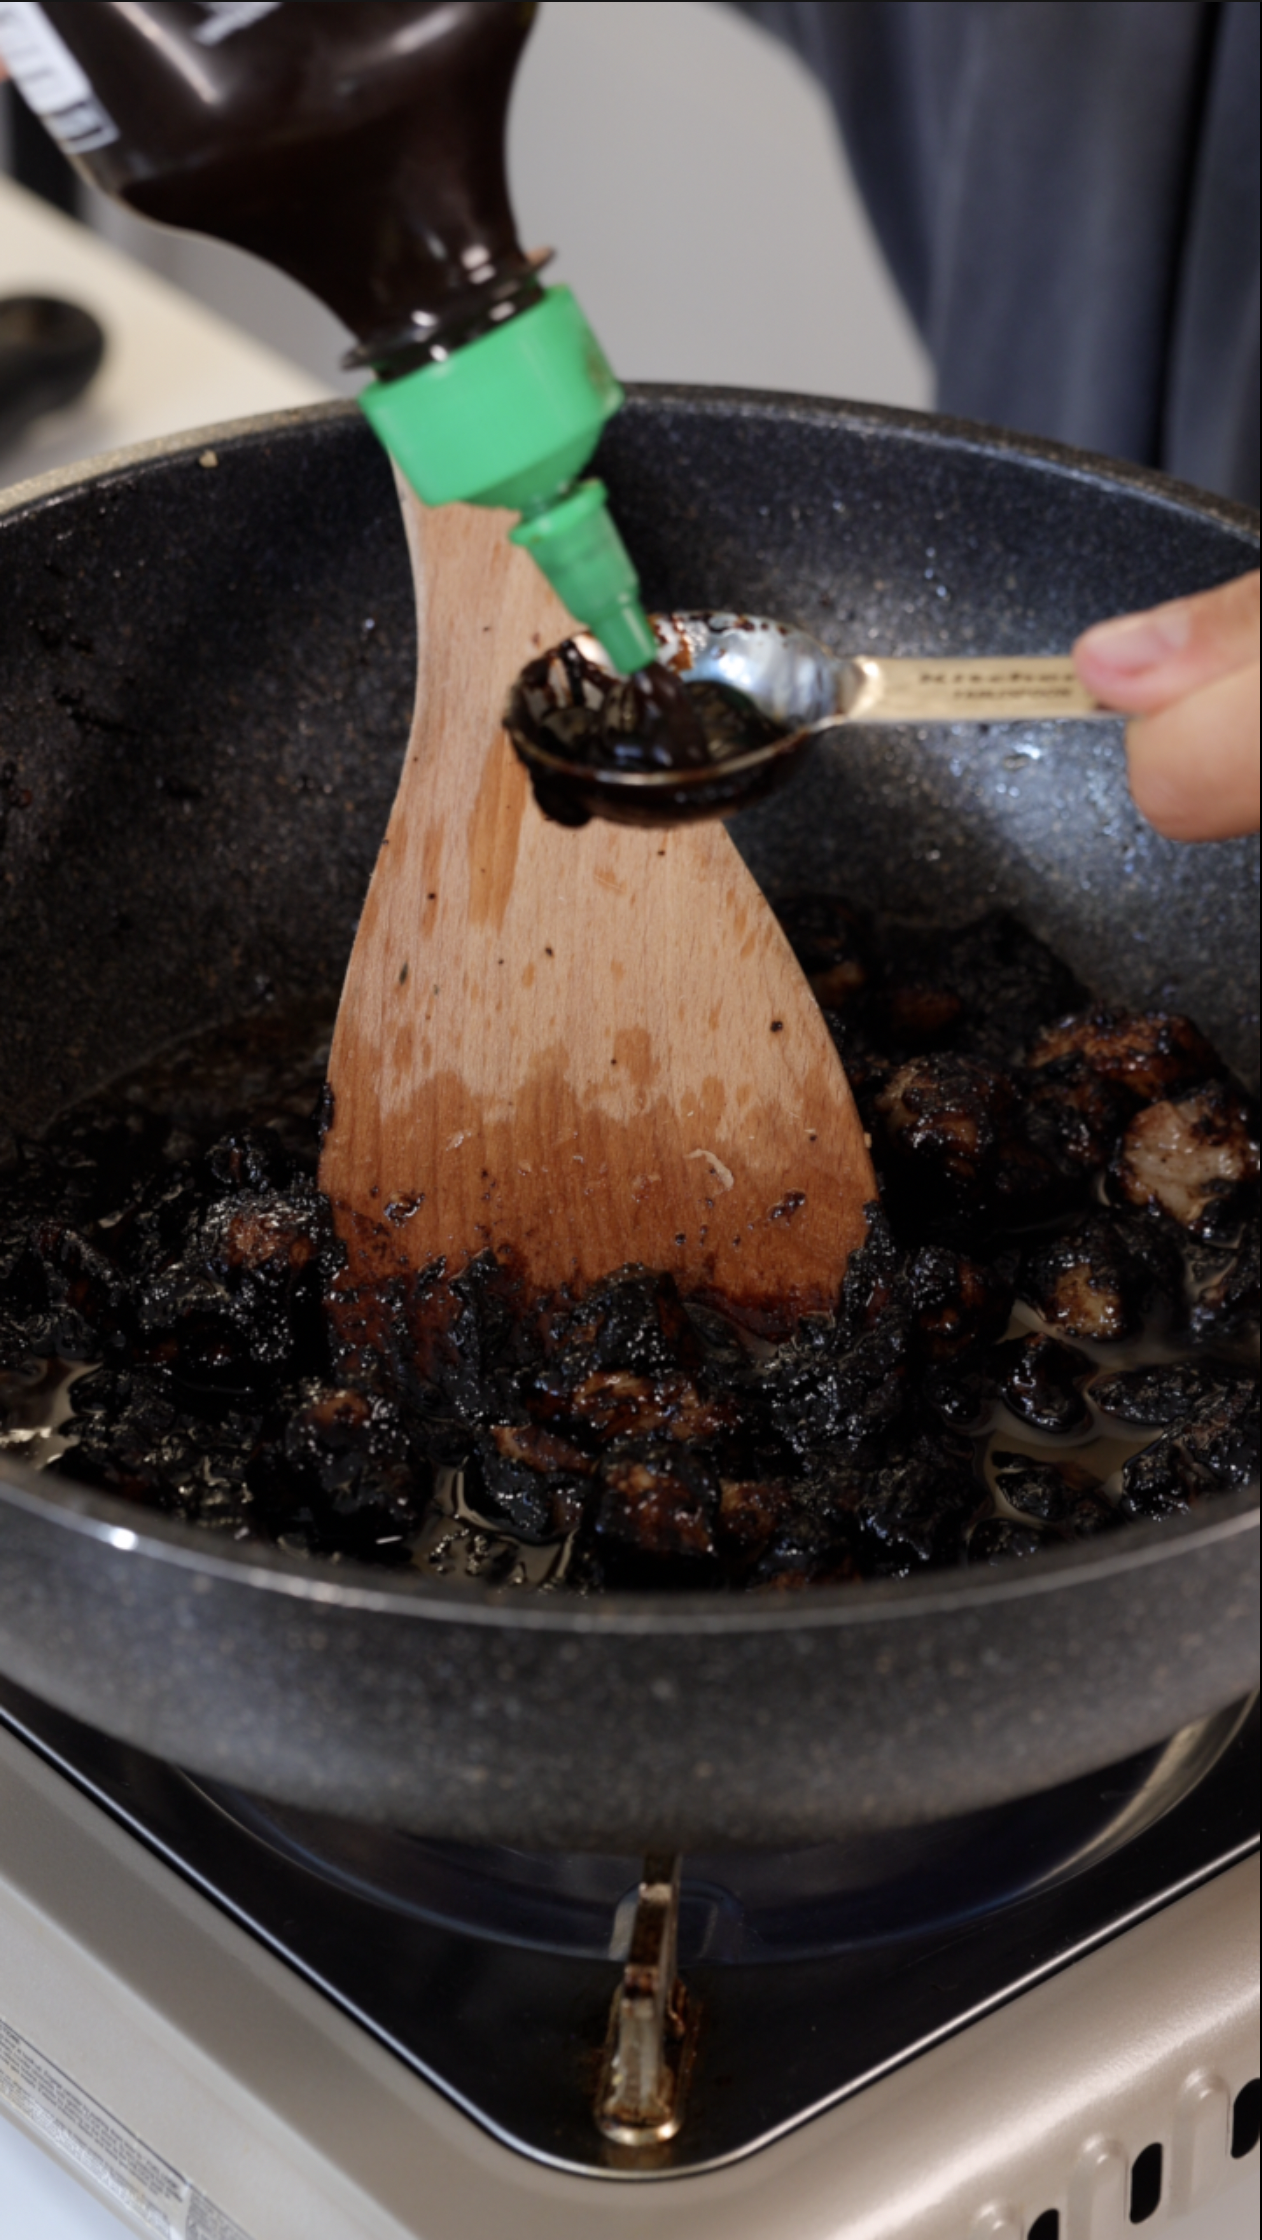
1 Tbsp Avocado Oil
4 tbsp or 1/4 cup Chinese sweet black bean paste
4 tbsp or 1/4 cup Korean Black bean paste
1 Tbsp Hoisin Sauce
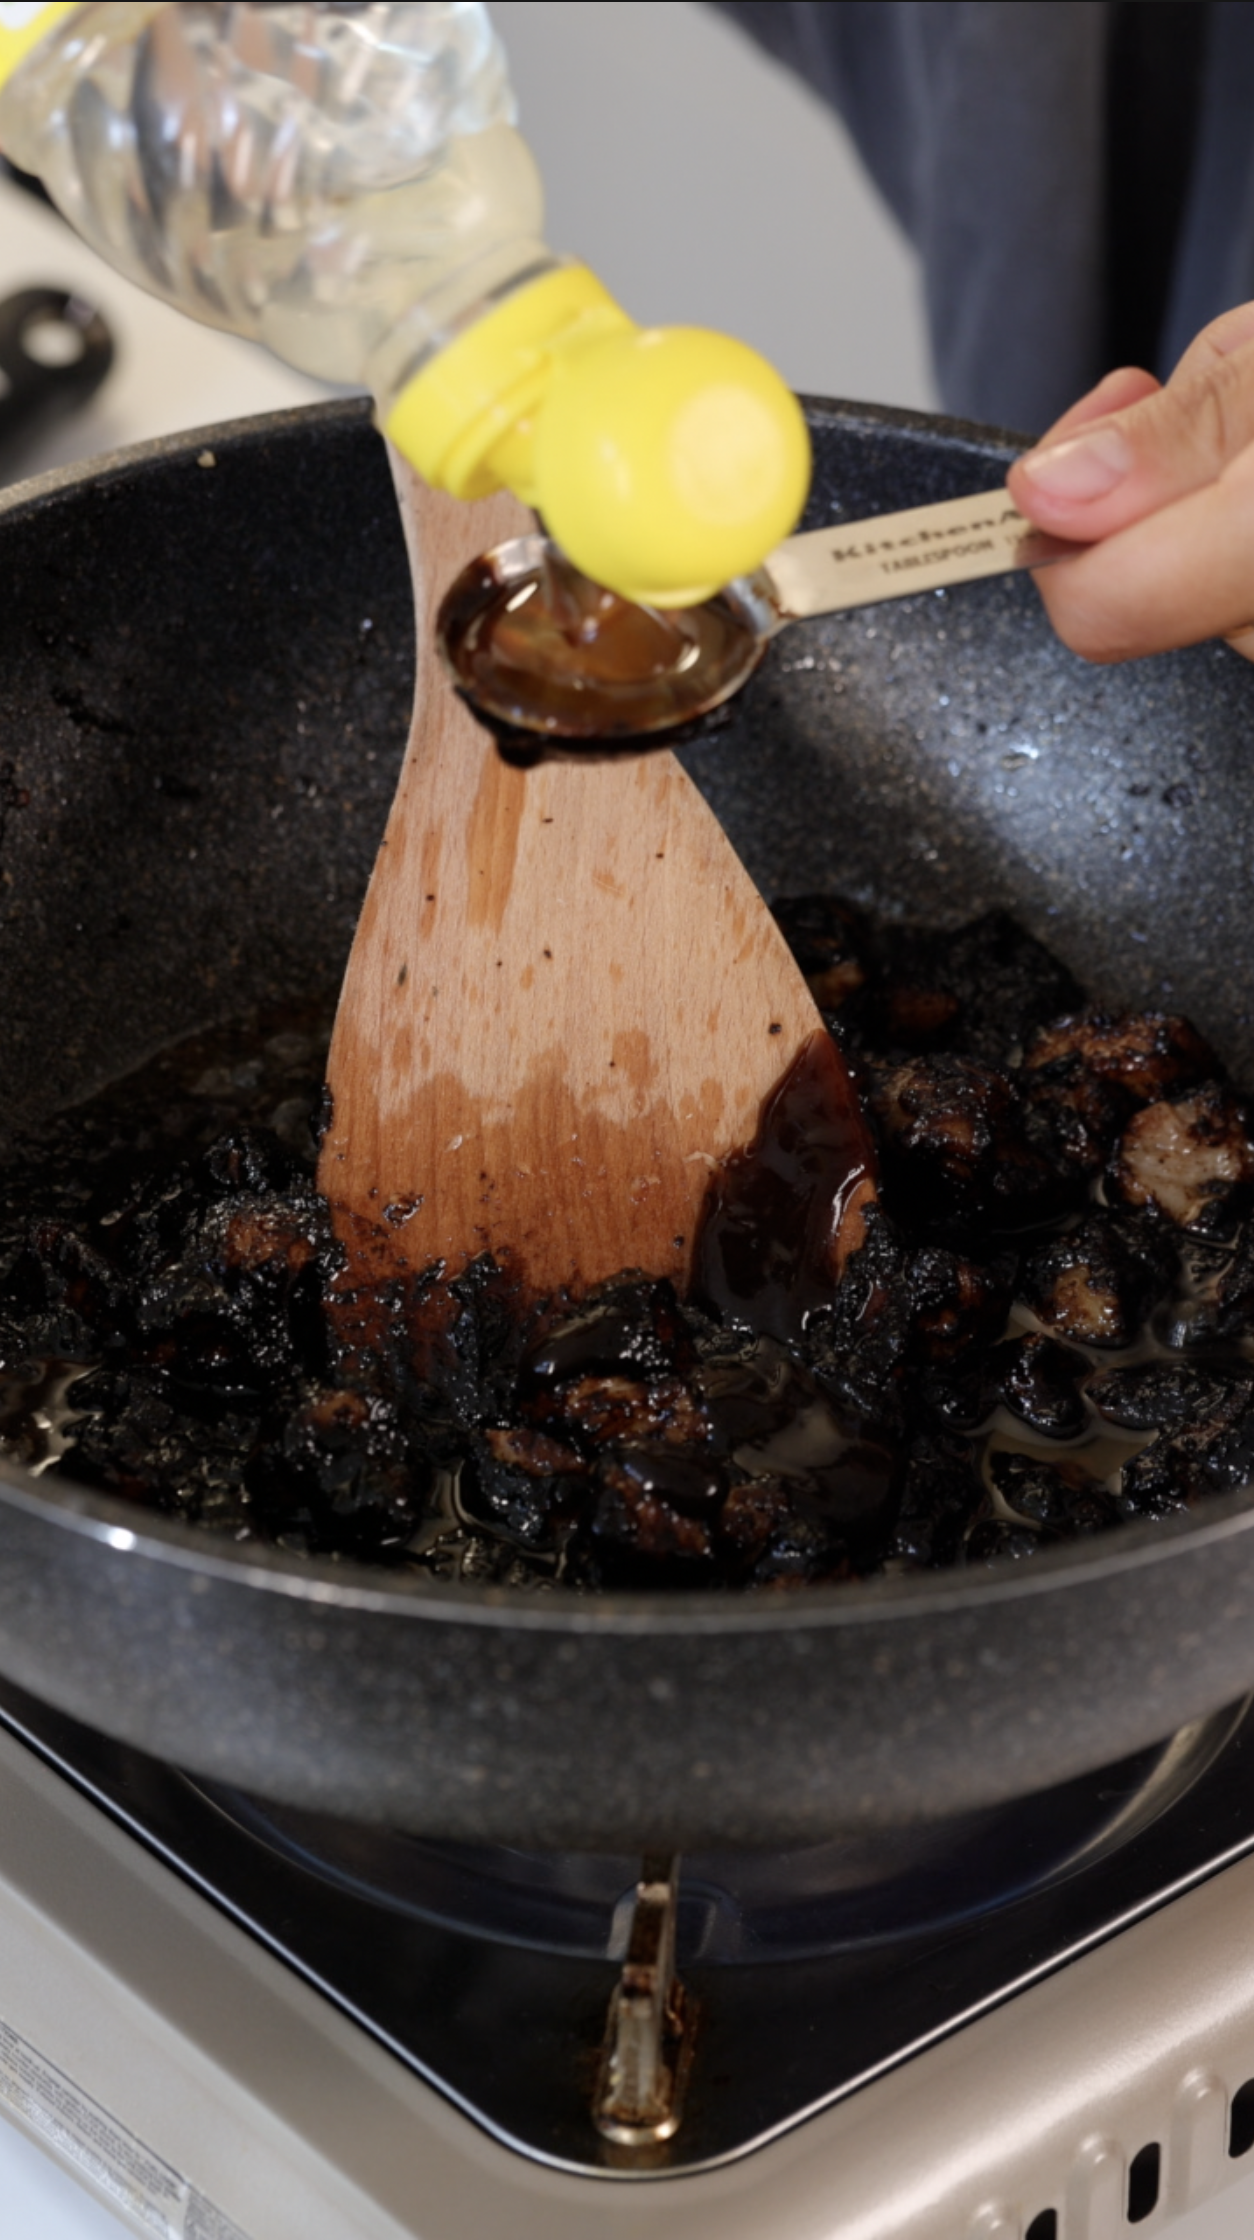
2 Tbsp Cornsyrup
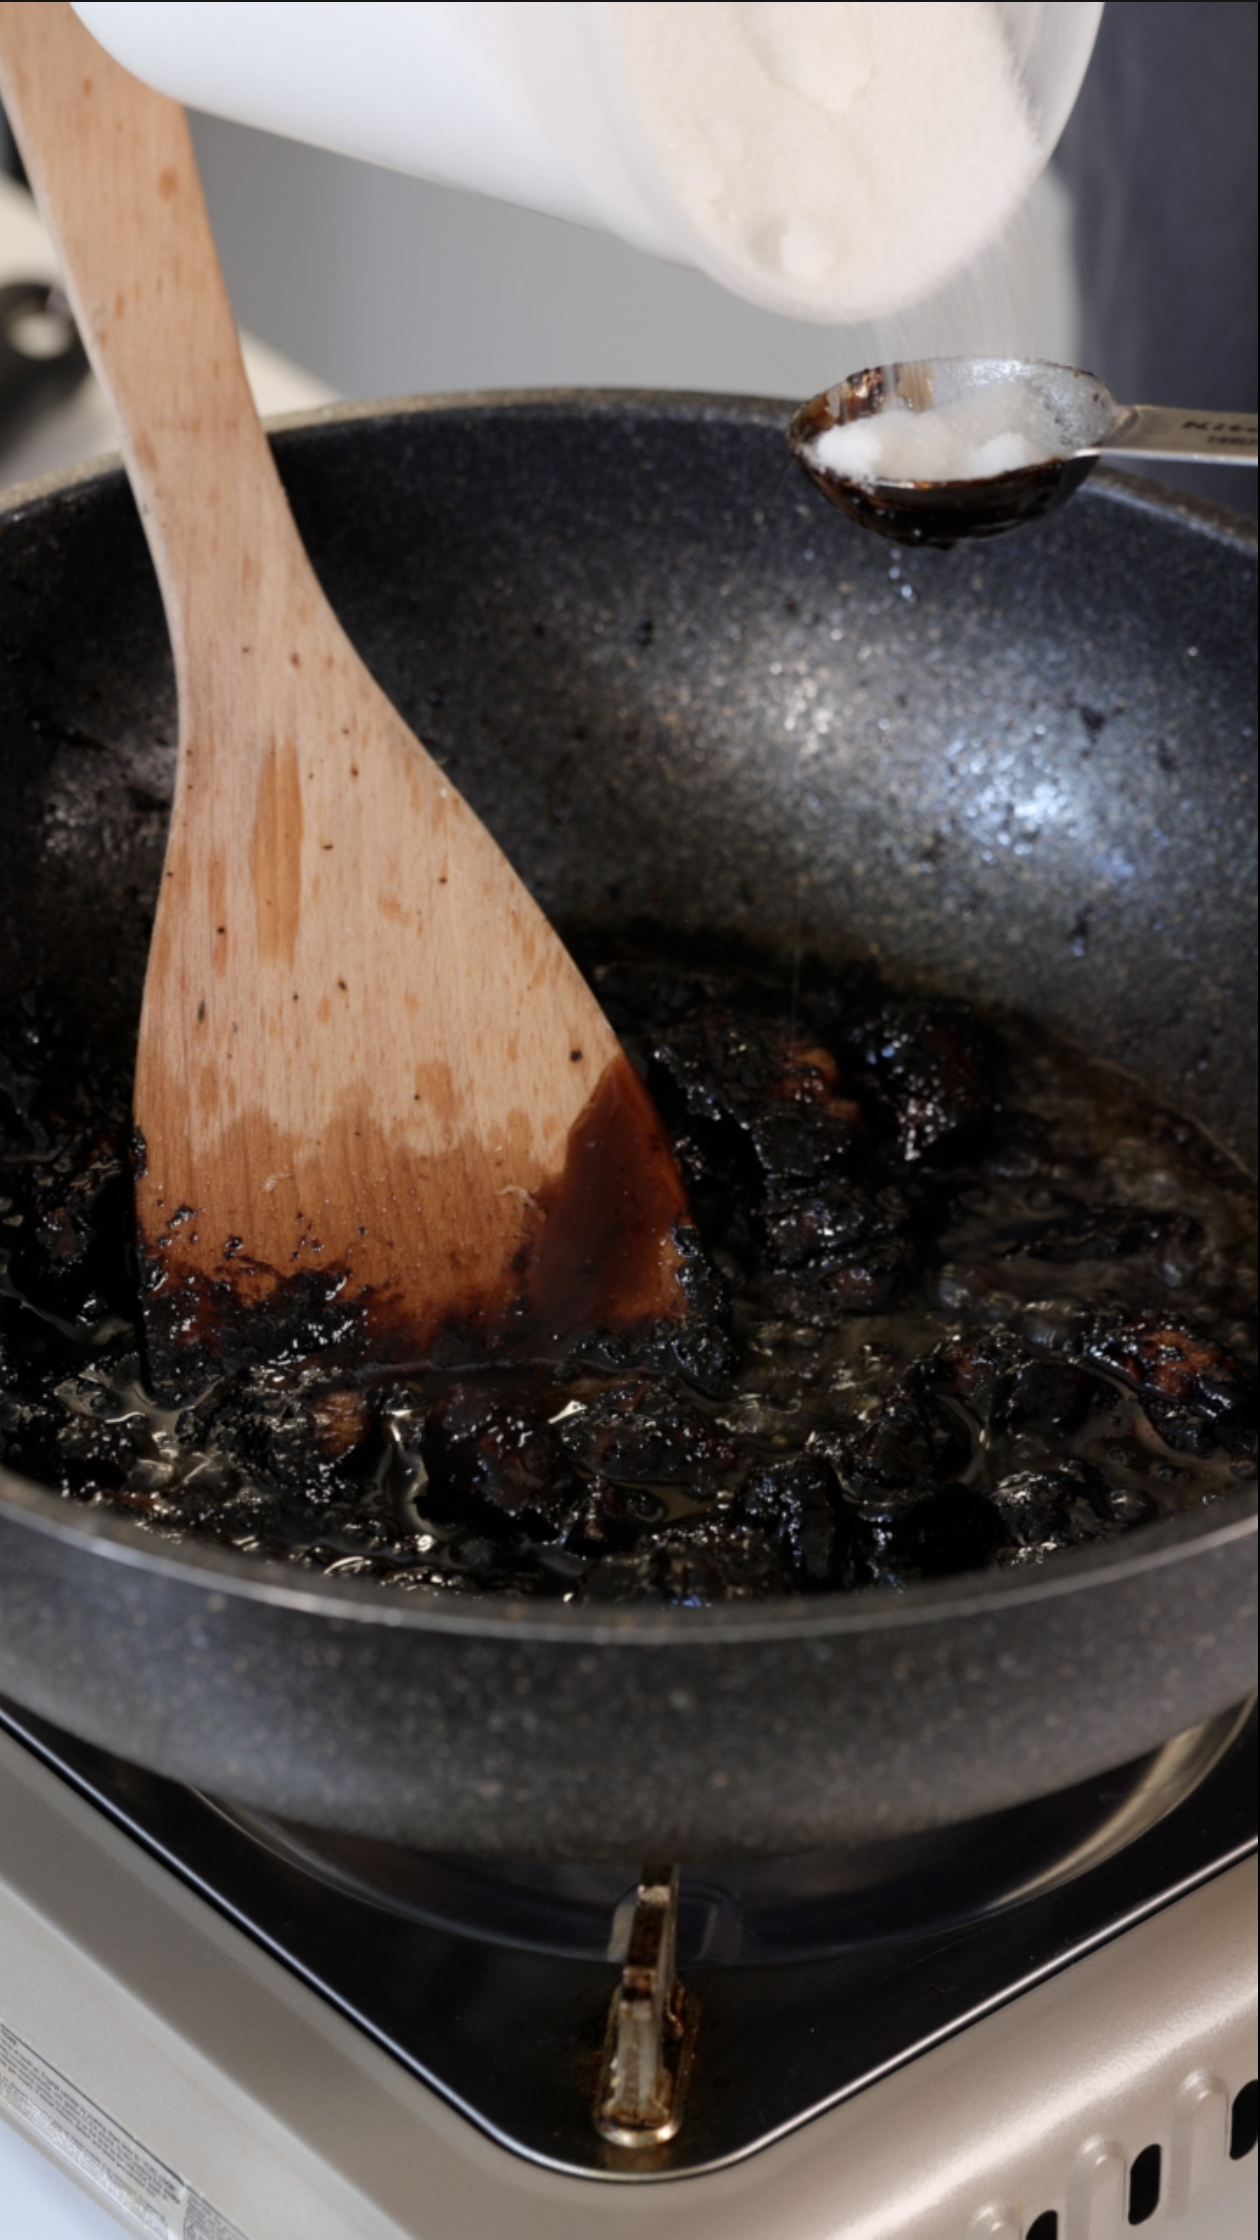
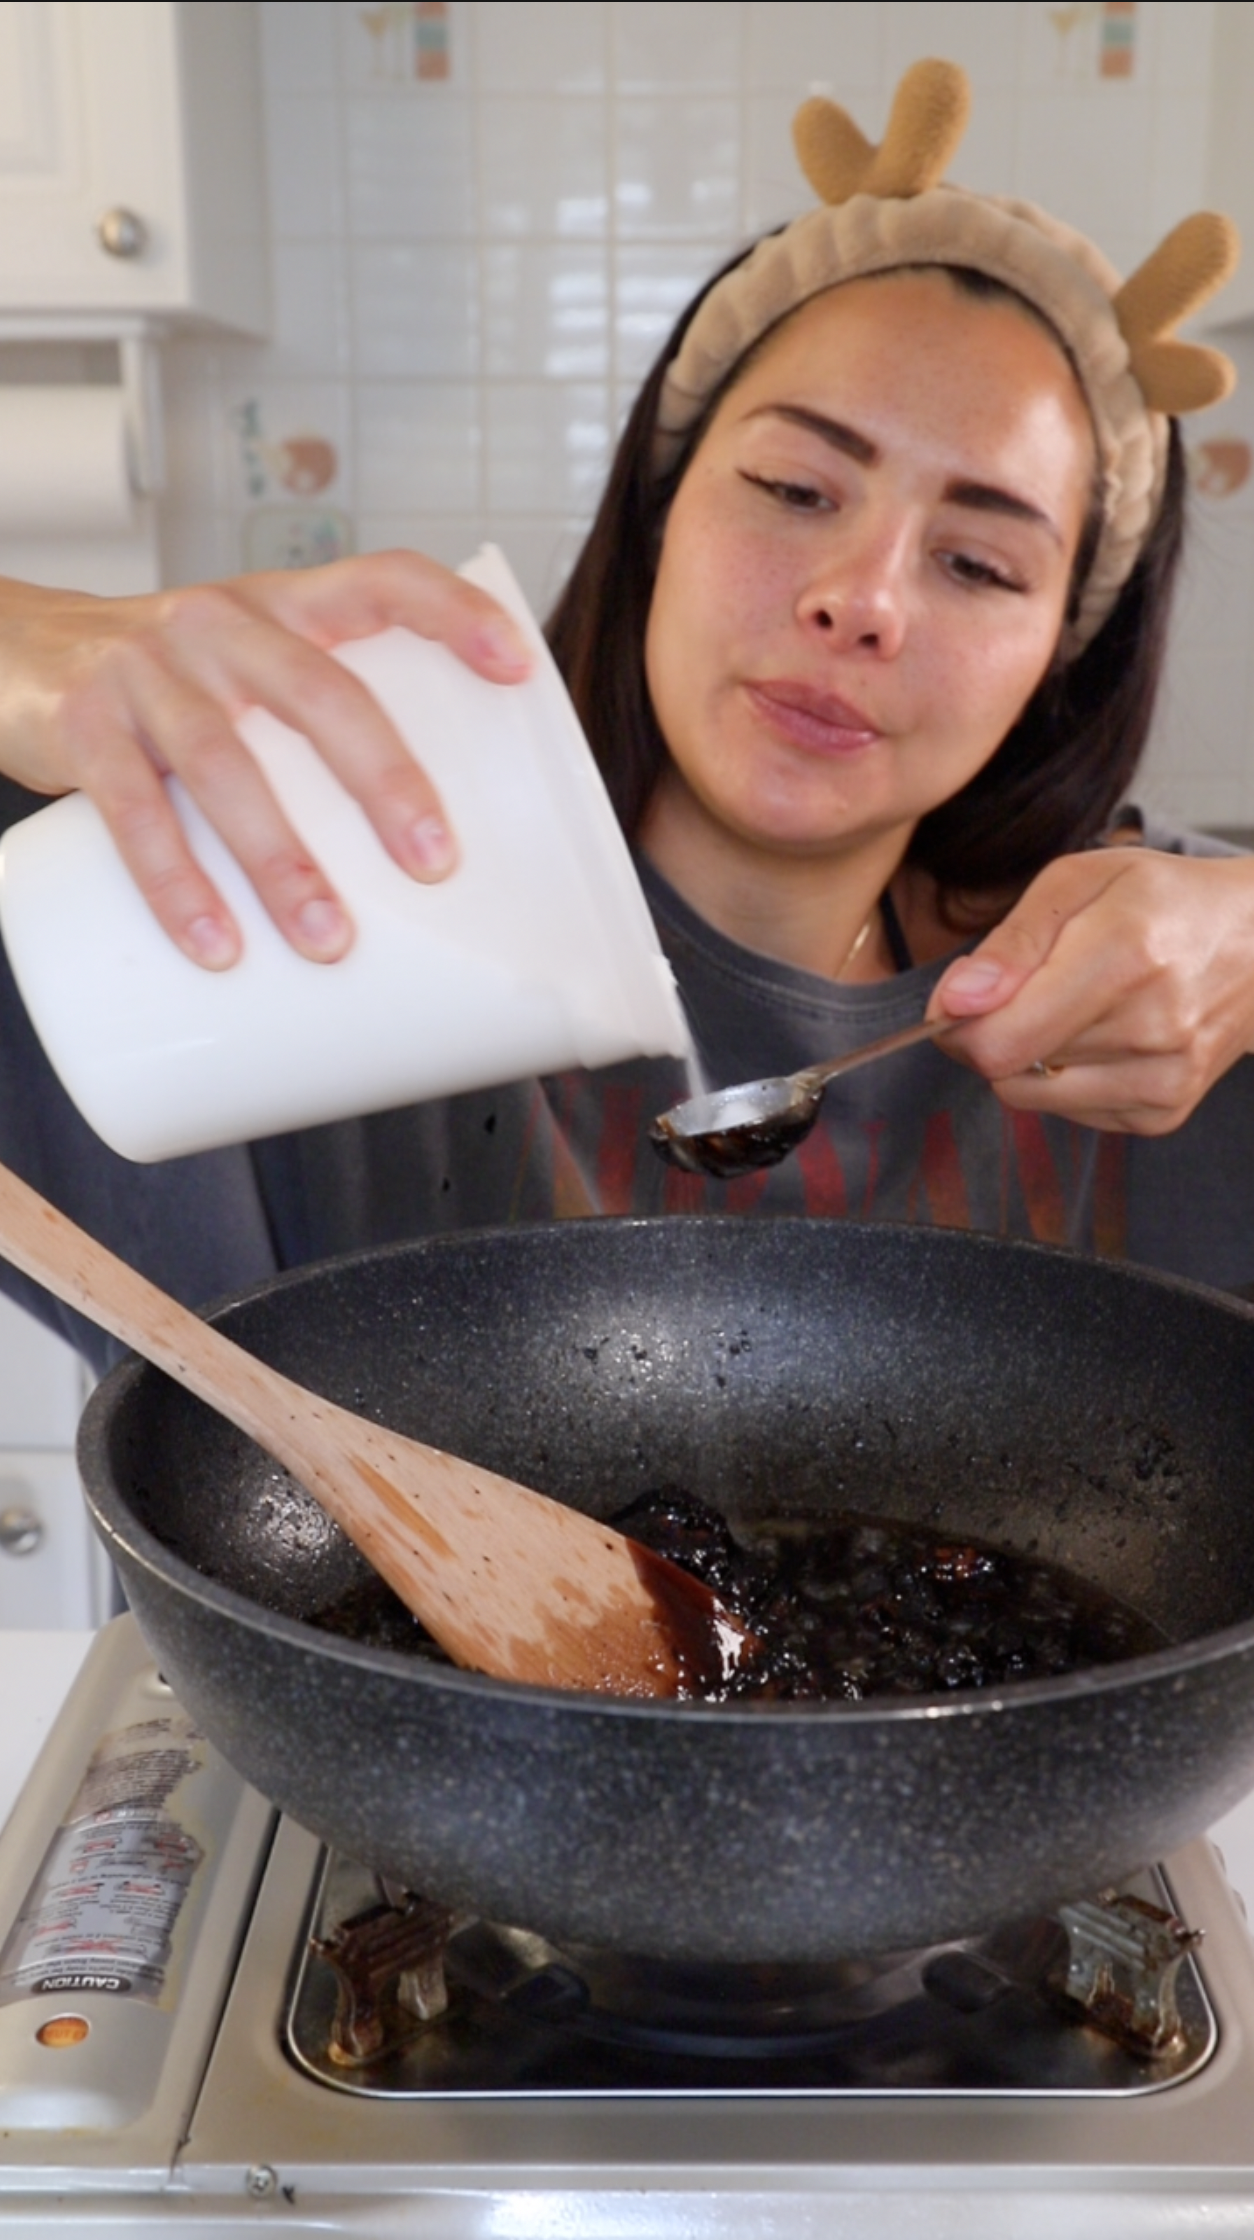
1 1/2 Tbsp Granulated Sugar
1/2 Tbsp MSG
1/2 Tbsp Sesame seed Oil
1 Teaspoon Kosher Salt
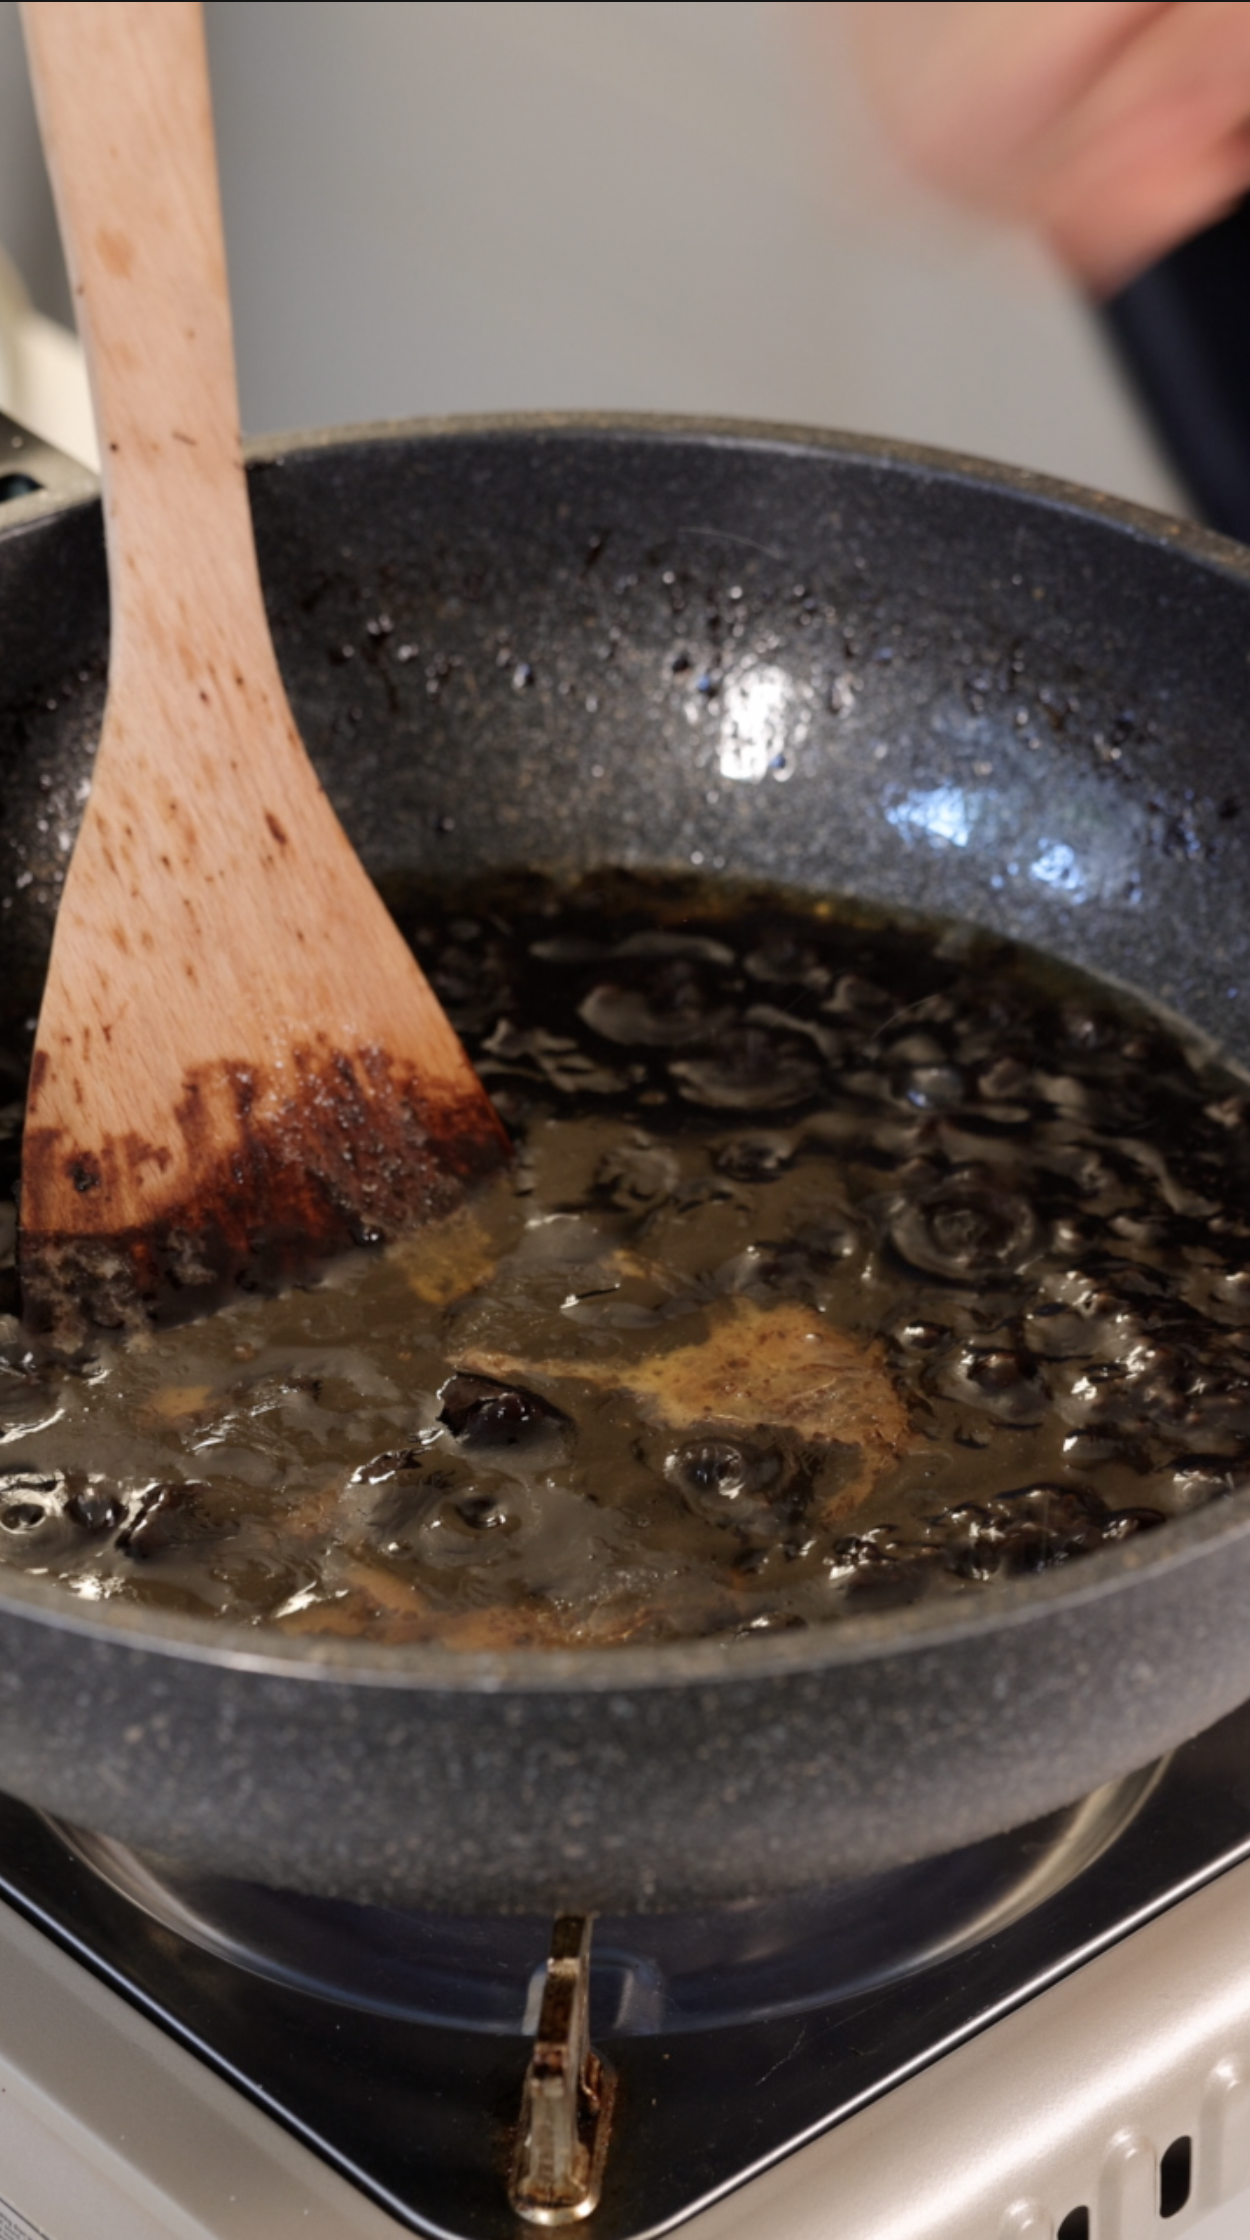
2 Cups of either chicken, pork, beef stock. I would not recommend WATER.

Slurry:
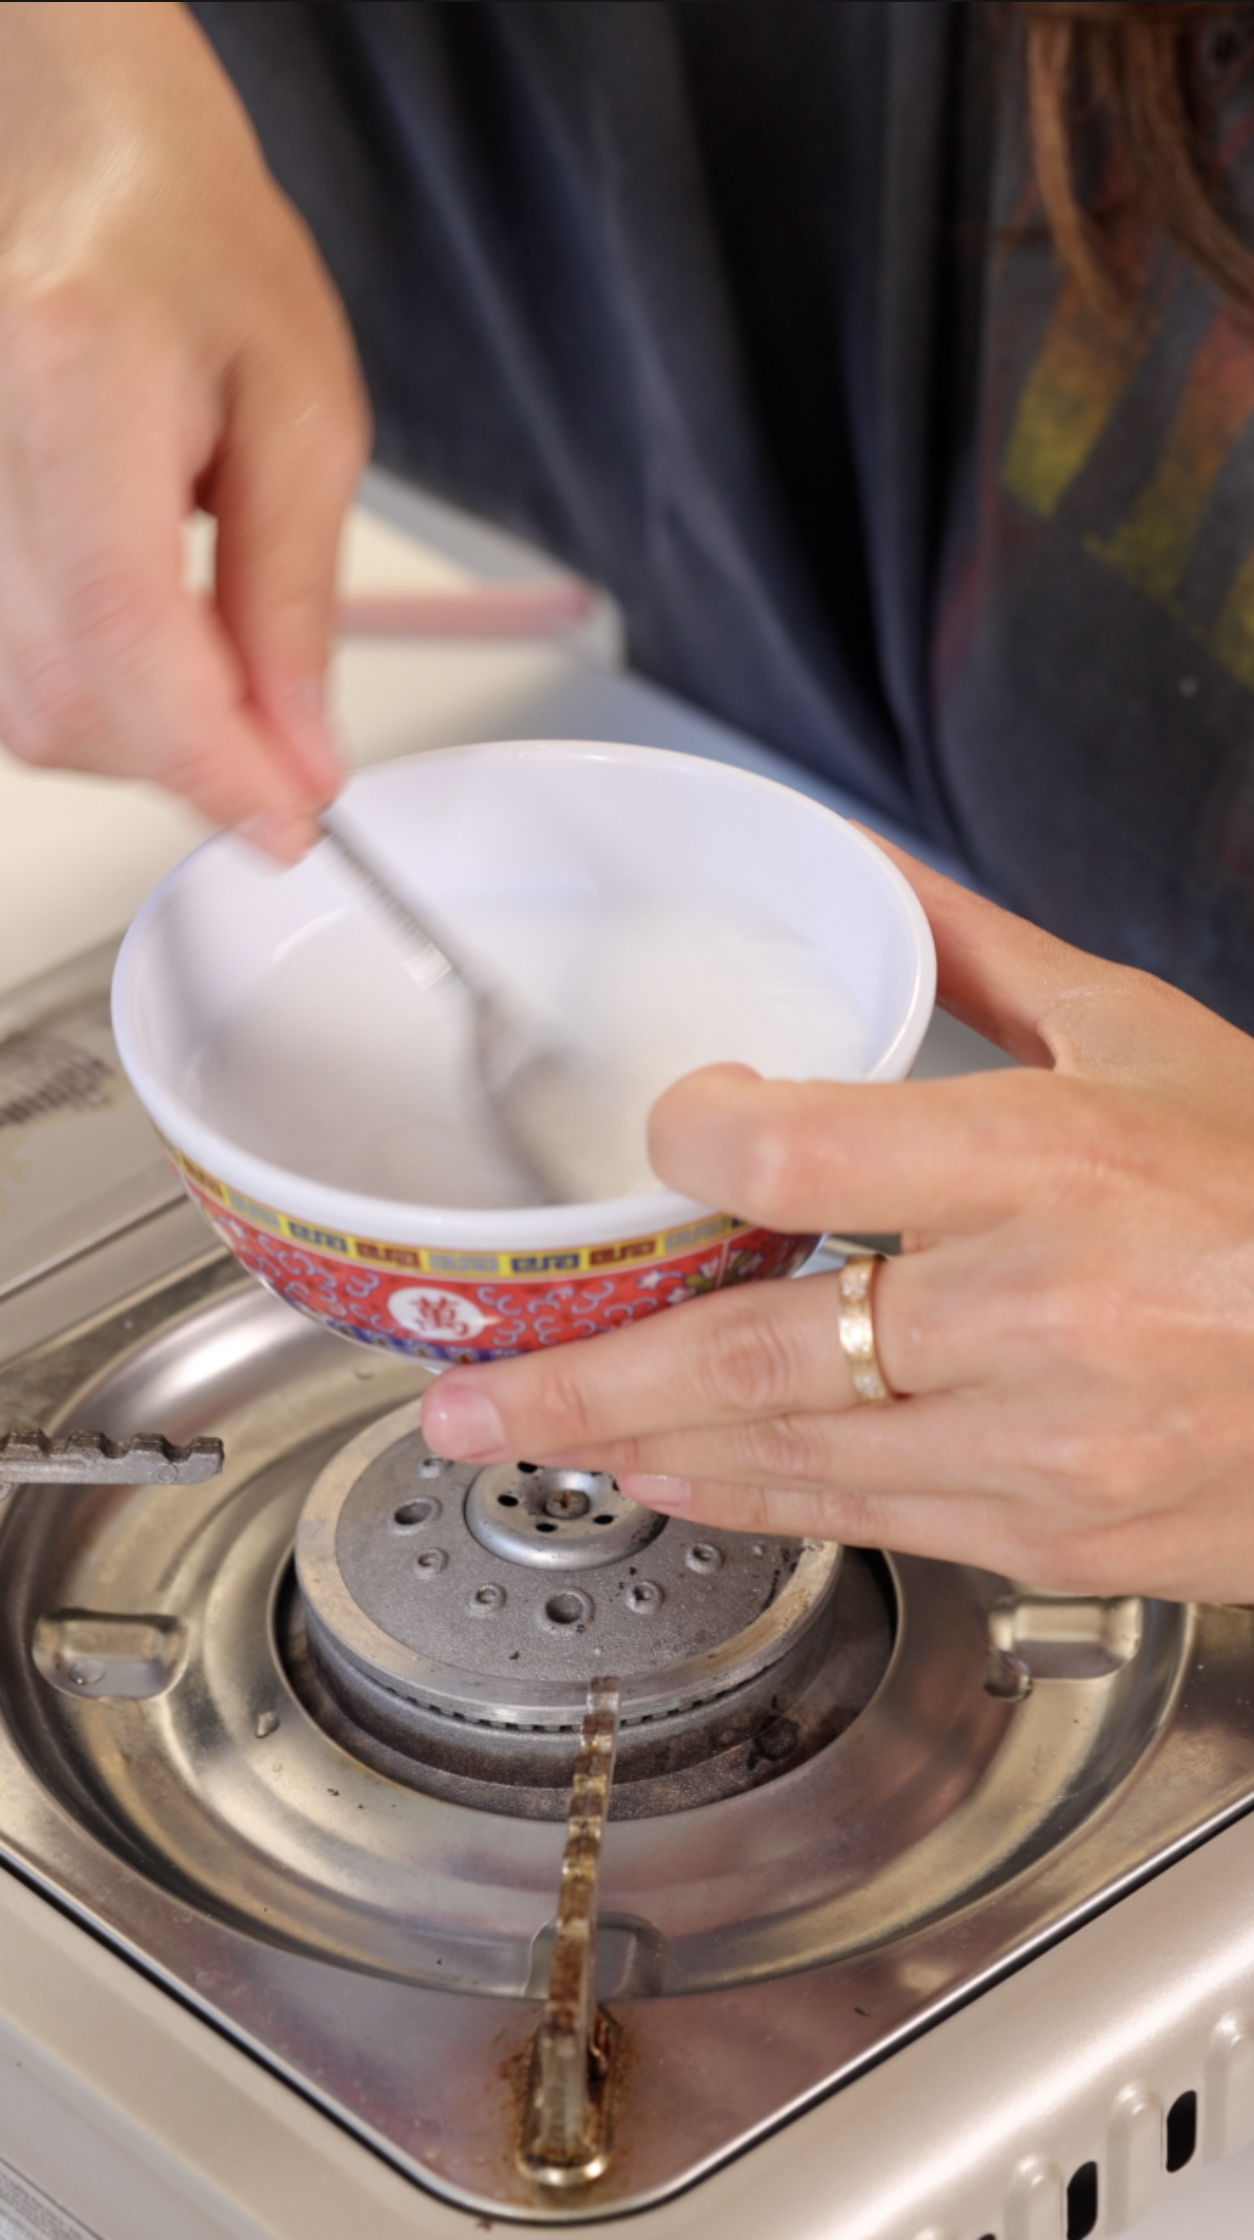
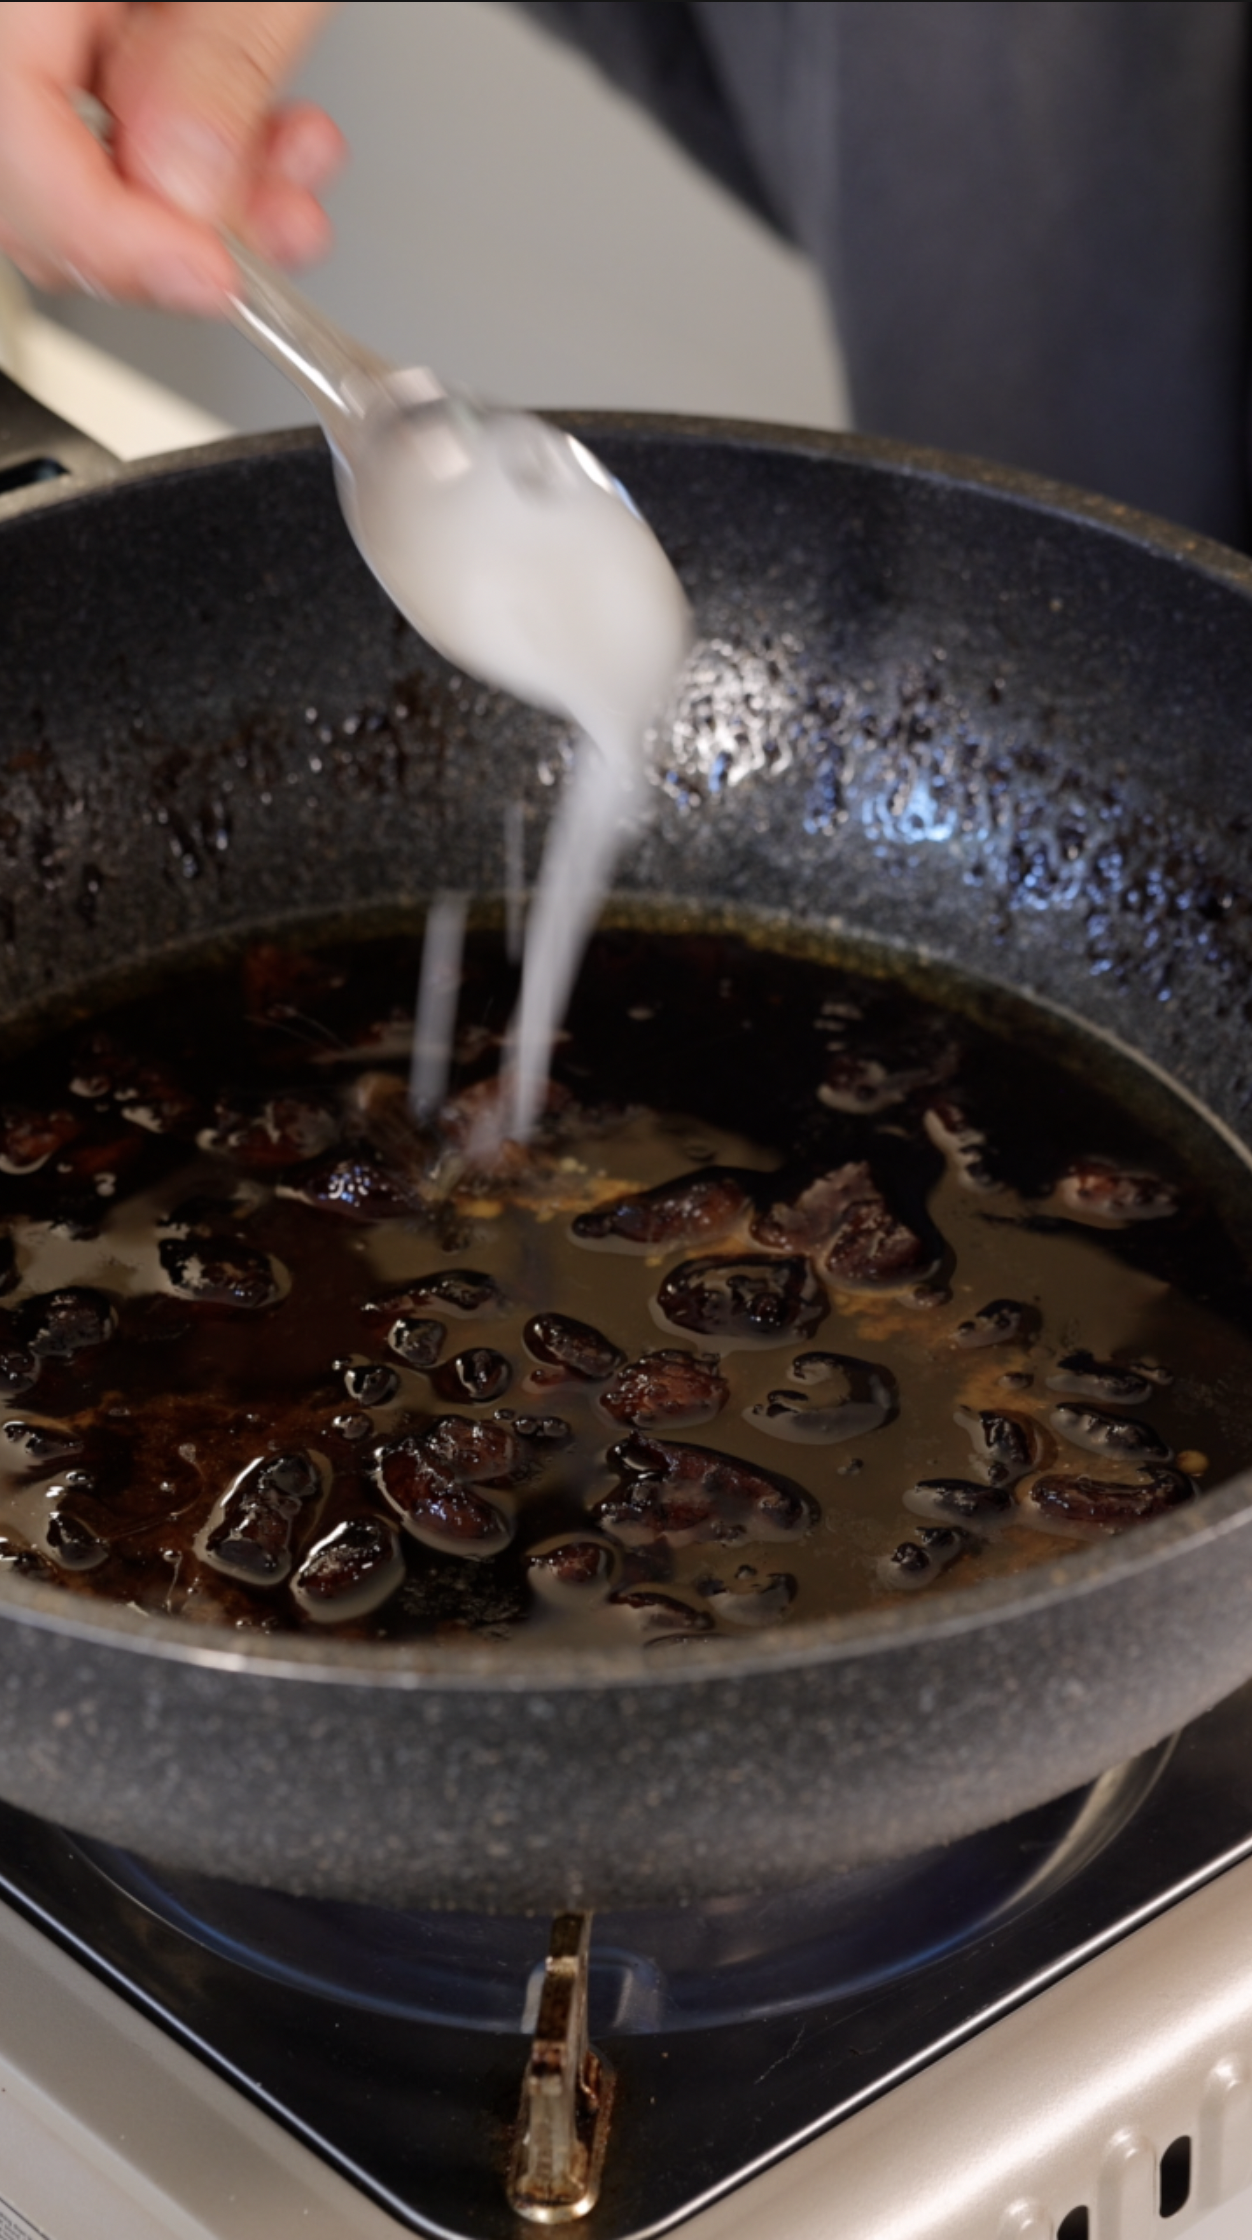
1 Tbsp Corn starch (any starch on hand)
1/4 Cup of Cold Water (warm steer with gelatinize the starch make sure its cold)

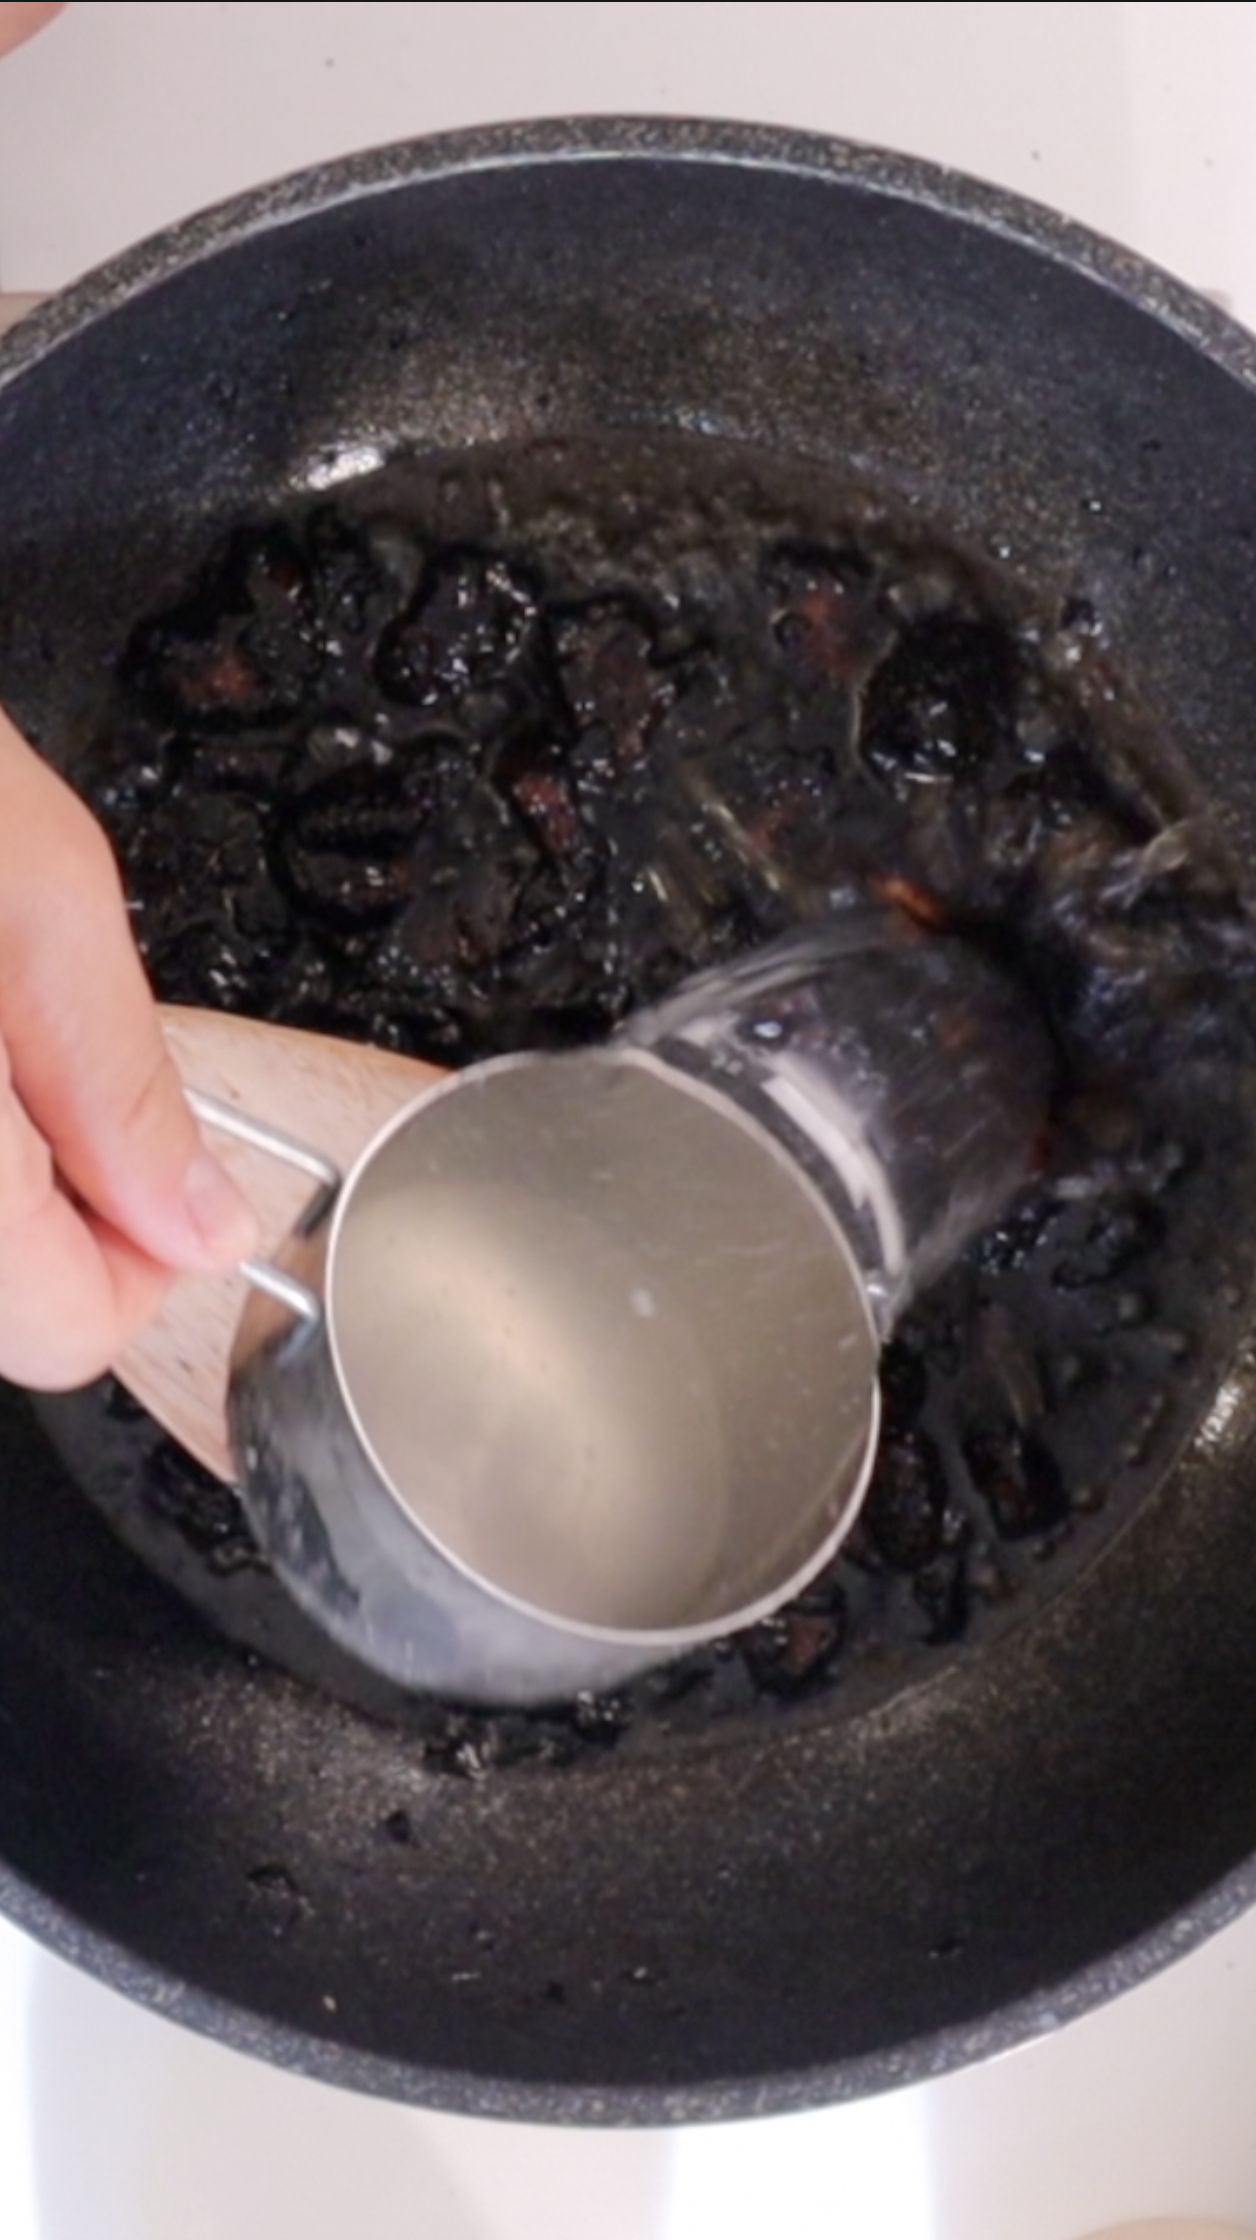
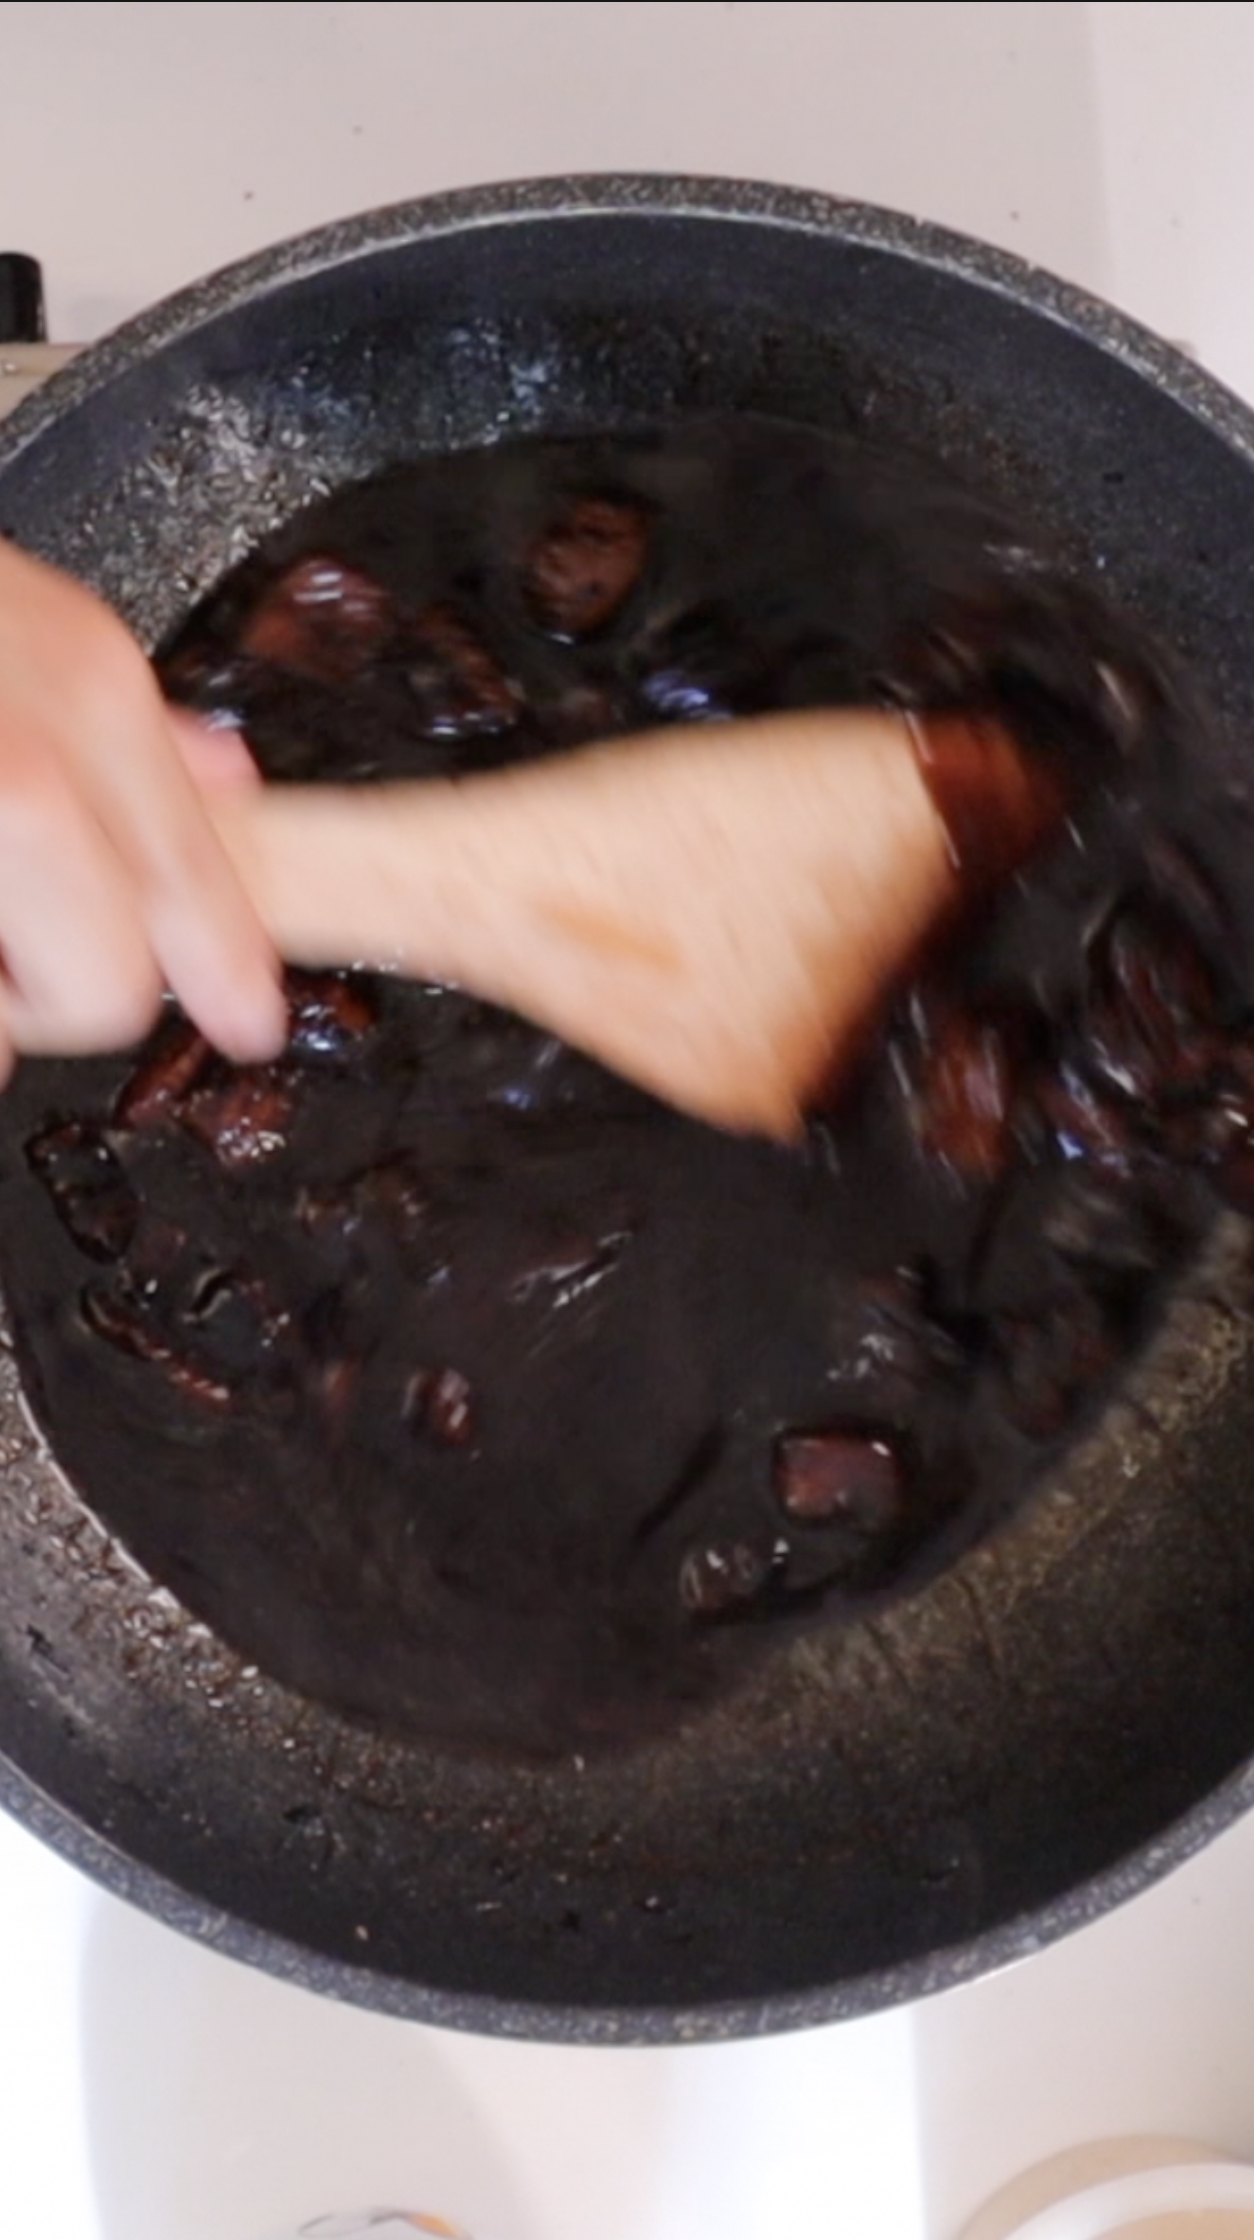
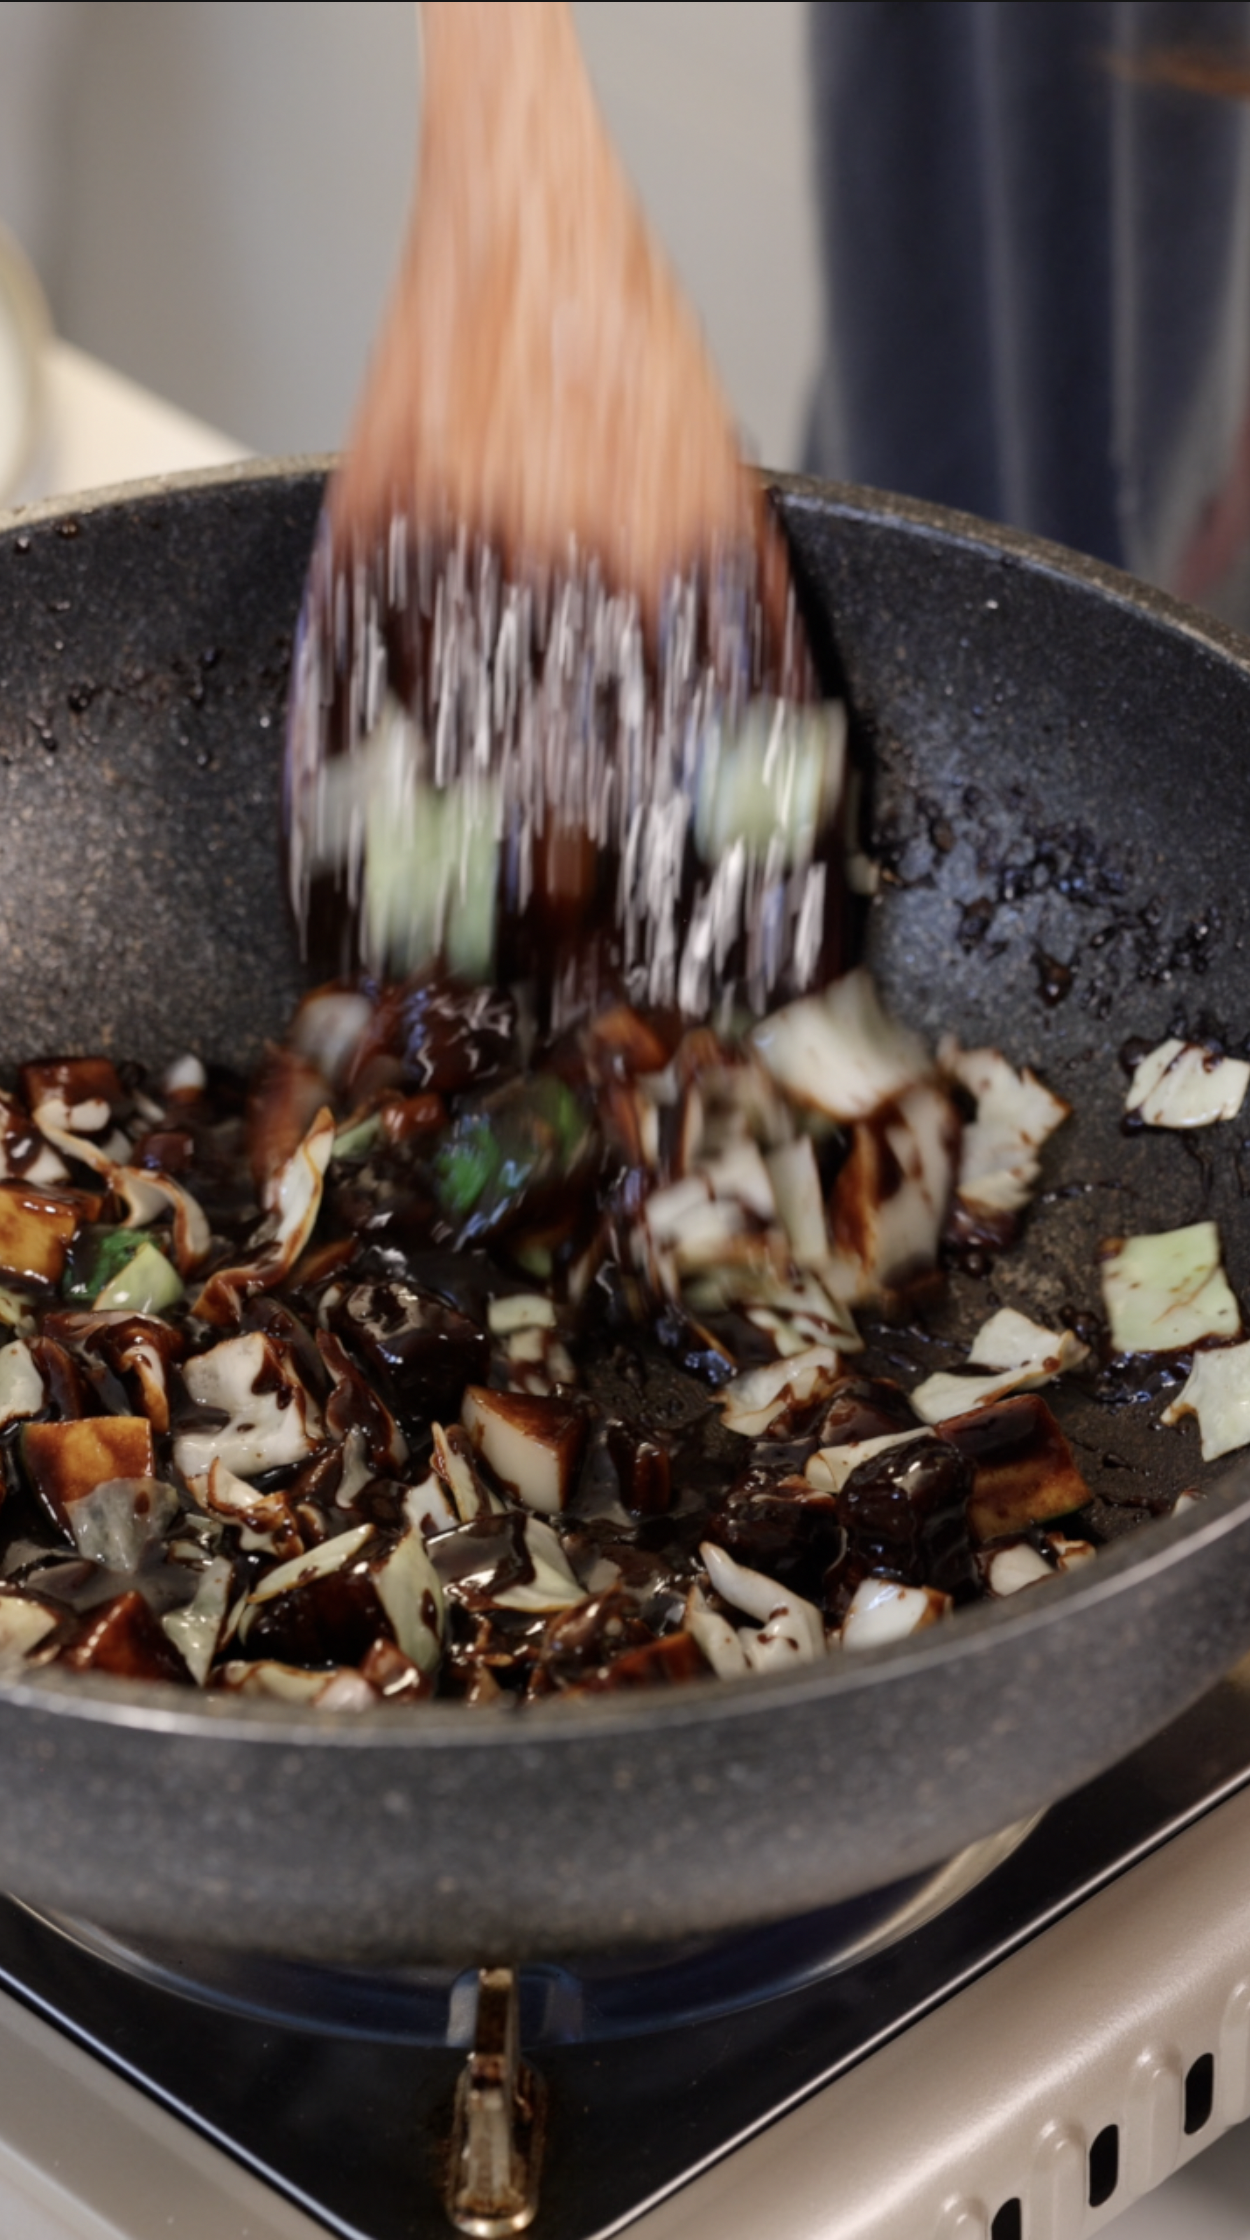
It’s your choice to cook everything at once or separate into containers for another day. I chose to freeze some of the sauce to have on a later date. I took remaining sauce and added some of the vegetable into the frying pan.
Fry until it is slightly soft.

How to Braise a Leg of Lamb

Today I chose a young lamb leg to braise. I started my day by visiting the St. Lawrence market’s butcheries where I was pleasantly surprised that the cut of meat I decided to purchase was fifty three dollars! I embarked upon my culinary adventure thinking that the less desirable pieces of animals would be cheaper, with the exception of lambs. Lambs are more of a speciality meat here in Ontario, Canada so it is understandable as to why the price would be so much higher. Still shocked, I purchased it anyways. I often look for beef and/or chicken; either cooking a juicy steak or a whole roasted chicken. I don’t often dabble in the “lesser” desirable cuts of meat, and I hardly ever go for game meats. Game meats have always been a challenge for me as I believe in the sanctity of animals and their natural habitats. I’ve never understood how I could cook them until culinary school. Understanding different flavours and techniques has actually made me eager to cook with these meats. I picked this particular animal and this cut of meat because I not only want to master cooking it, but I want to get into the habit of using all animal parts. Even the most difficult parts in cooking interests me, as I dream of being an expert in my field. One day I’d like to purchase half an animal, butcher it myself, and prepare the difference cuts for future uses by vacuum packing them and storing them. Storage could translate to freezing, drying, curing, or whatever preservation methods I can use while still taking advantage of today’s technological and culinary advances. I not only find this more economical but ethical as well. 
StLawrenceMarket_006-5c58a9e4c9e77c000159b183.jpg

I requested a full leg, with bone in because it’s cheaper than the larger piece of lamb - bone out. I also chose it due to the technique of braising that I wanted to execute. Braising requires a low and slow plan, which makes the full lamb leg an excellent choice. I decided to score the lamb to create canals in order to achieve more flavour inside, but also to break up the interior to have it easier to eat — sort of like a tenderization process. 

Controlling the flavour is paramount as lamb contains a lot of unsaturated fats. The fat is intricately delicate and is prone to oxidizing. Once it oxidizes it’s likely to gain stronger flavours that are not always entirely ideal especially due to the face that lamb is known as the quintessential “game meat  flavour.” To tone it down. I am using antioxidants like rosemary and mustard which is going to slow down the oxidation and reduce gamey flavour.

Price: 52.00$ CAD (as of 2017)

I am going to break the cut of meat down for braising and create meals with different condiments to utilize maximum usage and investment. Using the entire cut of meat for meal planning is essential. 

Tough meats, such as the leg of lamb are ideally cooked low and slow until they are tender and thus suitable for consumption. Braising, essentially meaning pot roasting, is an ideal cooking method and stewing as well. These methods ensure all meat is cooked in liquid. They are the best methods for this cut of meat due to the fact that it is a very used muscle which causes it to have a lot of connective tissue, i.e. collagen, and elastin which would typically be removed when seen from the outside. Slowly heating up the collagen to turning it into Gelatin Triplehelic intertwine is called Collagen. Collagen is a connective tissue which works as a structural element within muscles. The more a muscle “works” in an animal, the more connective tissue you'll get. Shoulder, shank, ribs, etc — all have a lot of collagen in them which can make the meat tough and “chewy.” At 300 degrees fahrenheit, the collagen will unravel into three individual strands of gelatin. Thus it will ensure that the meat is no longer chewy — it is now succulent and juicy.  Slow roasting also prevents shrinkage, adds more flavour, juiciness, and tenderness. It helps with a more even doneness from outside to inside and a greater ease in carving. Because it is a larger cut; the lower the cooking temperature, the better. This ensures the outer portion isn’t over cooked. 

I'm using a sous vide method to create a humid all around even cook. Moist heat cooking method. Then I am going to finish it off with high heat in the oven to create a Millard reaction to create a crust on the outside, maintaining a wet but also a dry heat cooking method. 

Recipe:

Sous vide the leg of lamb 130F for 24hrs 

Put into the 450F oven for 10-15 minutes to create a crust 

Braising is great for this type of meat because it is a very used muscle.

Allow meat to set at room temp before cooking as this will allow it to rest, giving the juices time to reabsorb throughout the muscles so leas juice is lost when meat is sliced.

Ensure to slice the meat against the grain for tenderness.